Early August is a wonderful time of year, while the summer feels like it is getting long, there is still so much time left to have fun. In northern Wisconsin, the weather is typically around 75 to 85 during the day and cools off to a wonderful mid-60’s at night. For my family, early August means we gather on the shores of the Chippewa Flowage near Hayward for a week of camping and fun. For over 20 years now the tradition remains, with extended family from my wife’s side making the pilgrimage from Wisconsin, Minnesota, Colorado, California and Arizona.
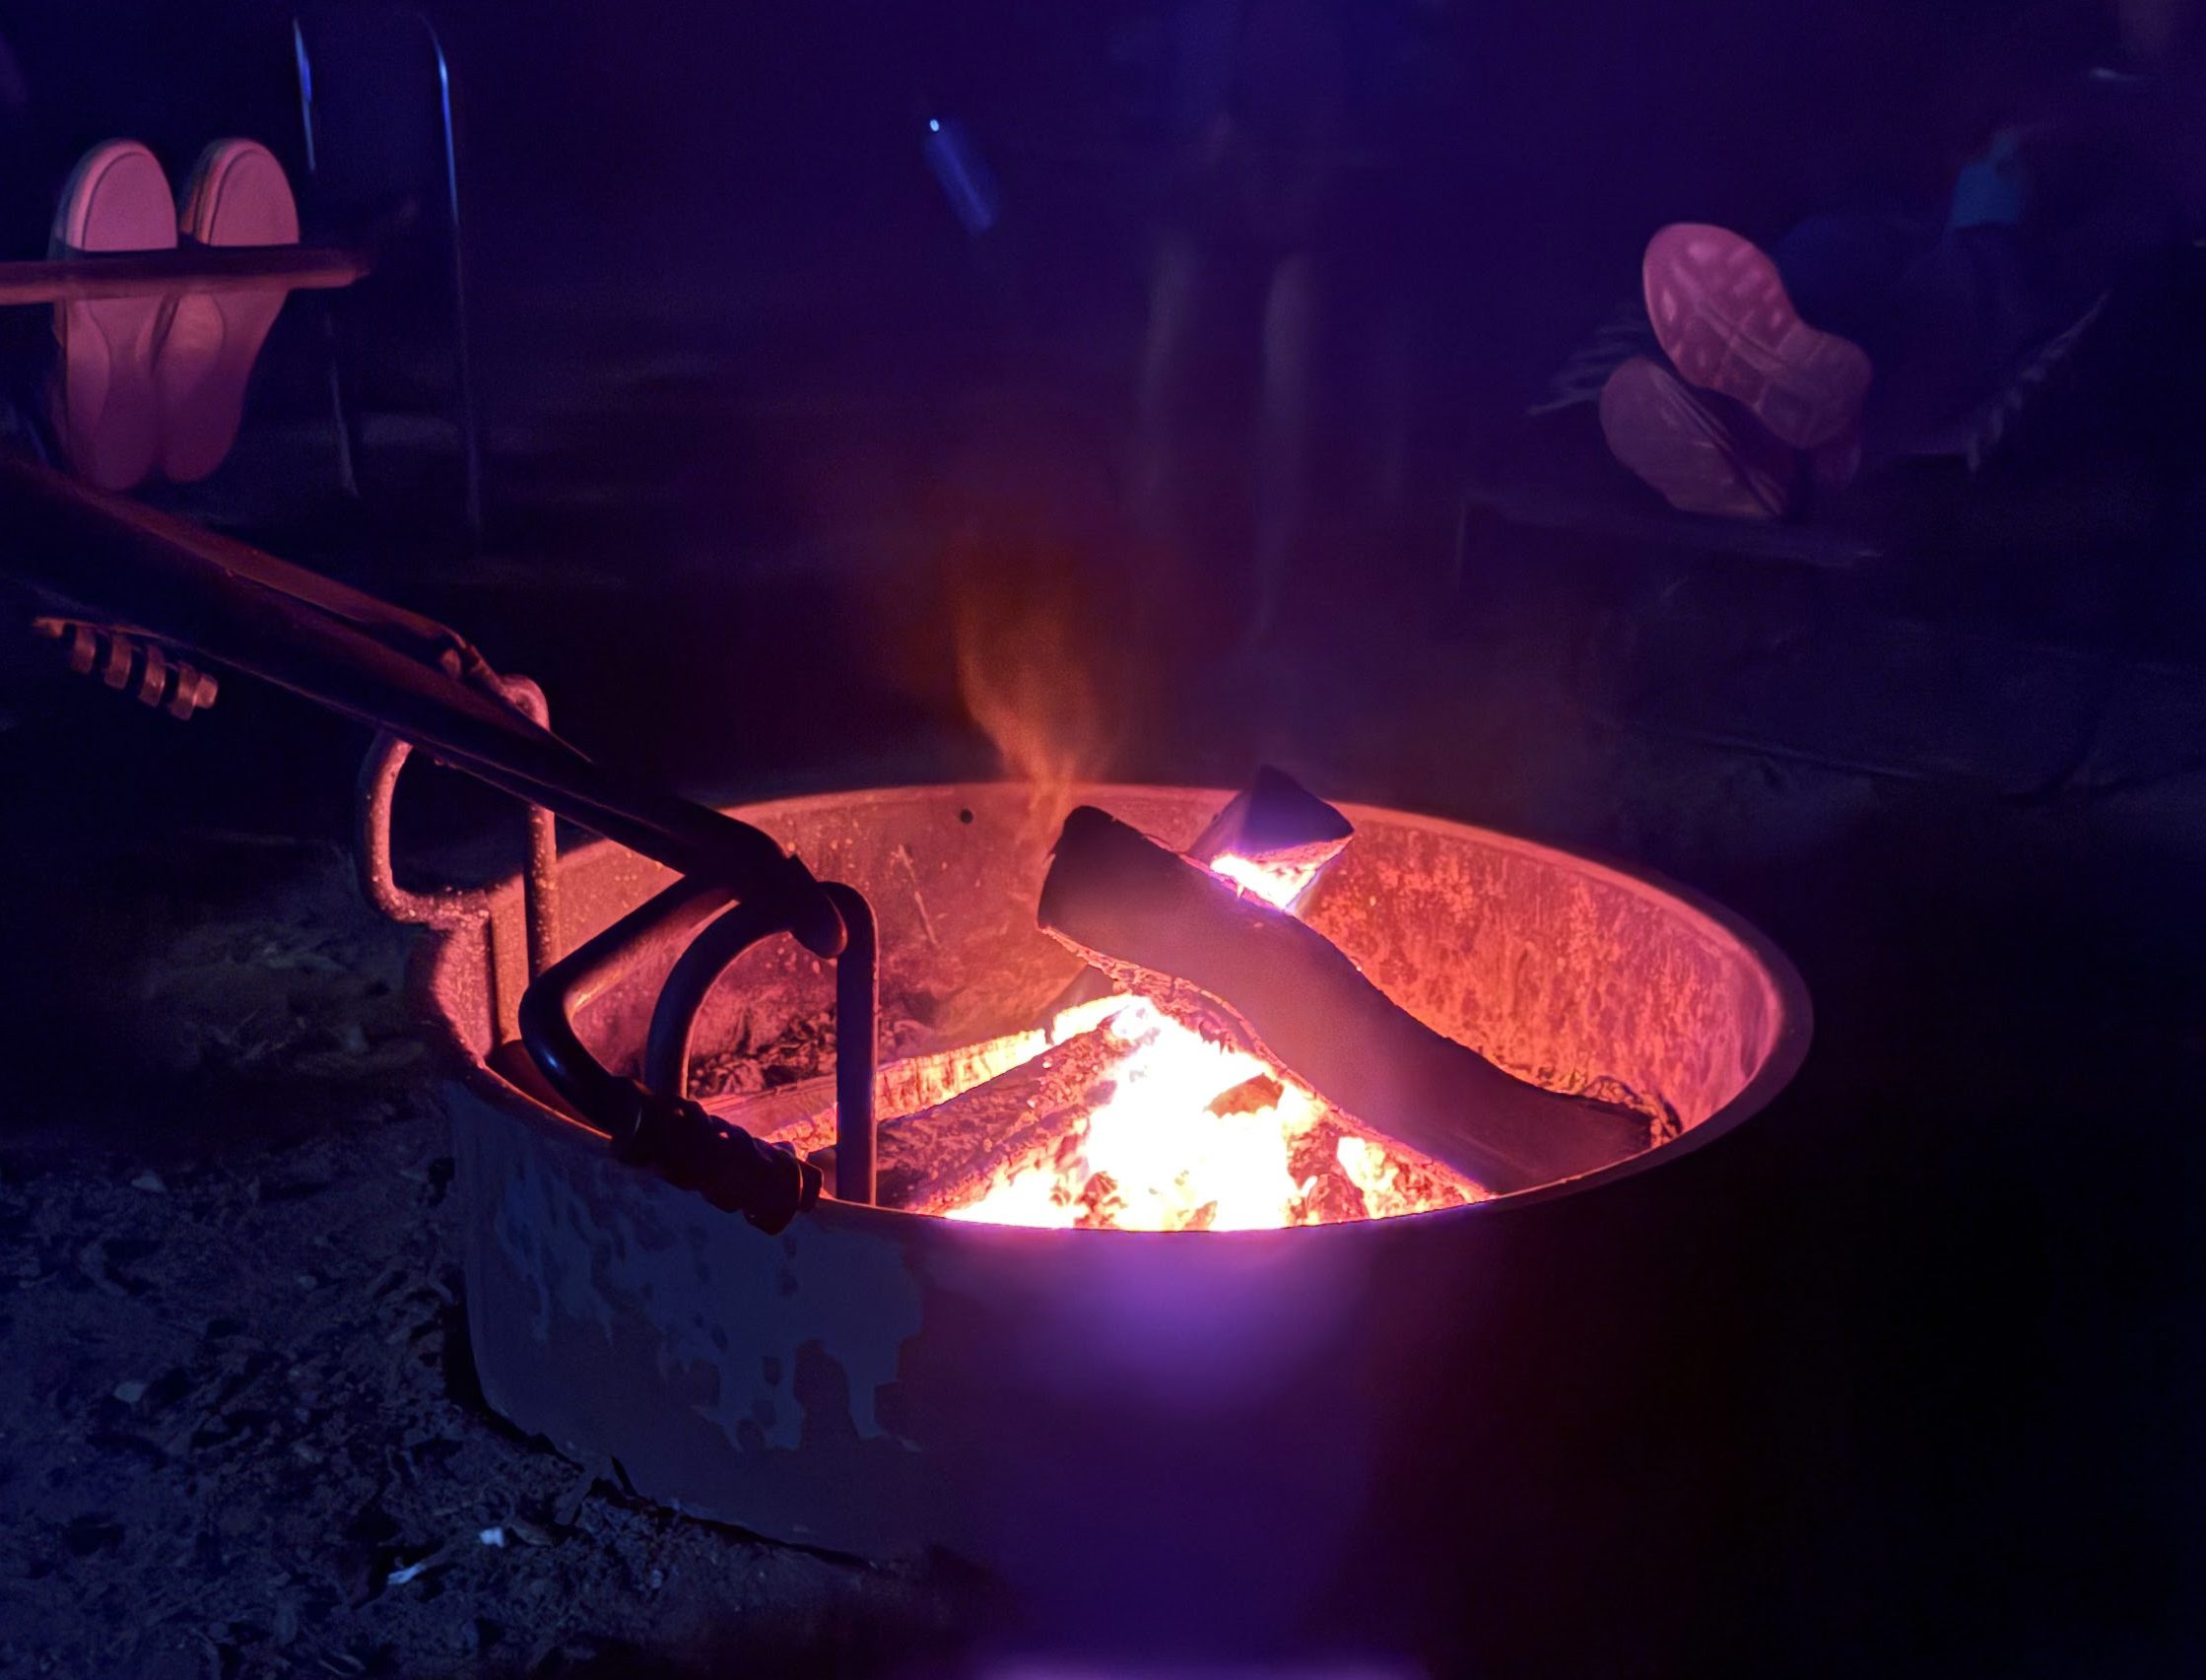
The activities are varied, of course we have typical camping go-to’s such as campfires, stargazing and cornhole, but our location also provides several other opportunities. These include paddleboarding, mountain biking, water sports and even sneaking in some pickleball at a nearby resort. Whatever your activity preference is, you can find it in northern Wisconsin, and no I am not sponsored in any way by the Wisconsin tourism department, although if you are interested let me know!
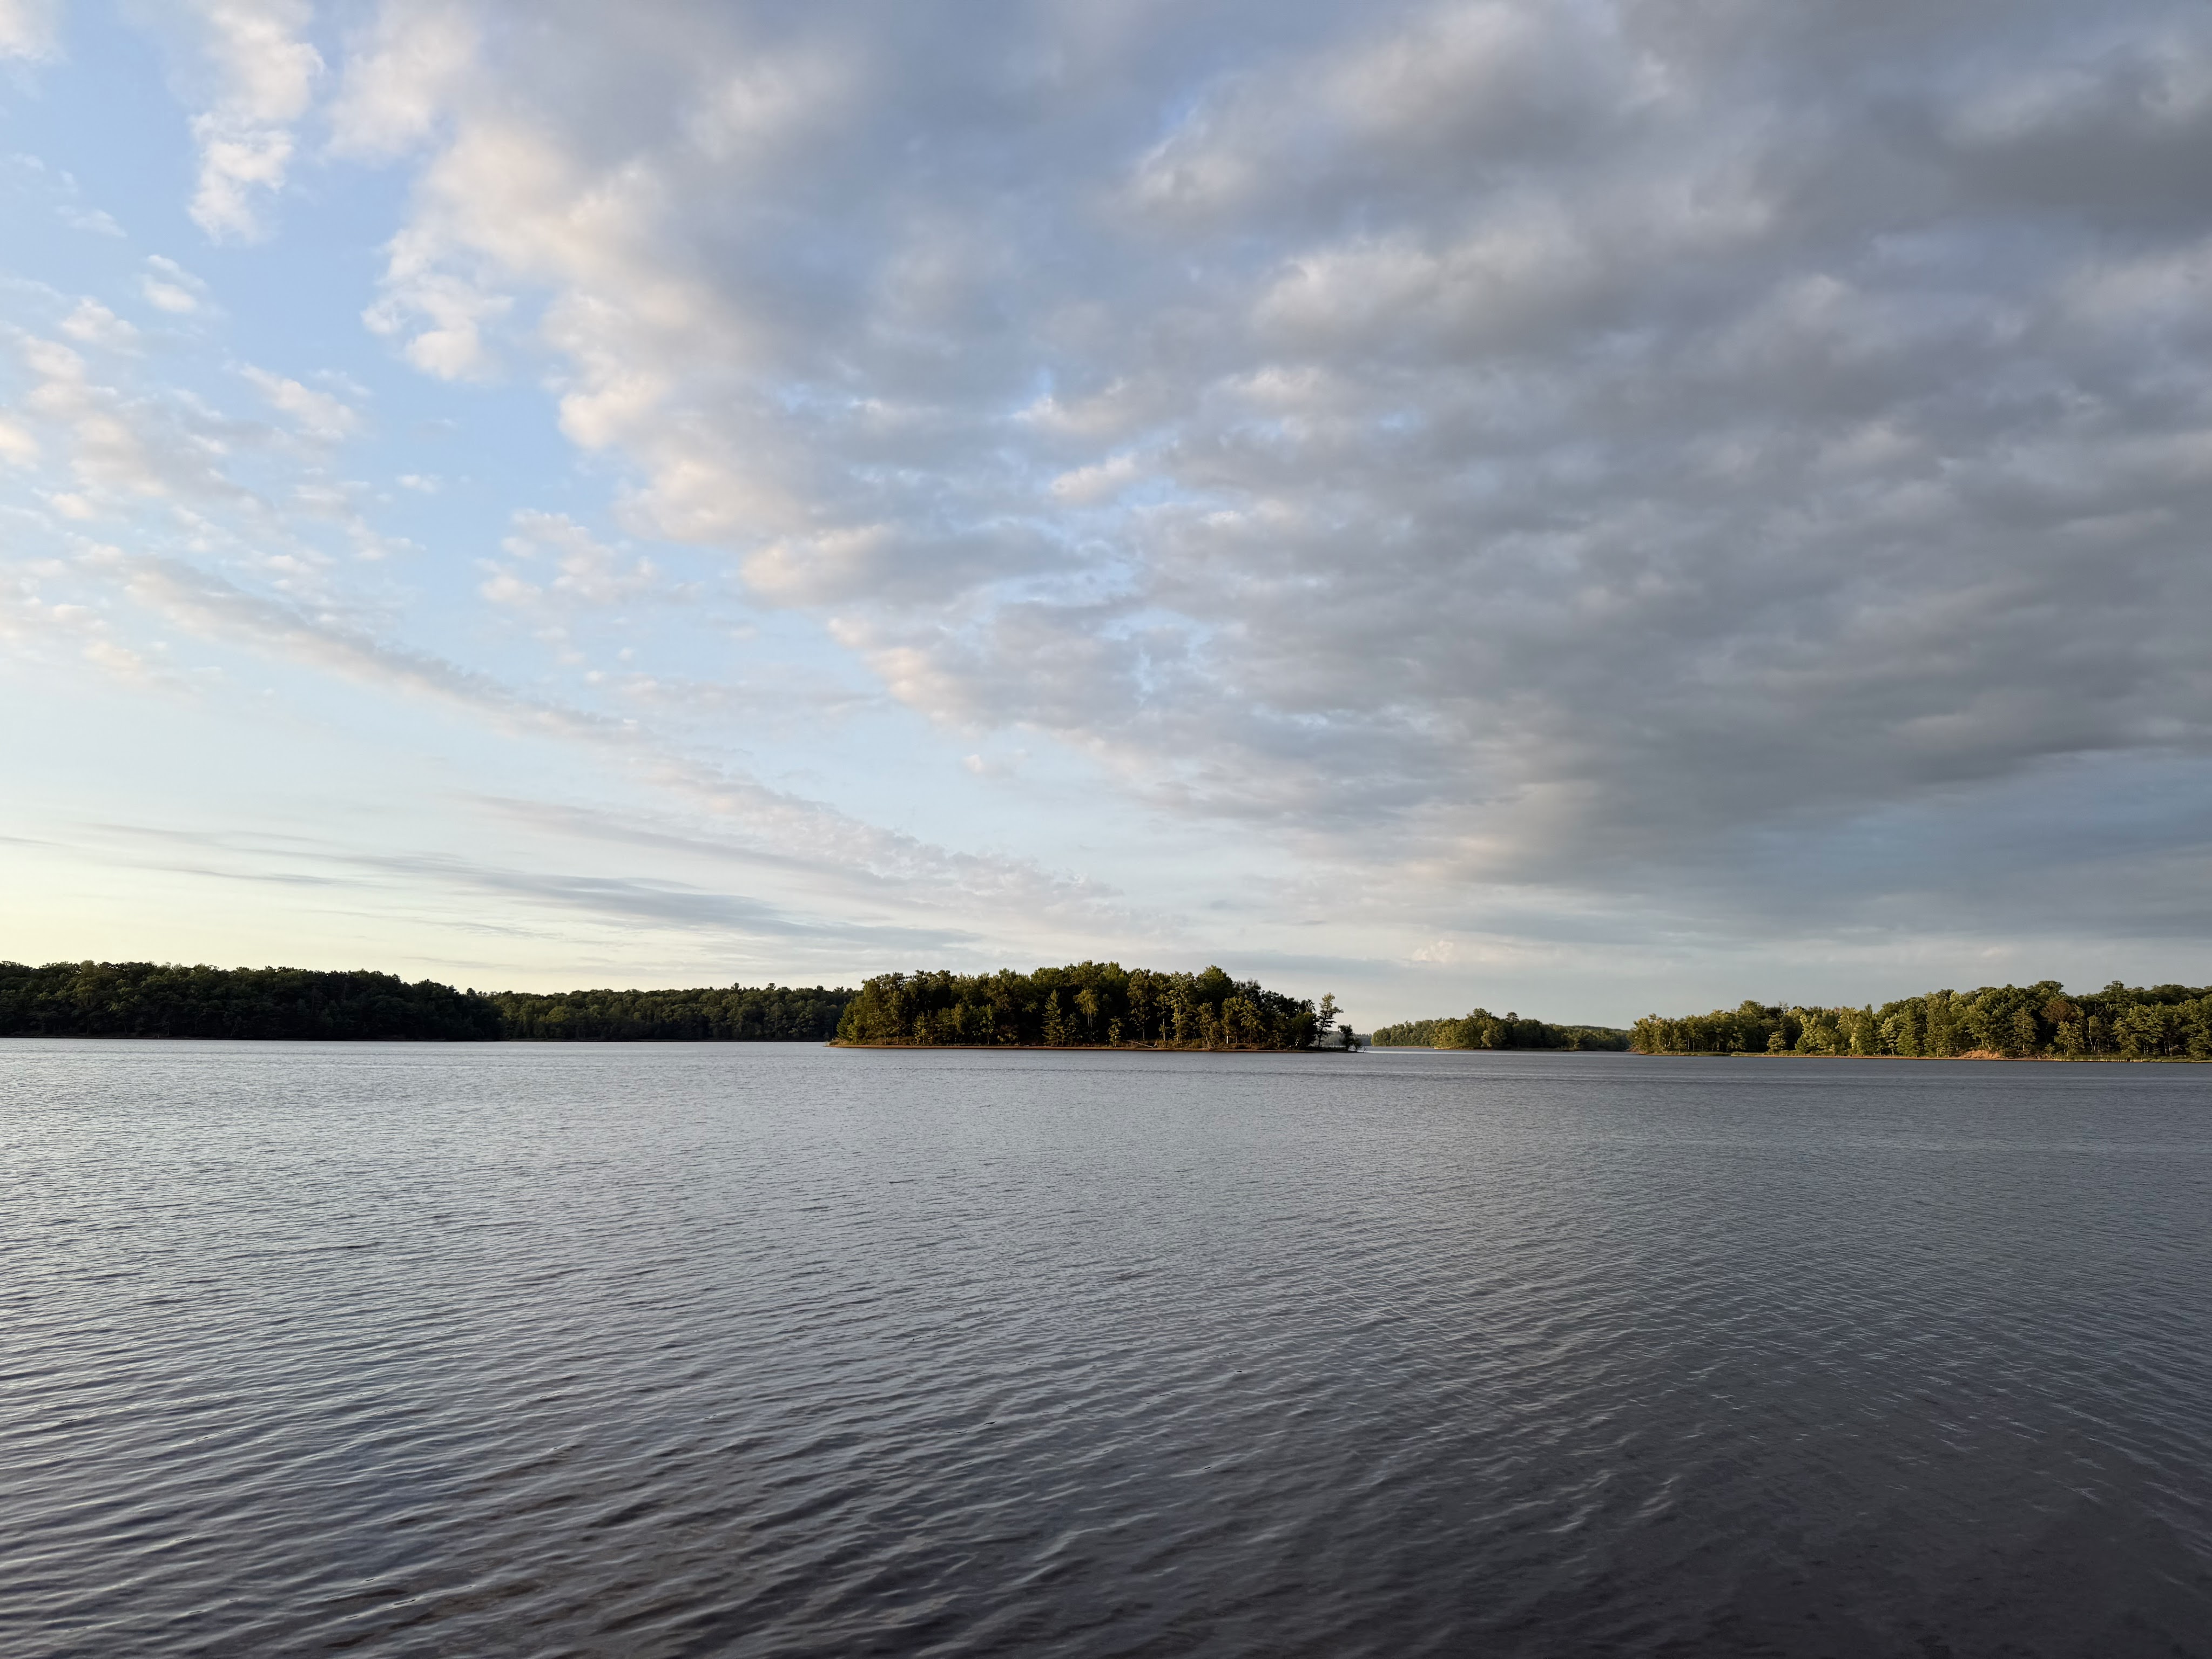
Let’s start off with a little paddleboarding. As mentioned we camp on the shores of the Chippewa Flowage, also called the Lake Chippewa. This body of water was created when the Winter Dam was completed on the Chippewa river in 1923. The result is the 3rd largest lake in Wisconsin and is littered with coves, islands and floating bogs. If you are planning on exploring the lake in a motor boat, be sure to have a good map or GPS as it is easy to get lost. For paddleboarding you rarely get out far enough for this to be a problem, but prudence should still be used. With all the coves and islands, this lake is a bit more forgiving of wind. While it can still whip up some whitecaps, there is usually a shoreline or bay that can be explored.
The paddleboard that I have is an inflatable, with 3 smaller built in keels. Like all sporting goods equipment choices there are personal preferences and trade-offs and SUP’s are no different. Rigid or inflatable and removable or fixed keels are probably the two biggest decisions. I am not an avid paddleboarder, which no doubt alters my choices. For me the number one concern is ease of use. For me, this means I can easily pack the board and nothing is forgotten or lost. An inflatable rolls up and fits in a large pack with the take down paddle and pump all in one bag. Also, since the keels are built in, there is nothing to forget. I have used someone else’s board when the keel wasn’t installed and it is not fun. Because I don’t paddleboard everyday or even every month for that matter, the time it takes to inflate a paddleboard is also a non-issue for me, it is all part of the experience for that event.
Now for a little mountain biking. Northern Wisconsin has a ton of it! Since my hub was at Lake Chippewa, I was mostly exploring the CAMBA (Chequamegon Area Mountain Bike Association) system and the Trek trails that surround the Mt Telemark area near Cable. The CAMBA network covers over 135 miles of single track spread out over the Hayward to Cable stretch and also includes a section further north at Mt. Ashwabay.
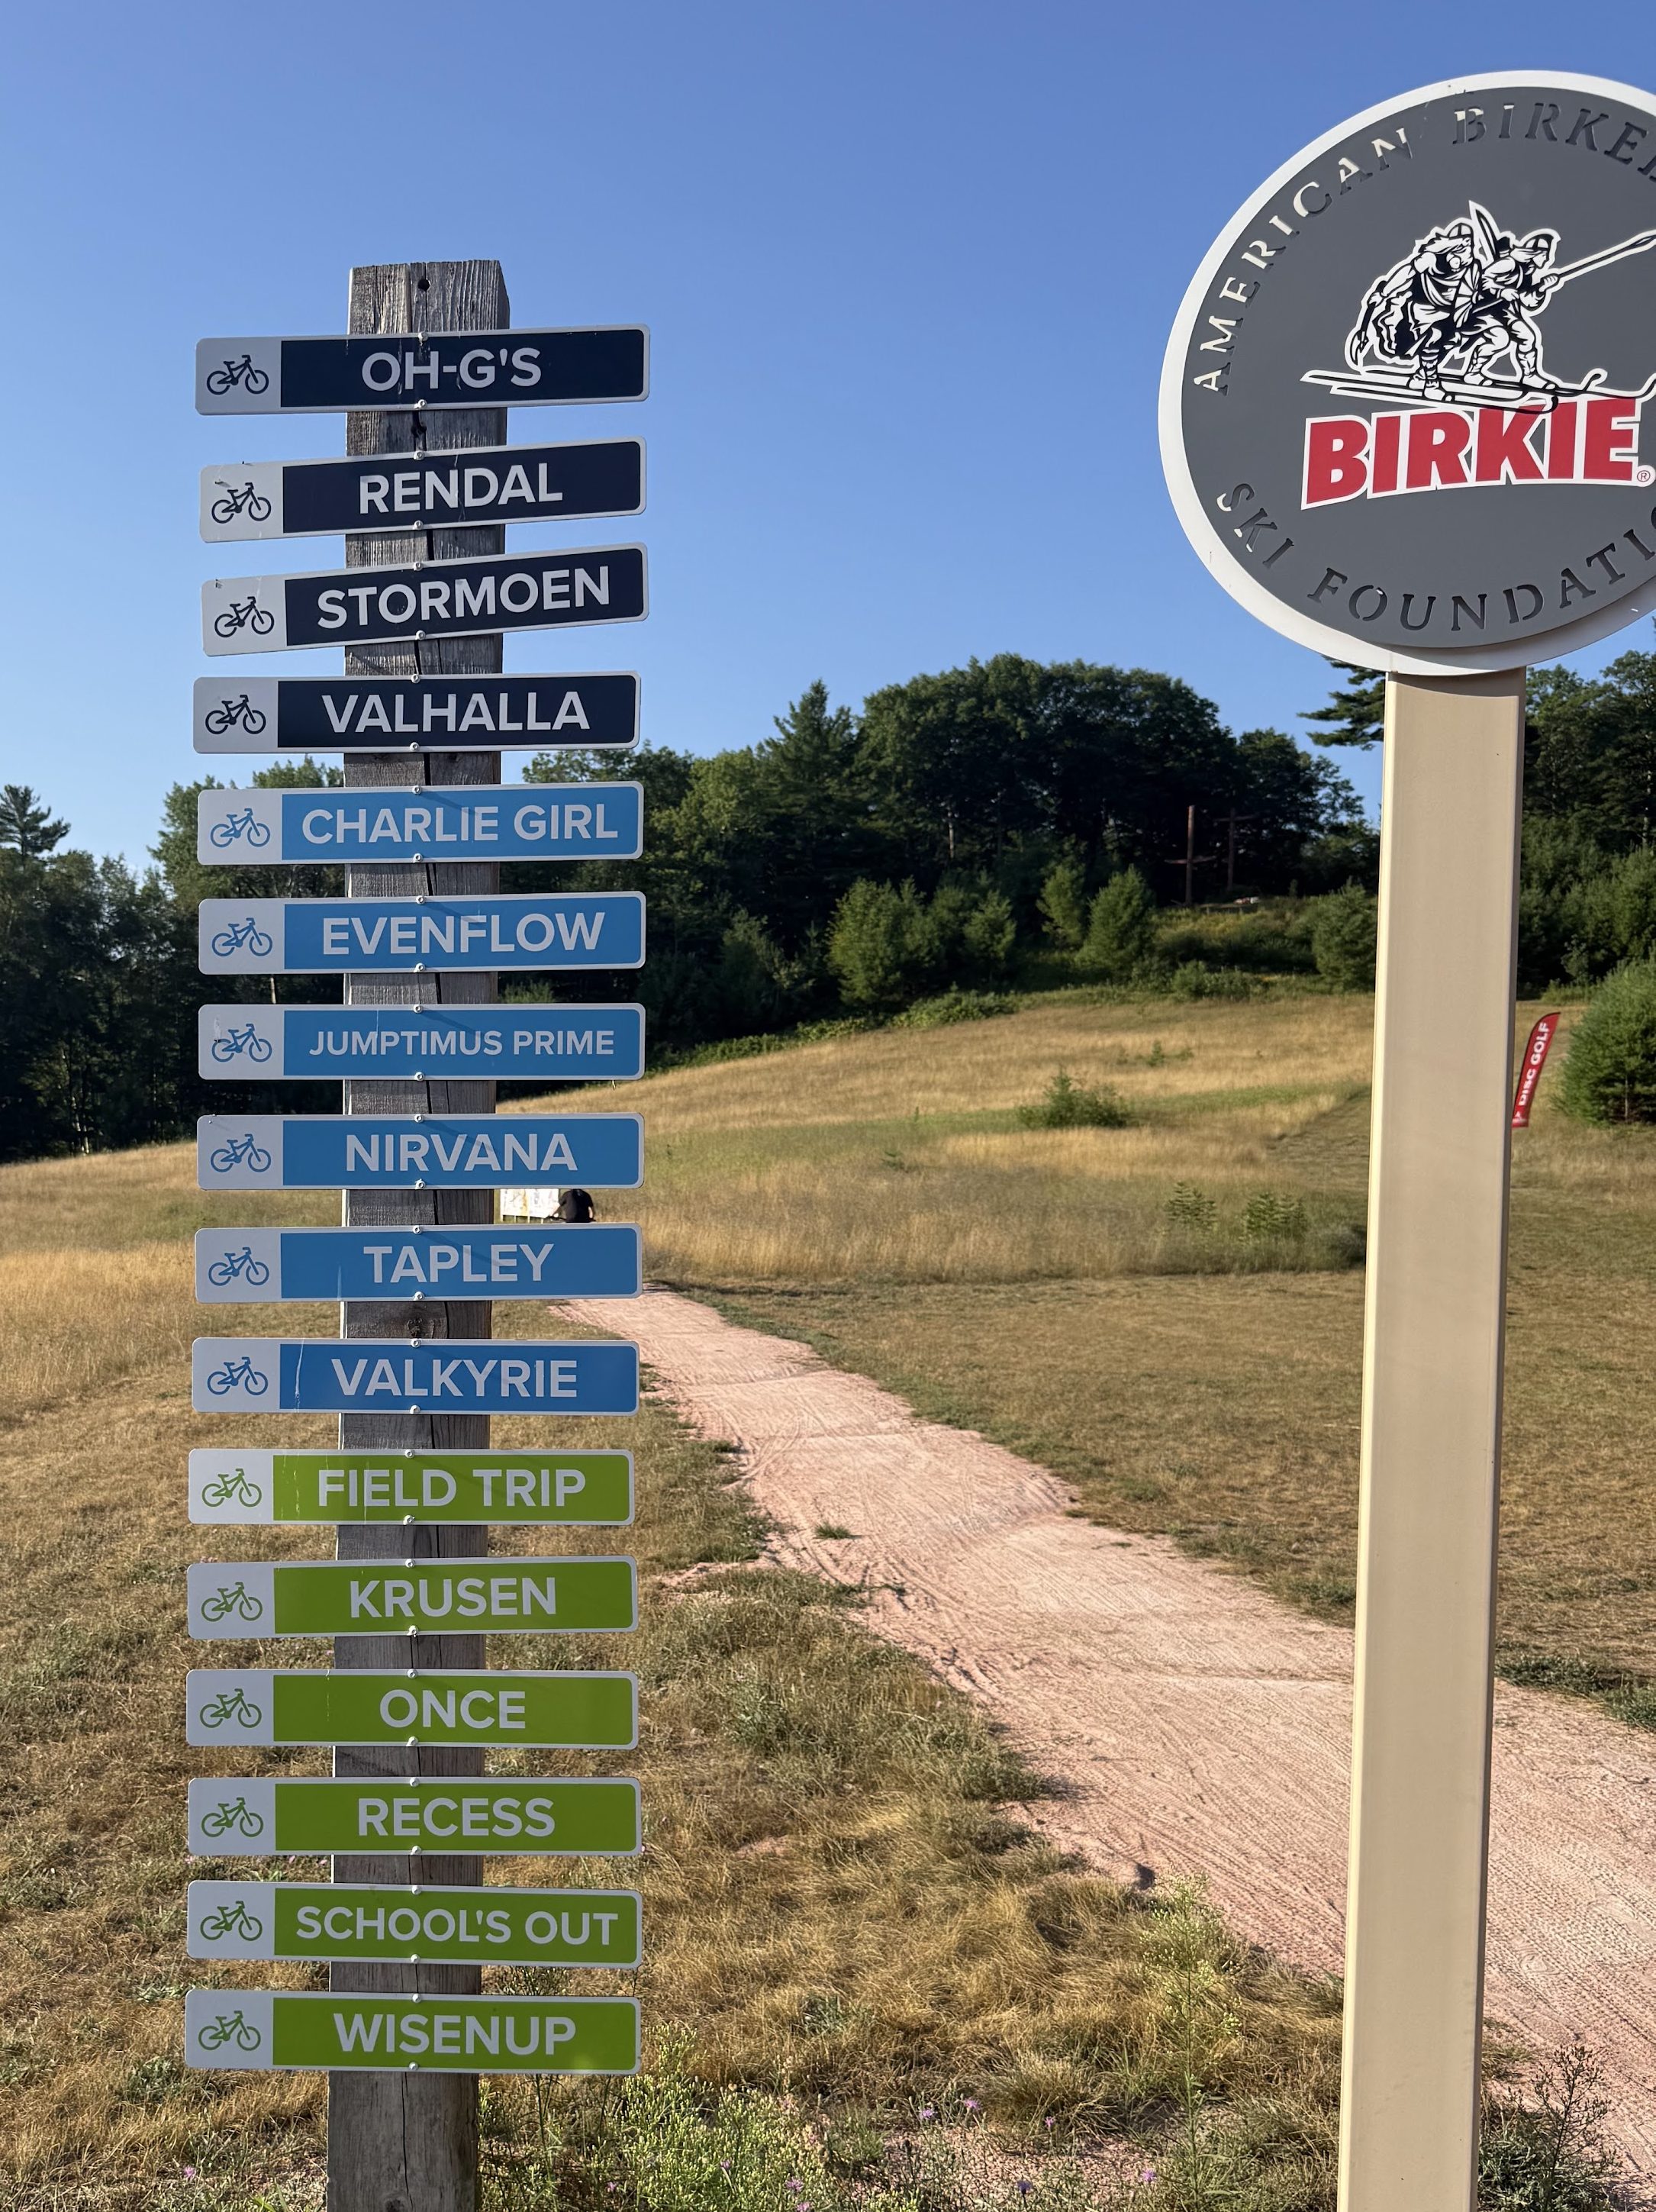
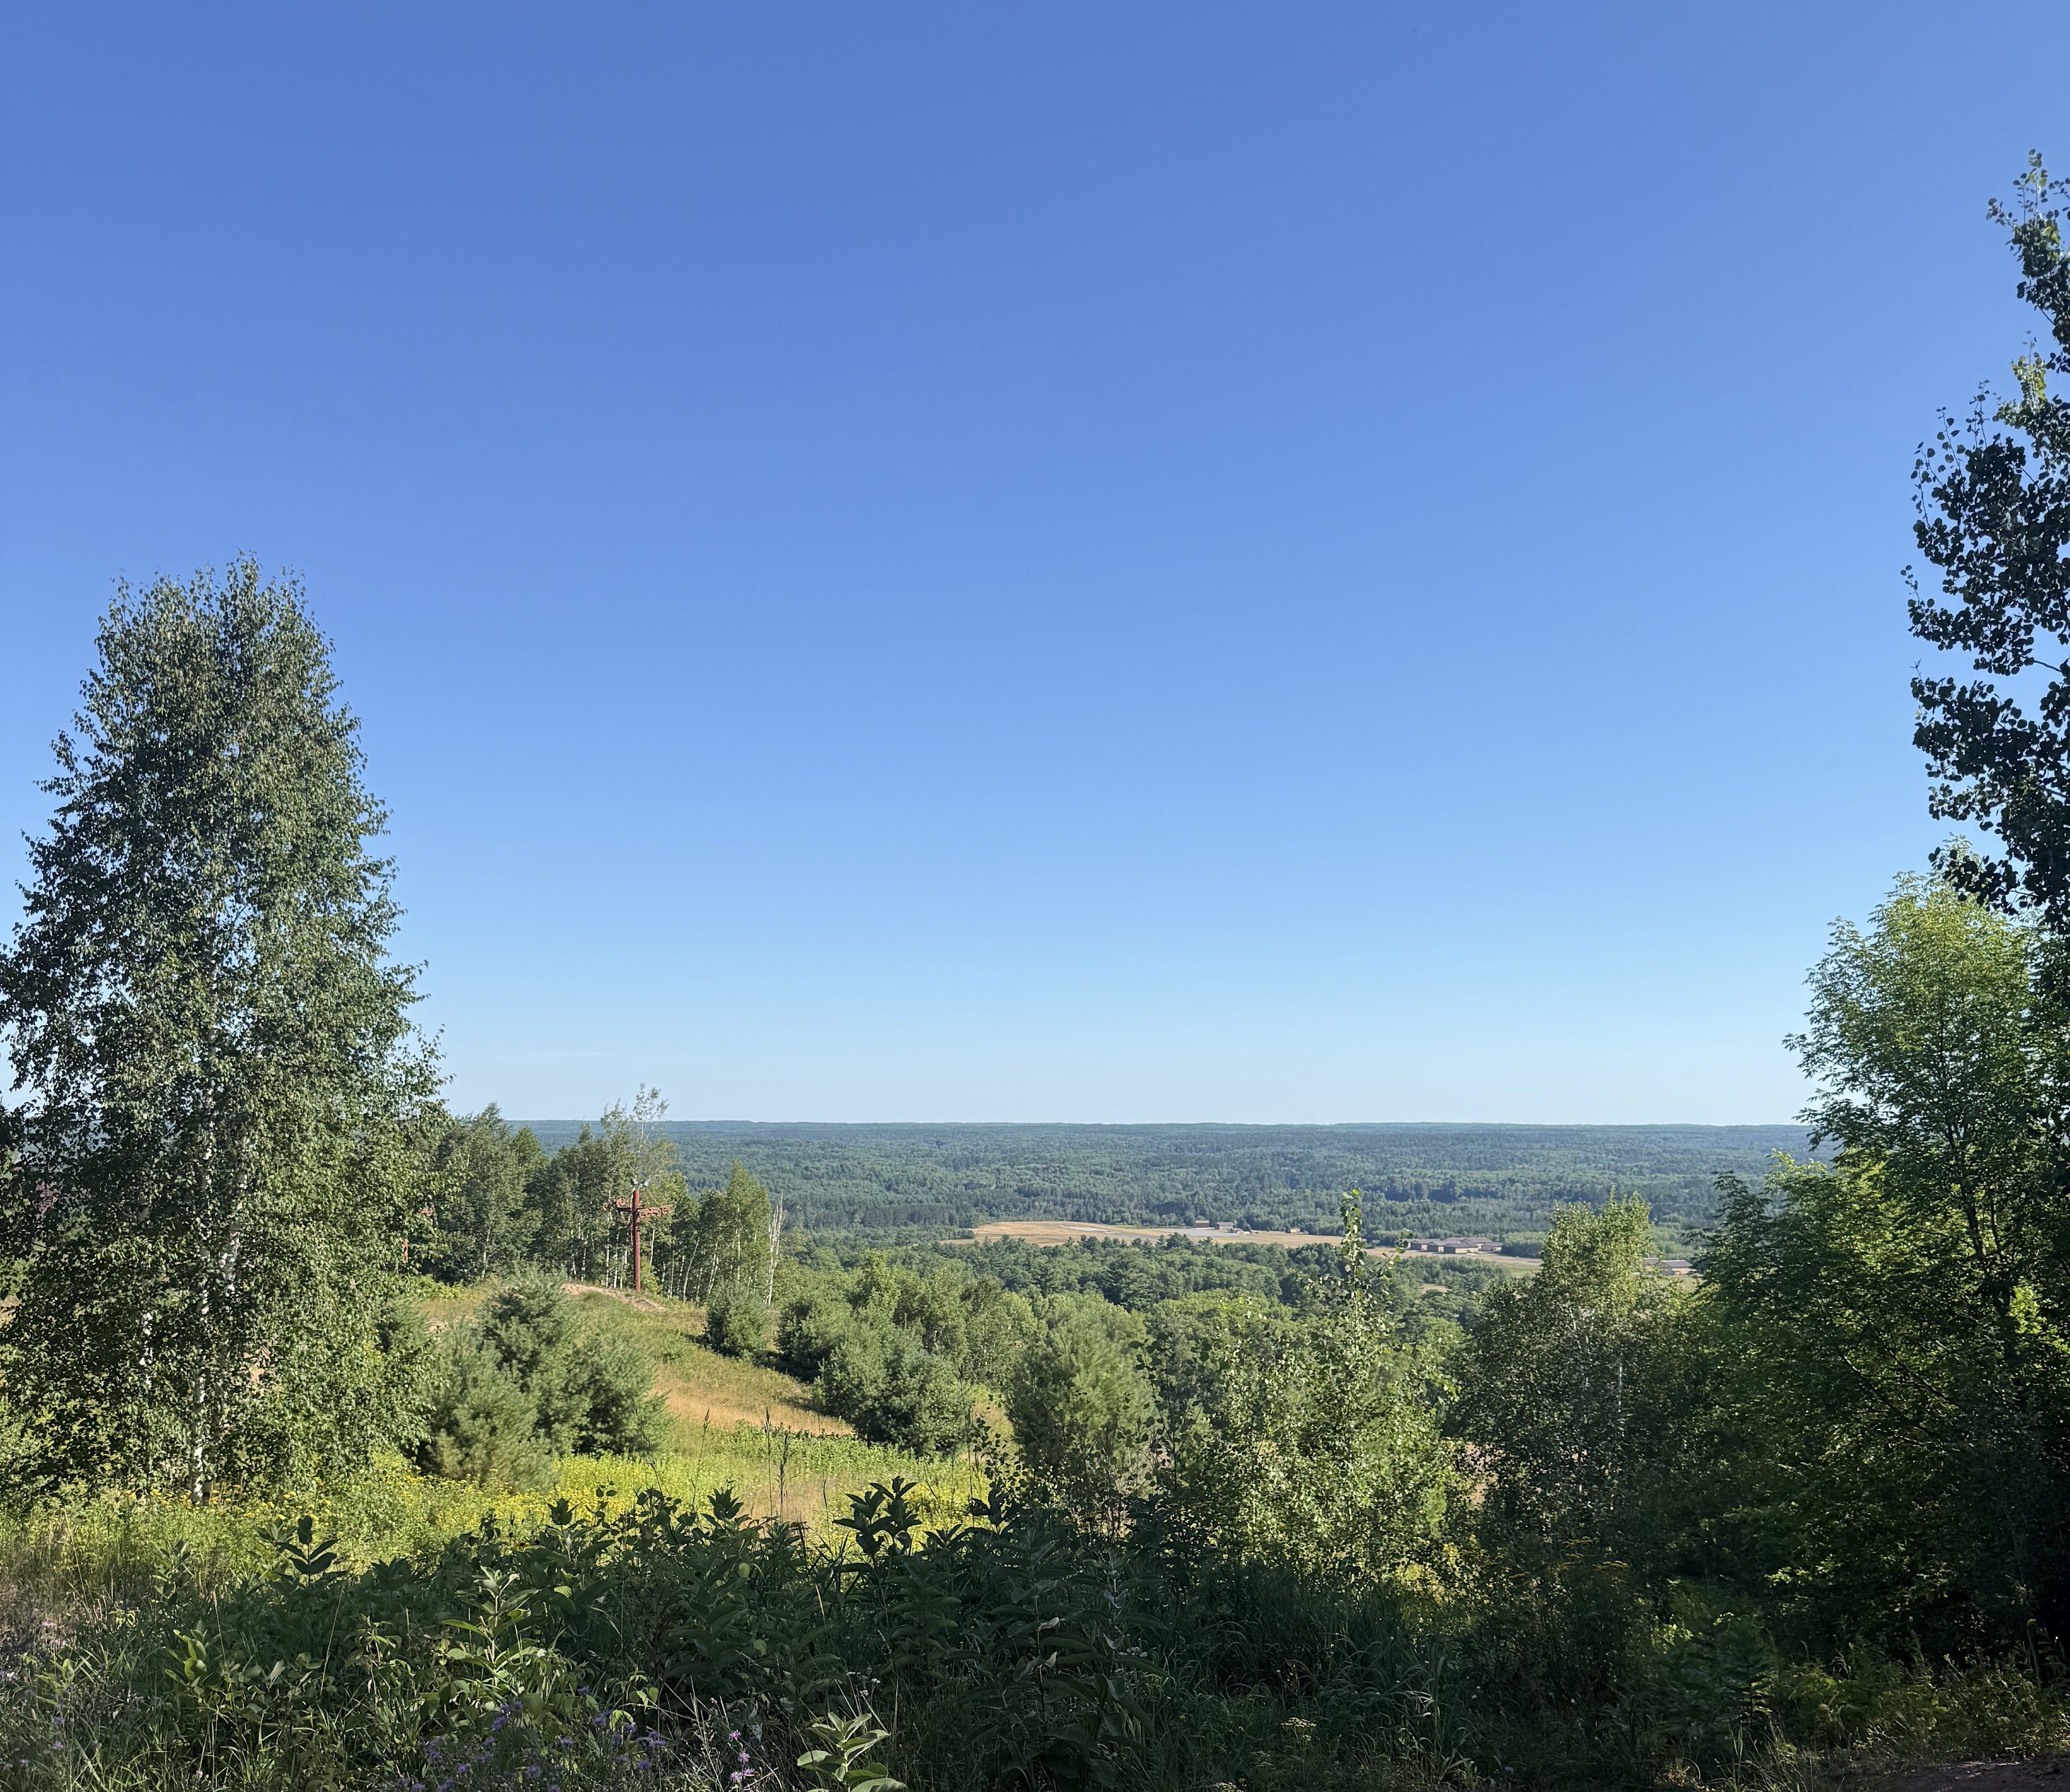
The CAMBA trails link seamlessly with the Trek trails and using Mt. Telemark as a base is a mountain bikers paradise. They have gear, food, showers, even a disc golf course for some non-biking downtime. The Trek trails also seem to be ever-expanding, it seems as though there are new trails every time I go there. Additionally there is a trail type for all riders. Whether your jam is easy flow, XC, technical downhill, fast flow or downhill jumplines, they have you covered. Being from Minnesota I have a soft spot for Cuyuna, but I have to admit, the CAMBA/Trek trail systems take the cake for me. There is also lodging right at Telemark if you want to stay there for a weekend of fun.
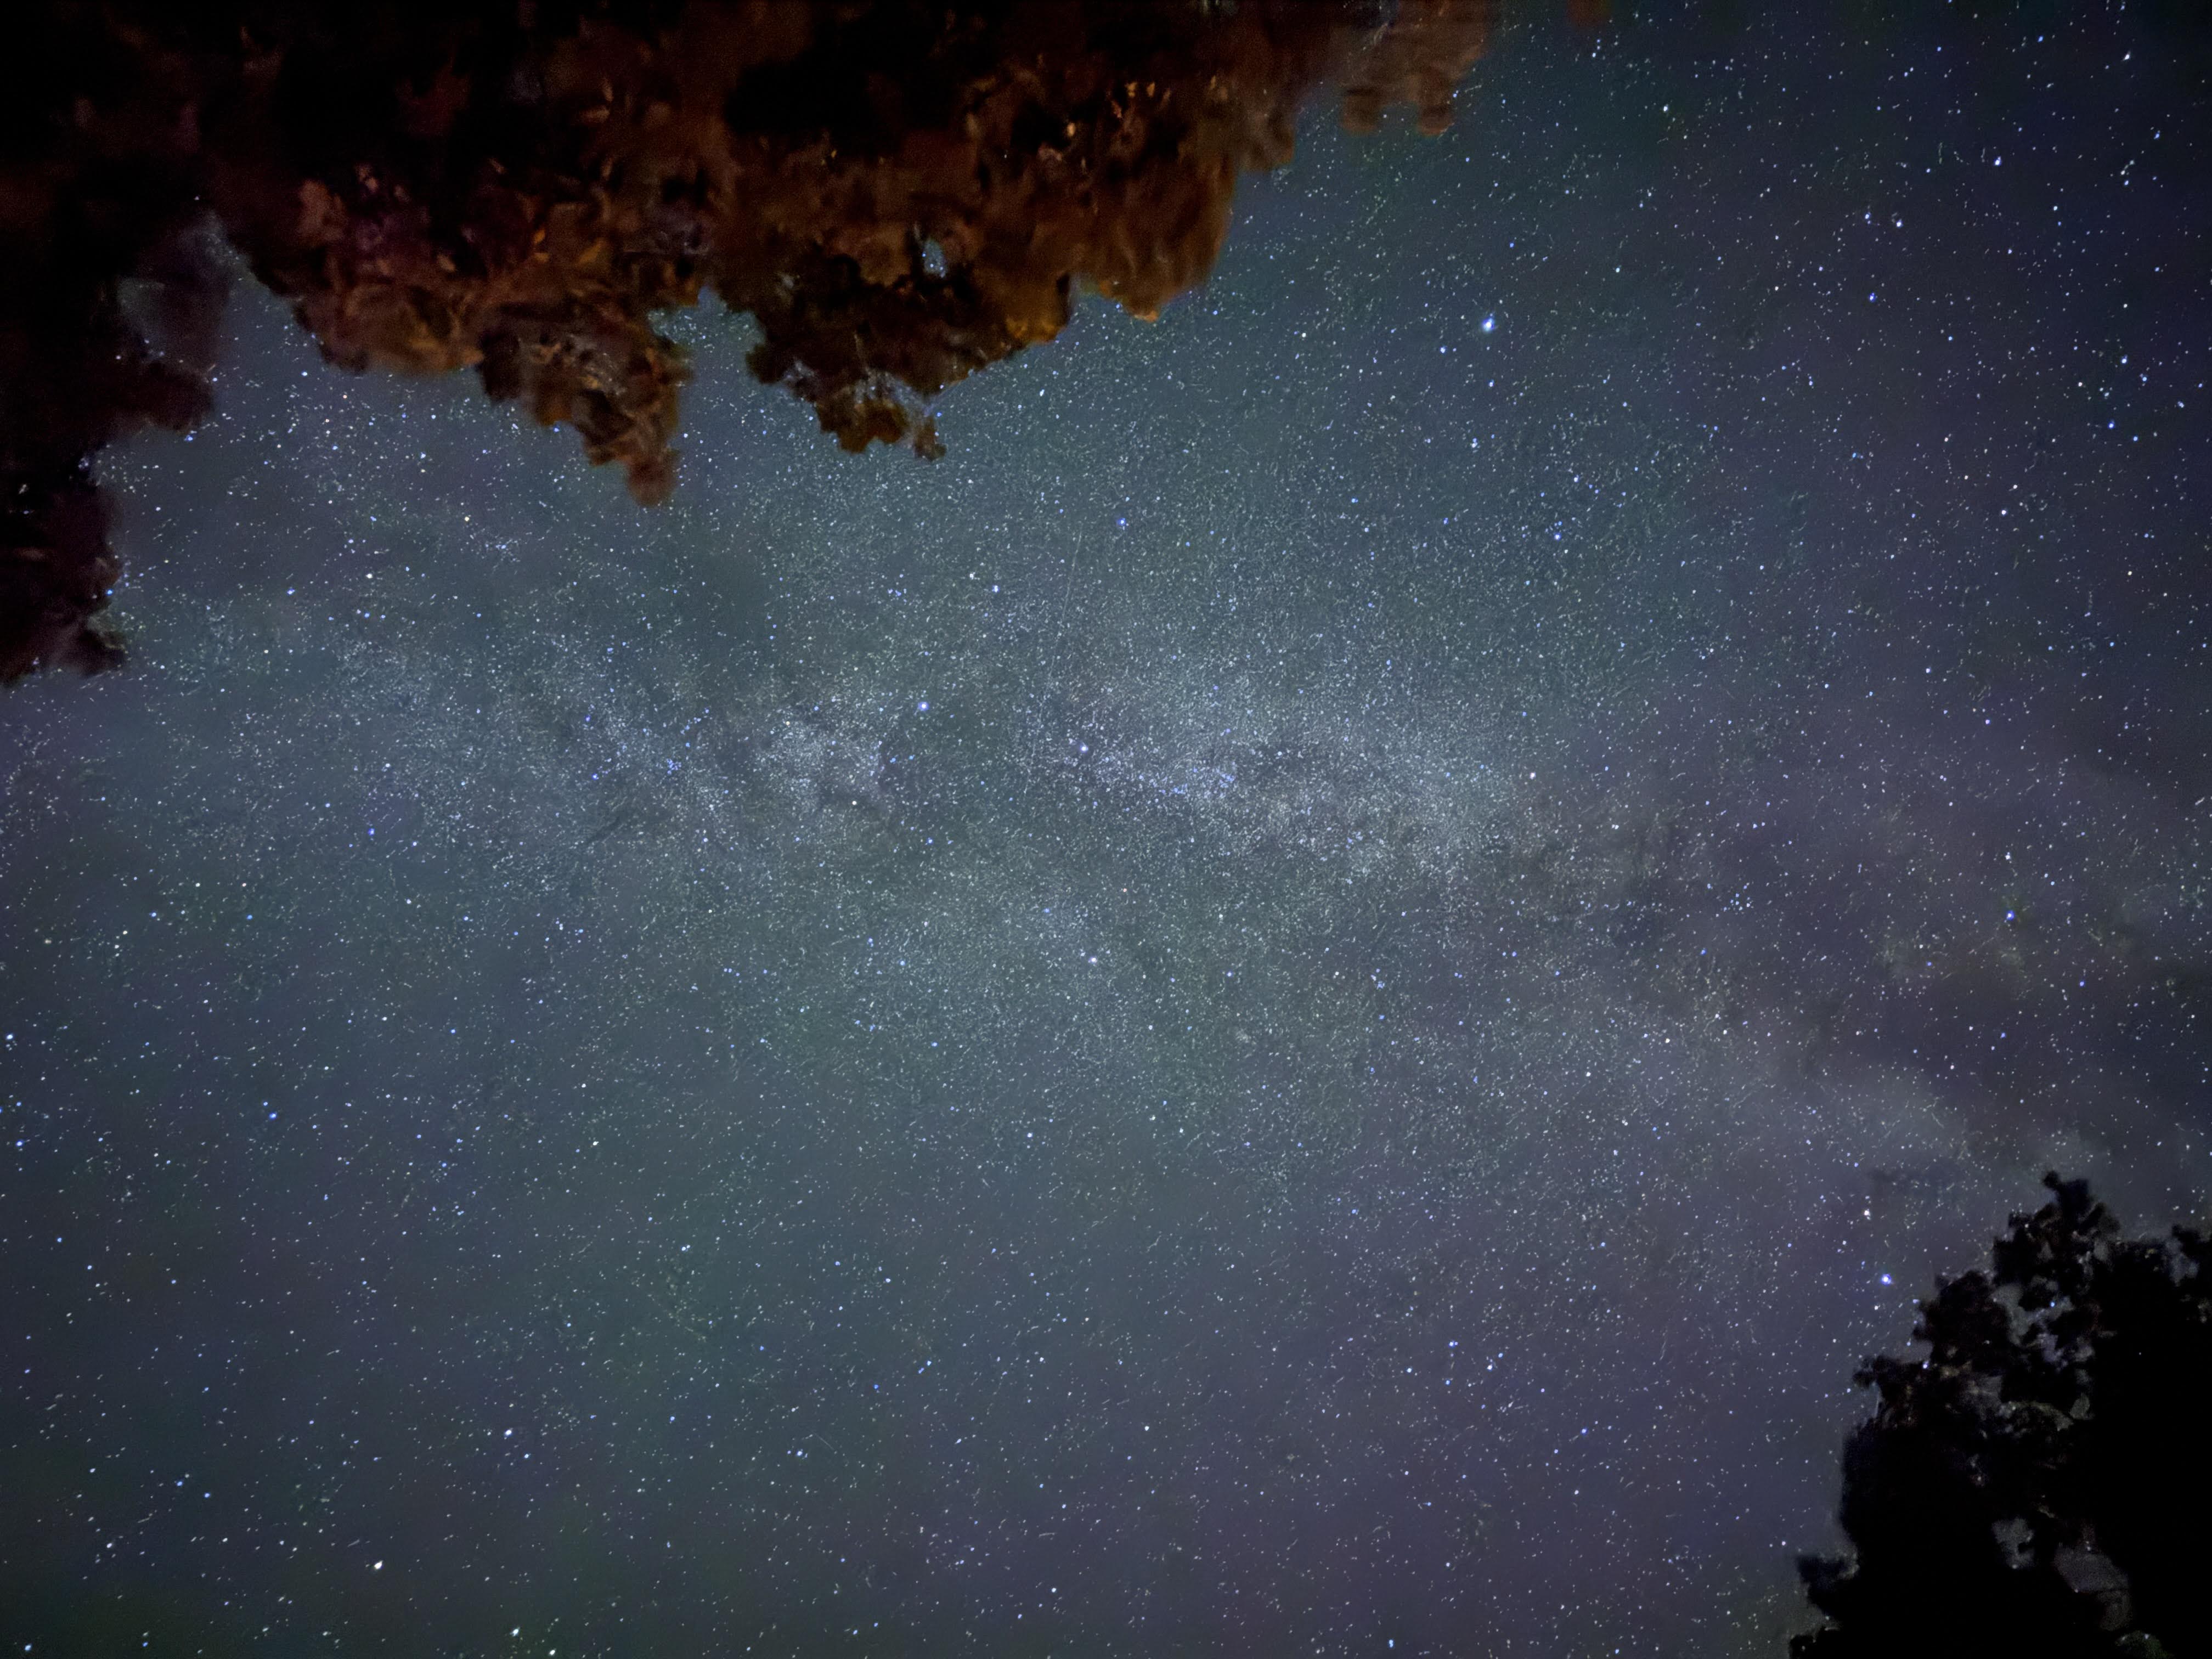
One of the best parts of spending some time “up north” is the nighttime skies. Far from light pollution the sky lights up and shooting stars are common. With a few setting changes, even a smartphone can take incredible images, even being able to see the Milky Way.
 Trail Turtles