Tag: adventure

  • Chequamegon MTB Prep

    The 2026 edition of the Chequamegon (pronounced shwah-meh-gun) mountain bike festival is a little over one month away. So if you haven’t started training now is a good time! This will be my third time riding the event and it is my favorite event of the year. There is something unique about Chequamegon. Maybe it is the atmosphere, but honestly, the same type of atmosphere happens at Lutsen and other events too. Maybe it is the rich history.
    Chequamegon

    The Cheq40 was started over 40 years ago when this type of bike race was unheard of. The American Birkebeiner Nordic ski race was already well established as one of the premier ski races in North America and Telemark employees thought an off-season bike race to draw tourists to the area. The point to point 40+ mile bike race starts in Hayward and ends at the American Birkebeiner Trailhead at Mt. Telemark outside of Cable, WI. This is the opposite direction of travel that the ski race follows but much of the race takes place on the ski trails, more on that later. While the first edition of the race only had 27 riders, a typical year now sees close to 3,000 participants. Another cool thing about this race is the elite field. The Cheq40 is one of the stops on the Lifetime Grand Prix tour, so it sees the best off-road cyclists in the world. What makes it truly unique however, is that the pro/elite group starts after everyone else. This format means the finish line is filled with participants who have already finished the race and get to see the mad dash of the pros. 
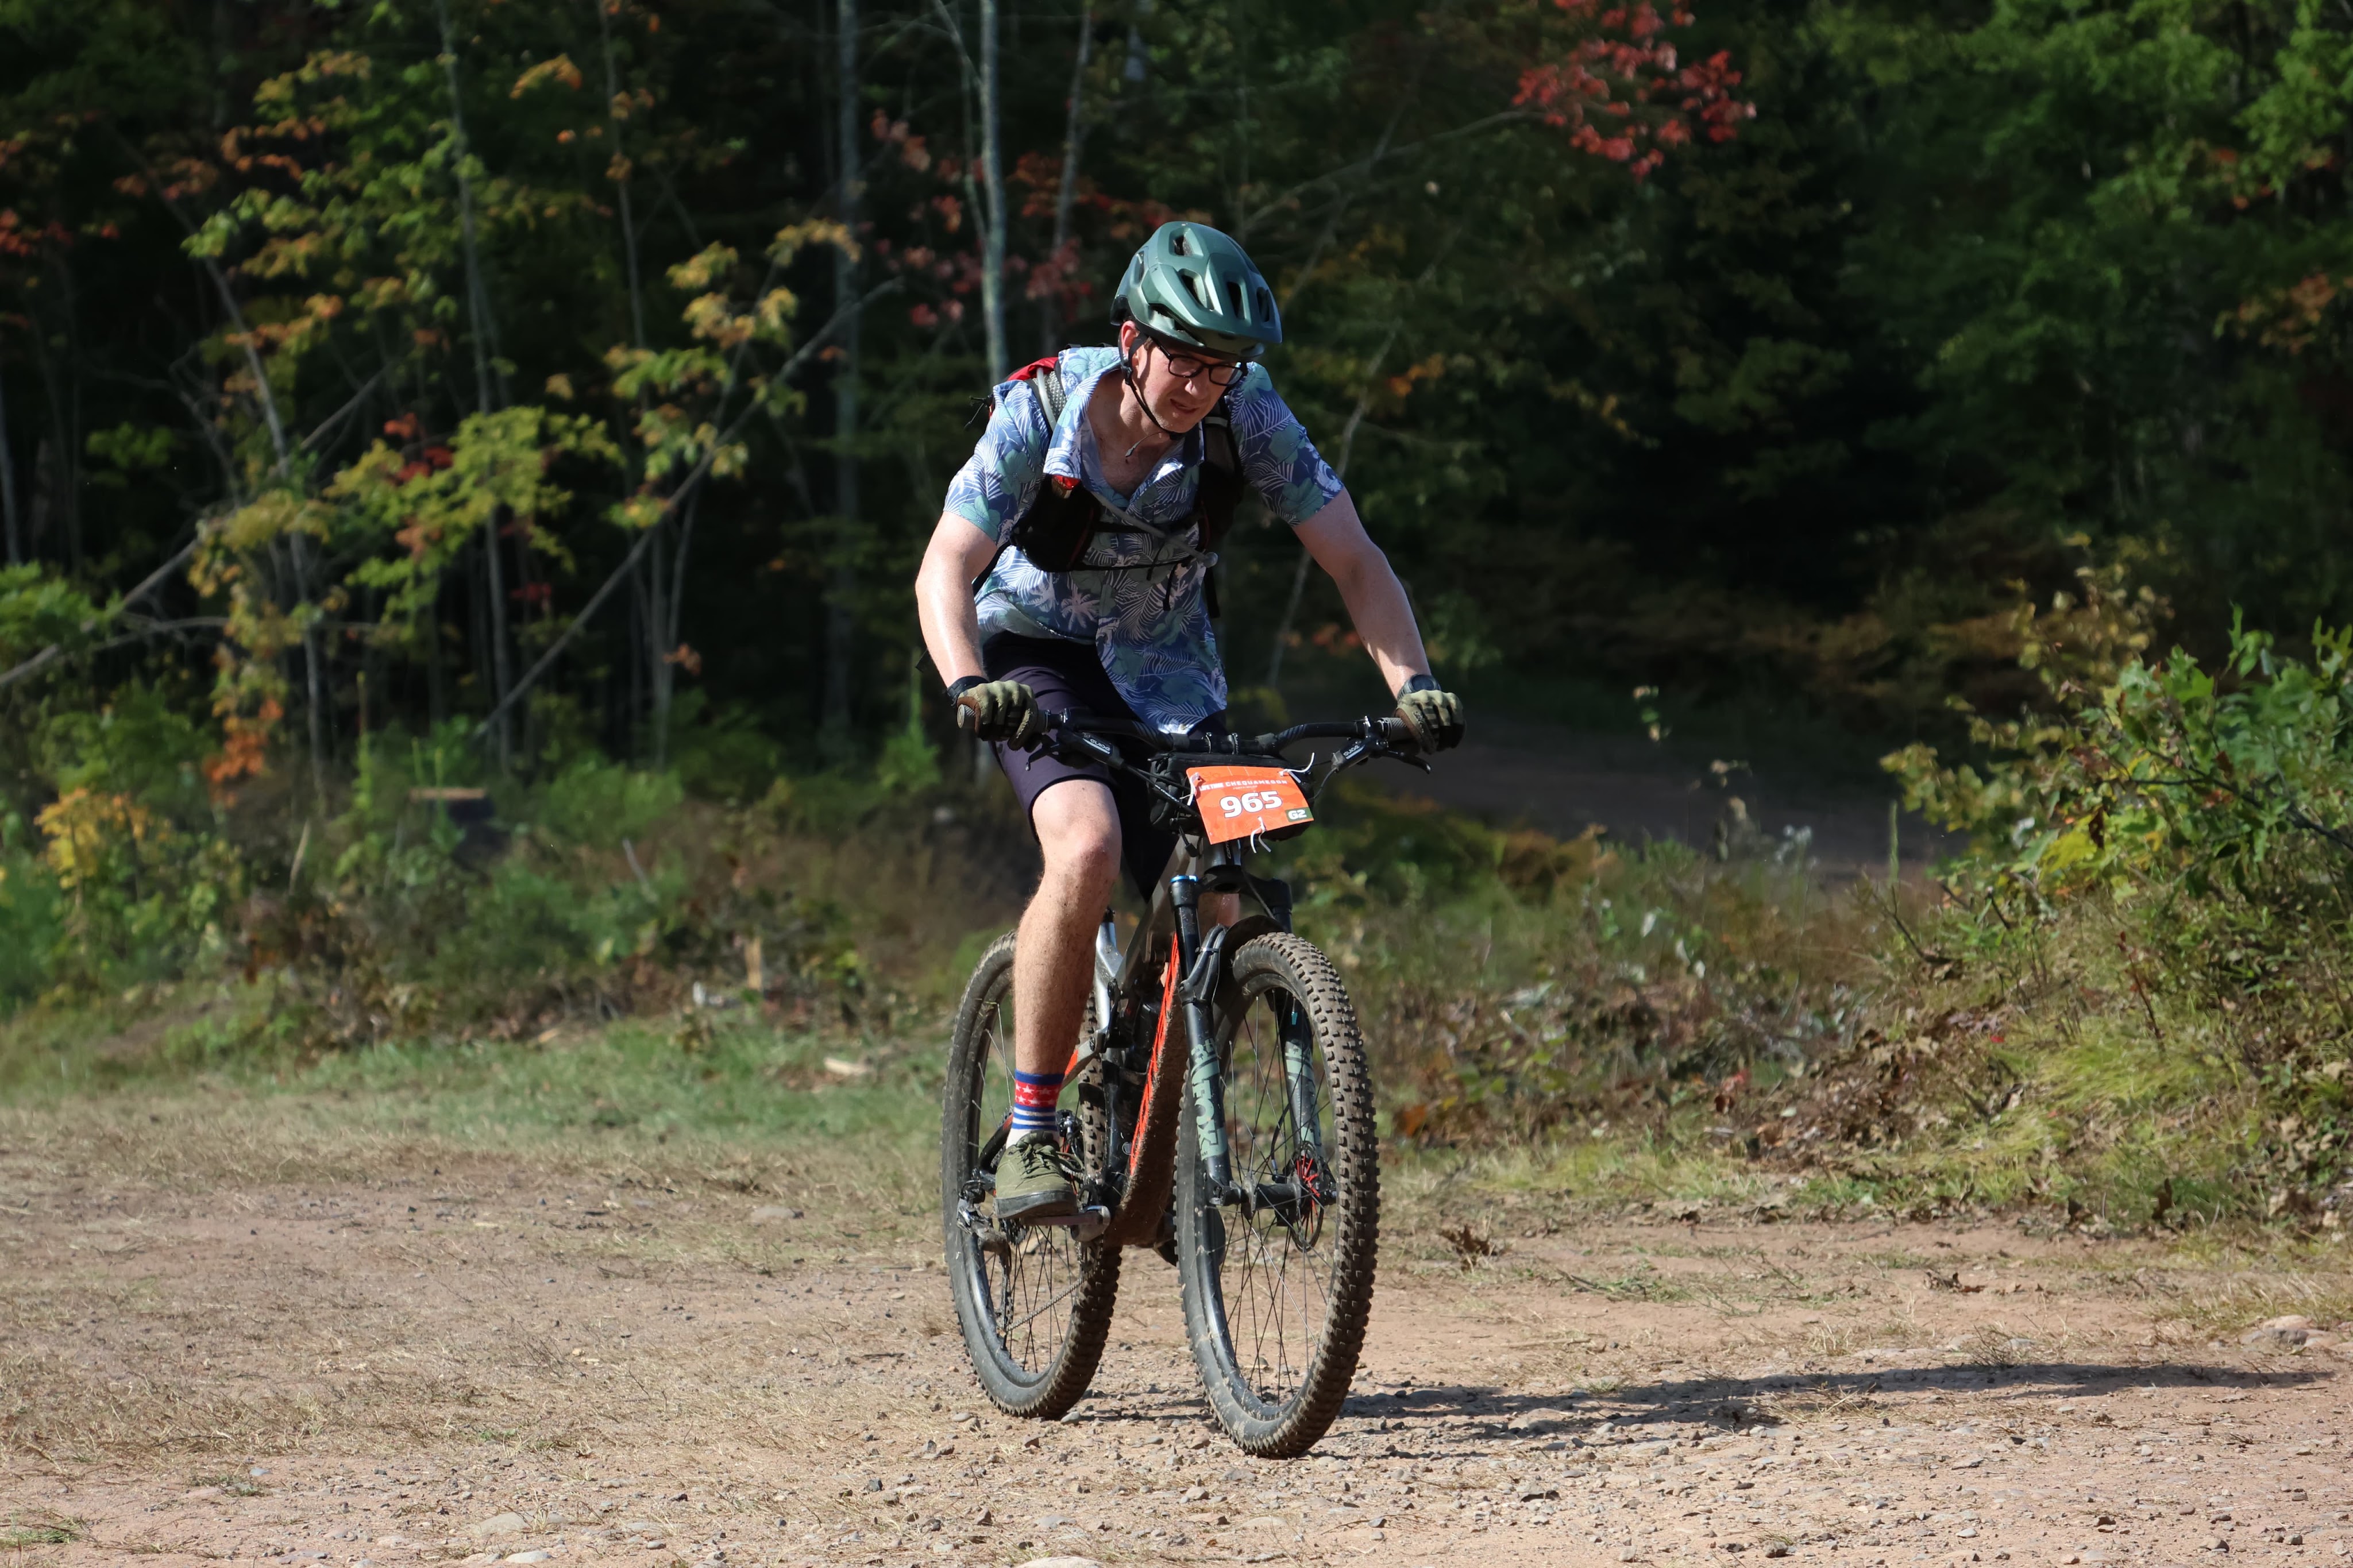
    So how to prepare for this race? On the surface 40 miles (its actually more like 43) is not a long race, many of us go on much longer bike rides than this, sometimes multiple times a week. Even though the length is not bad, I still consider this right up there in difficulty compared to the Lutsen 99er. Now some people might think that is a crazy statement, let me explain. I think it comes down to two main factors: the short course mentality and the track. For me at least the short course is where it starts, because it is shorter than say the Lutsen 99er, I automatically think it will be easier, that I can go faster and generally just “get after it” more than a longer race. This feeds directly into the second part. Remember when I said much of the race takes place on the Nordic ski trails? In the summer, those ski trails are just grass. The ski trail is approximately 15 feet wide of mowed grass, and usually a small ribbon of single track. What this presents to the mountain biker is a long line of riders in the singletrack, taking advantage of the speed and less effort. BUT, there is a huge temptation to get out of the singletrack and pass/ride a bit more freely on the grass. While this may be warranted in some cases, it can be part of your demise as well. You won’t notice it for many miles, but riding in the grass takes a lot more effort than riding on dirt. By the time you get to the firetower climb and the three sisters climbs after that, your legs will certainly let you know how much time you have spent in the grass. In my opinion the single largest factor and strategy for this race is how much effort you spend on passing/riding in the grass versus saving that energy to pound on the gravel sections. If there has been rain and the course is muddy then all bets are off, just try to survive!

    Now back to the prep, as mentioned before, the distance isn’t crazy, so any decent amount of volume training should suffice, BUT, it should also include a fair amount of hill work. There is a lot of climbing at the Cheq40 and you need to make sure your legs are ready for it. As we all know, what goes up must come down, so if you are leary about fast descents, this may also be something to work on. The descents are fast but this is also a time where you can get out of the single track and get a little more elbow room. Yes, you may be a little slower in the grass, but a fast descent is not where I want to be crowded. Also a note on the descents; even if it hasn’t rained, it is likely that the grass will be dewy in the morning. Wet grass and a fast downhill can spell trouble if you aren’t ready for it. I have seen folks slip out and end their race early. 
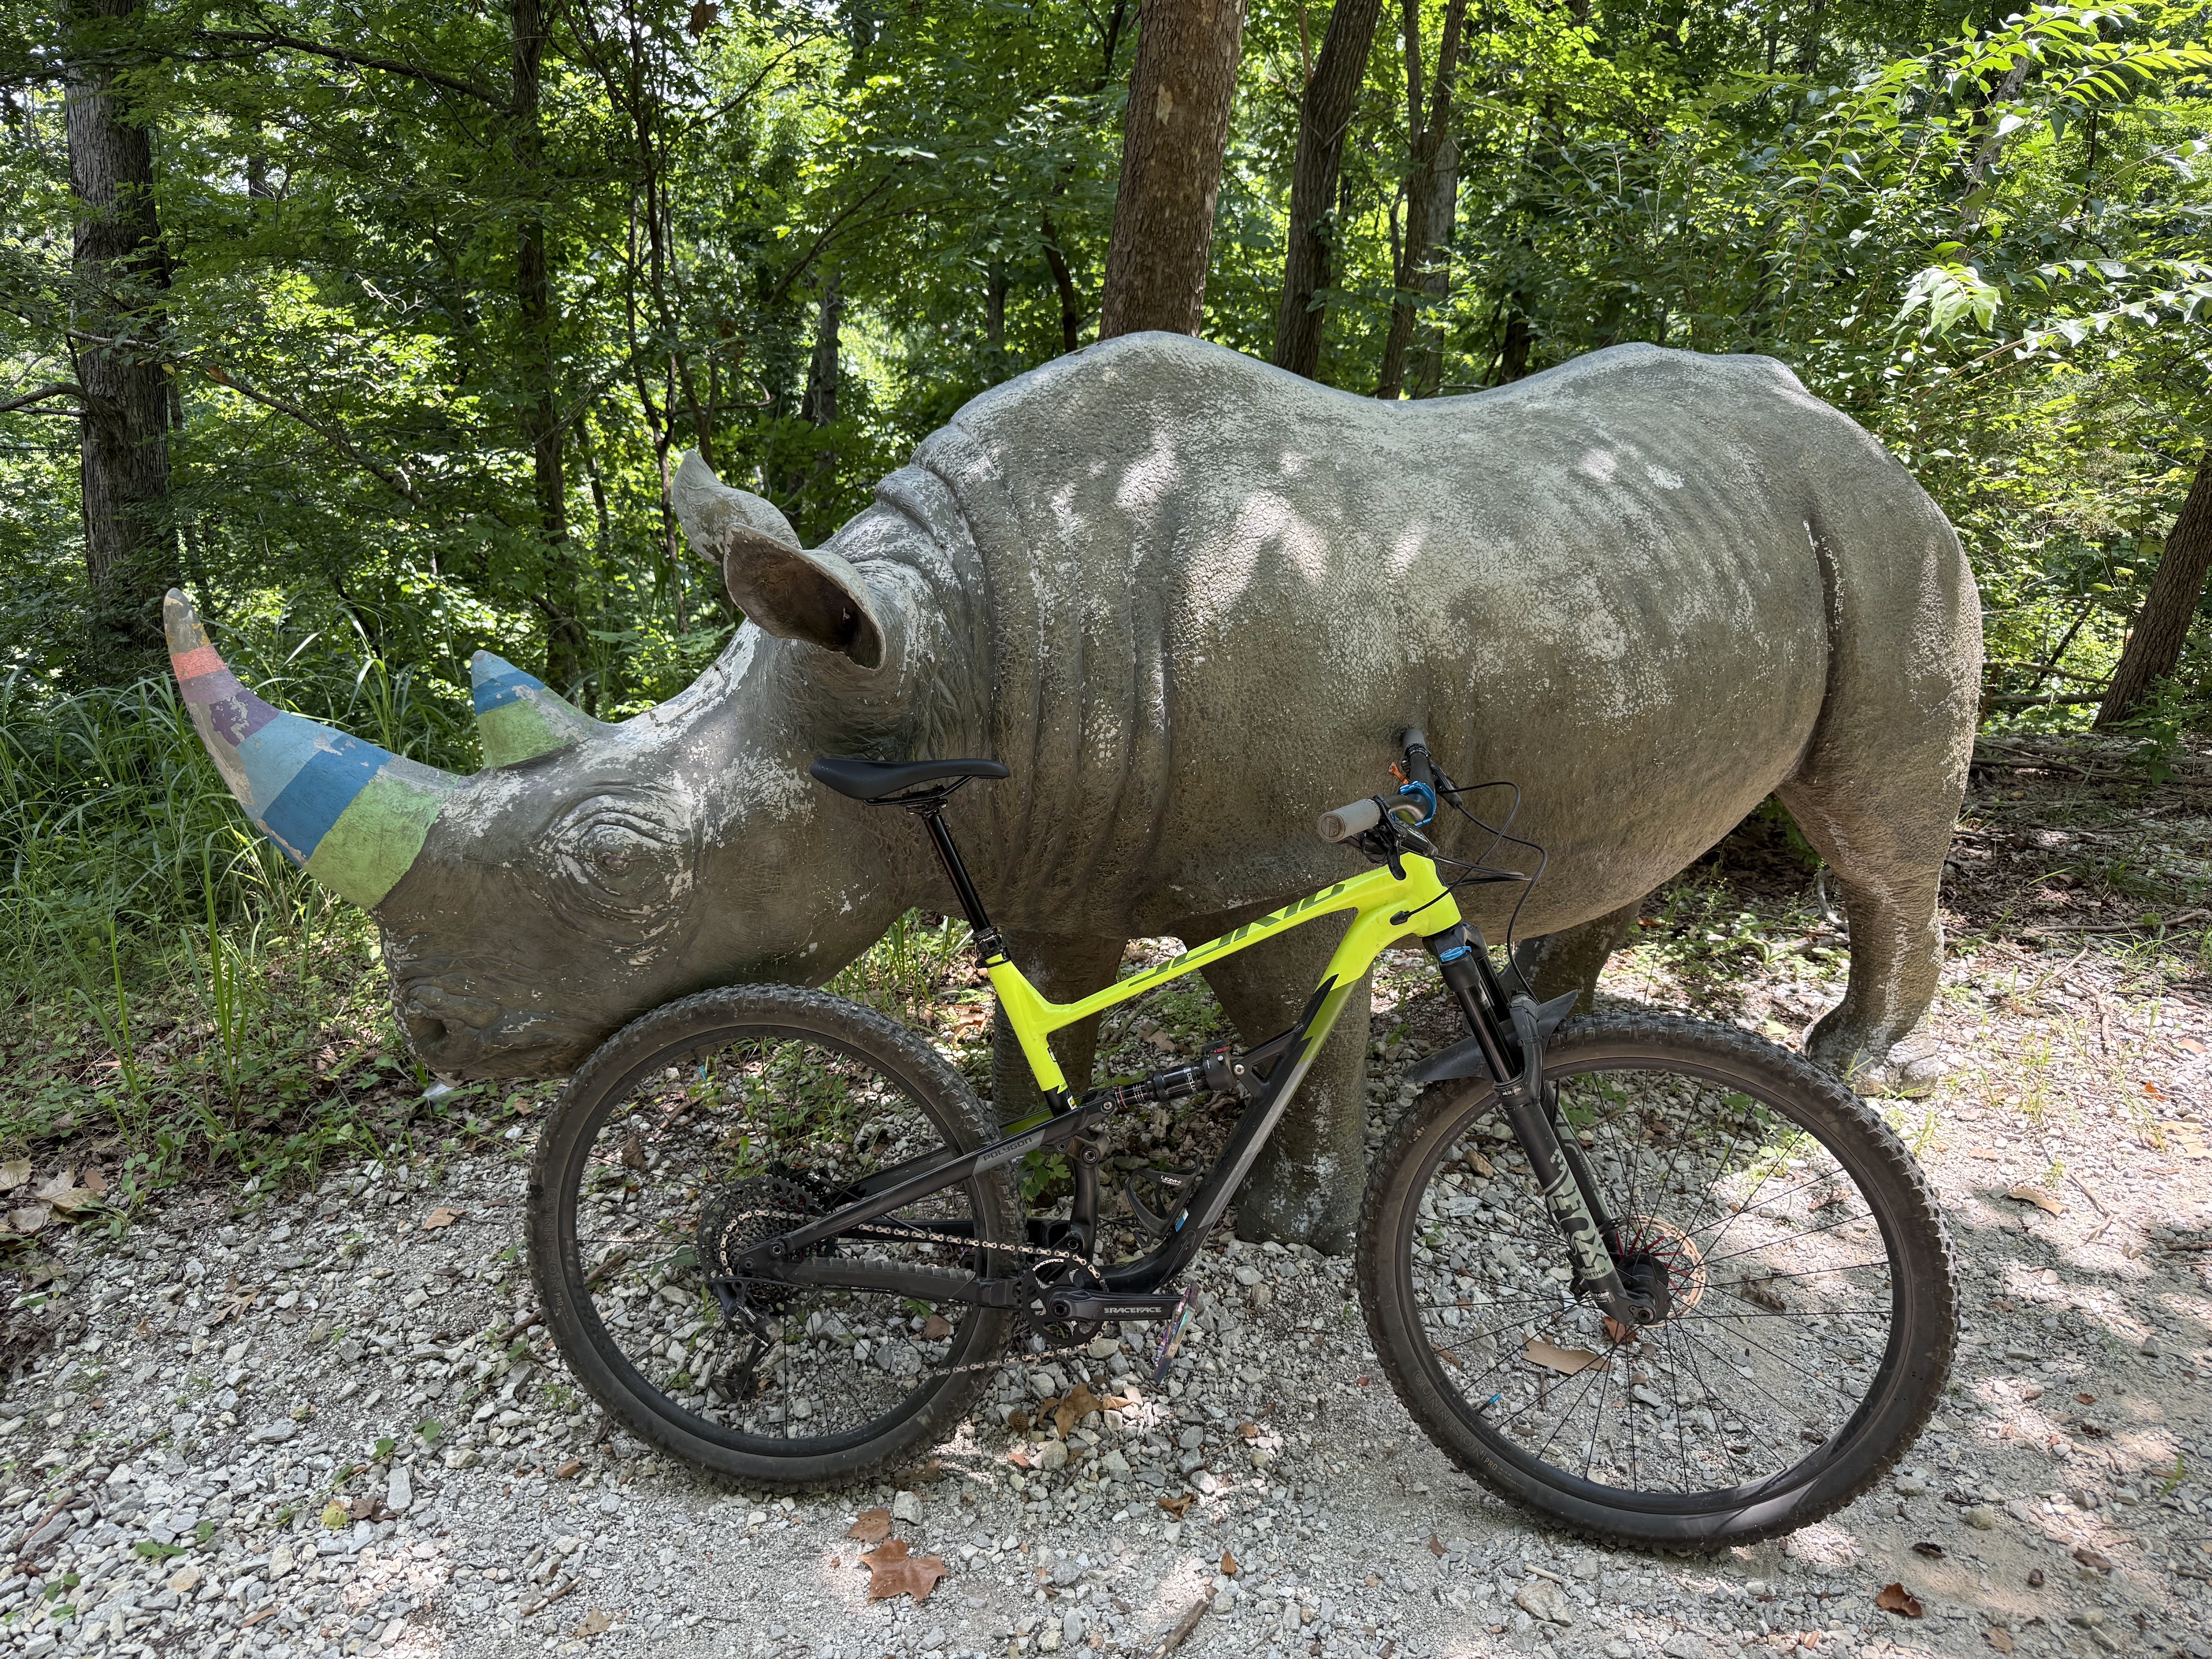
    Let’s talk about gear and equipment and we’ll start with bikes. At the Cheq40, you will see every type of bike, so there really is no wrong answer there. You will see fat tire, drop bar gravel, hardtail, full suspension and everything in between. My preference is a full suspension XC bike. There are enough rough sections that full suspension is nice as it keeps your tires on the ground where they belong. As mentioned there is a lot of climbing, so make sure your bike can climb. Choosing a huge travel downhill bike might lead to a long day. My bike this year is a full suspension XC/downcountry bike that has 130mm front travel and 120mm rear travel, with 29” wheels. Don’t feel as though you need the best bike out there to take on this race. My bike is the Polygon Siskiu D7, not a fancy bike by most people’s standards, but I love it. There are a few longer sections of gravel where I’ll reach down and lockout my shock and fork, I only do this a couple times so remote lockout isn’t needed at all, but if you already have it, more power to you! 

    Moving on to tires, this will probably spark more debate than anything else. I prefer a faster rolling, narrow (by todays standards) XC tire. My preferred choice is the Vittoria Mezcal in 2.25”, Other options may include Schwalbe Racing Ralph, or Maxxis Rekon. Regardless of tire choice I recommend a tubeless setup, but of course I always carry a spare tube with me for emergencies. 

    There are other equipment choices that are important too. Your choice of shoes/pedals is one of these. Most important is to ride what you are comfortable with, if you have never ridden “clipped in” don’t start now. But if you are totally comfortable with it, then go for it. As mentioned there are some gravel sections and lots of climbing where being firmly attached to your bike can help. My only caution is that there are also steep climbs like the aforementioned firetower climb. There are not a lot of riders who make it up this climb without walking, so just be prepared to unclip. I have done this race on flats and clipped in and don’t have a strong feeling either way, this one comes down to a comfort level of the rider. 

    Lastly, we can touch on nutrition and hydration. There is enough at aid stations to get you through the race, but if you aren’t wanting to stop then you will need a hydration system or bottles. While I like to keep stuff off my back when possible, this is a race where I prefer a backpack hydration bladder. It keeps my hands on the handlebars as much as possible, 2 liters is enough for the ride, and I don’t have to worry about losing water bottles. There are a few downhills that are a little rowdy, and as you will see, it will look like a water bottle graveyard. Whenever I pass these spots I feel bad for the folks who lost one of their bottles for the rest of the ride. If you will be using bottles, make sure your cage holds it tight in rough sections. I have used the same hydration pack from Amazon for many long races and thousands of miles and it has held up remarkably well, the only change I made was to replace the stock bladder with a Nathan bladder. These items can be purchased from Amazon by clicking the links below, note that if you click and purchase I may get a small commission at no cost to you. 
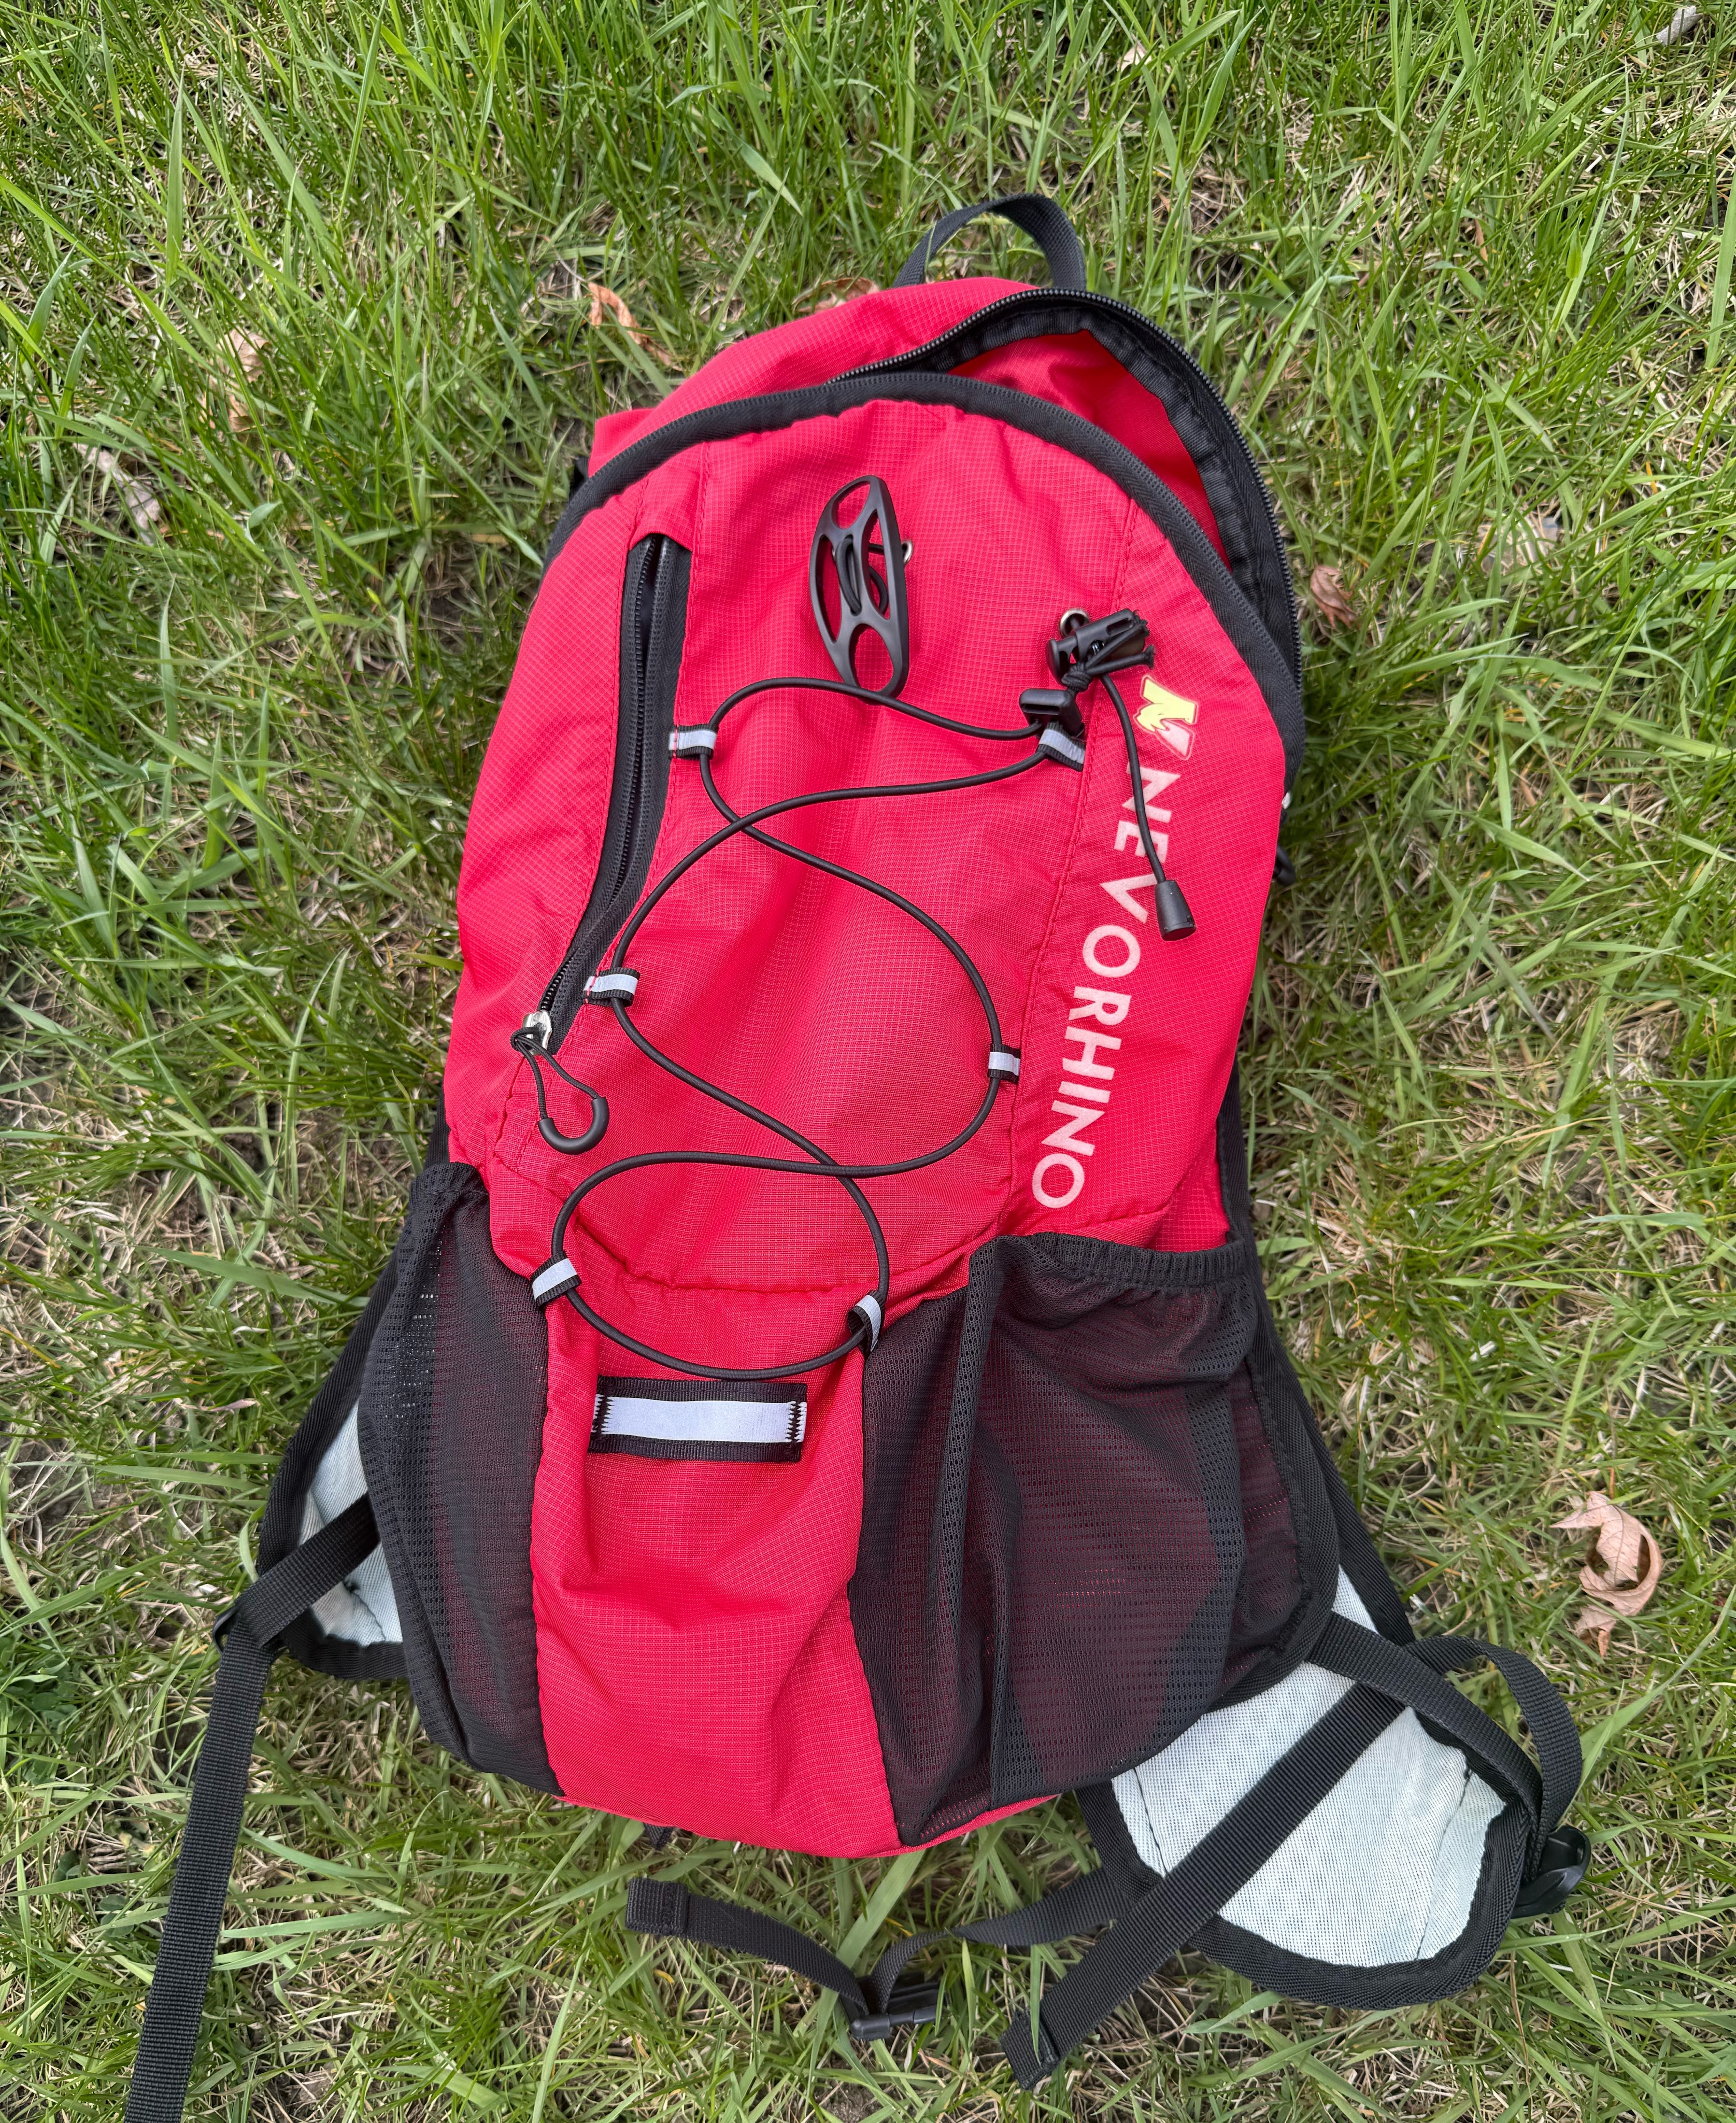
    N Nevo Rhino Pack

    Nathan Hydration Bladder

    For a detailed post on what I use for nutrition and hydration on long rides check out this blog post: Next Level Hydration and Fueling – Trail Turtles 

    The most important thing to bring with you to the Chequamegon Mountain Bike Festival is a good attitude. Whether you are chasing a PR or a finish, you will experience nothing like this event. Have fun and keep pedaling!
  • “Up North” Wisconsin

    Early August is a wonderful time of year, while the summer feels like it is getting long, there is still so much time left to have fun. In northern Wisconsin, the weather is typically around 75 to 85 during the day and cools off to a wonderful mid-60’s at night. For my family, early August means we gather on the shores of the Chippewa Flowage near Hayward for a week of camping and fun. For over 20 years now the tradition remains, with extended family from my wife’s side making the pilgrimage from Wisconsin, Minnesota, Colorado, California and Arizona. 

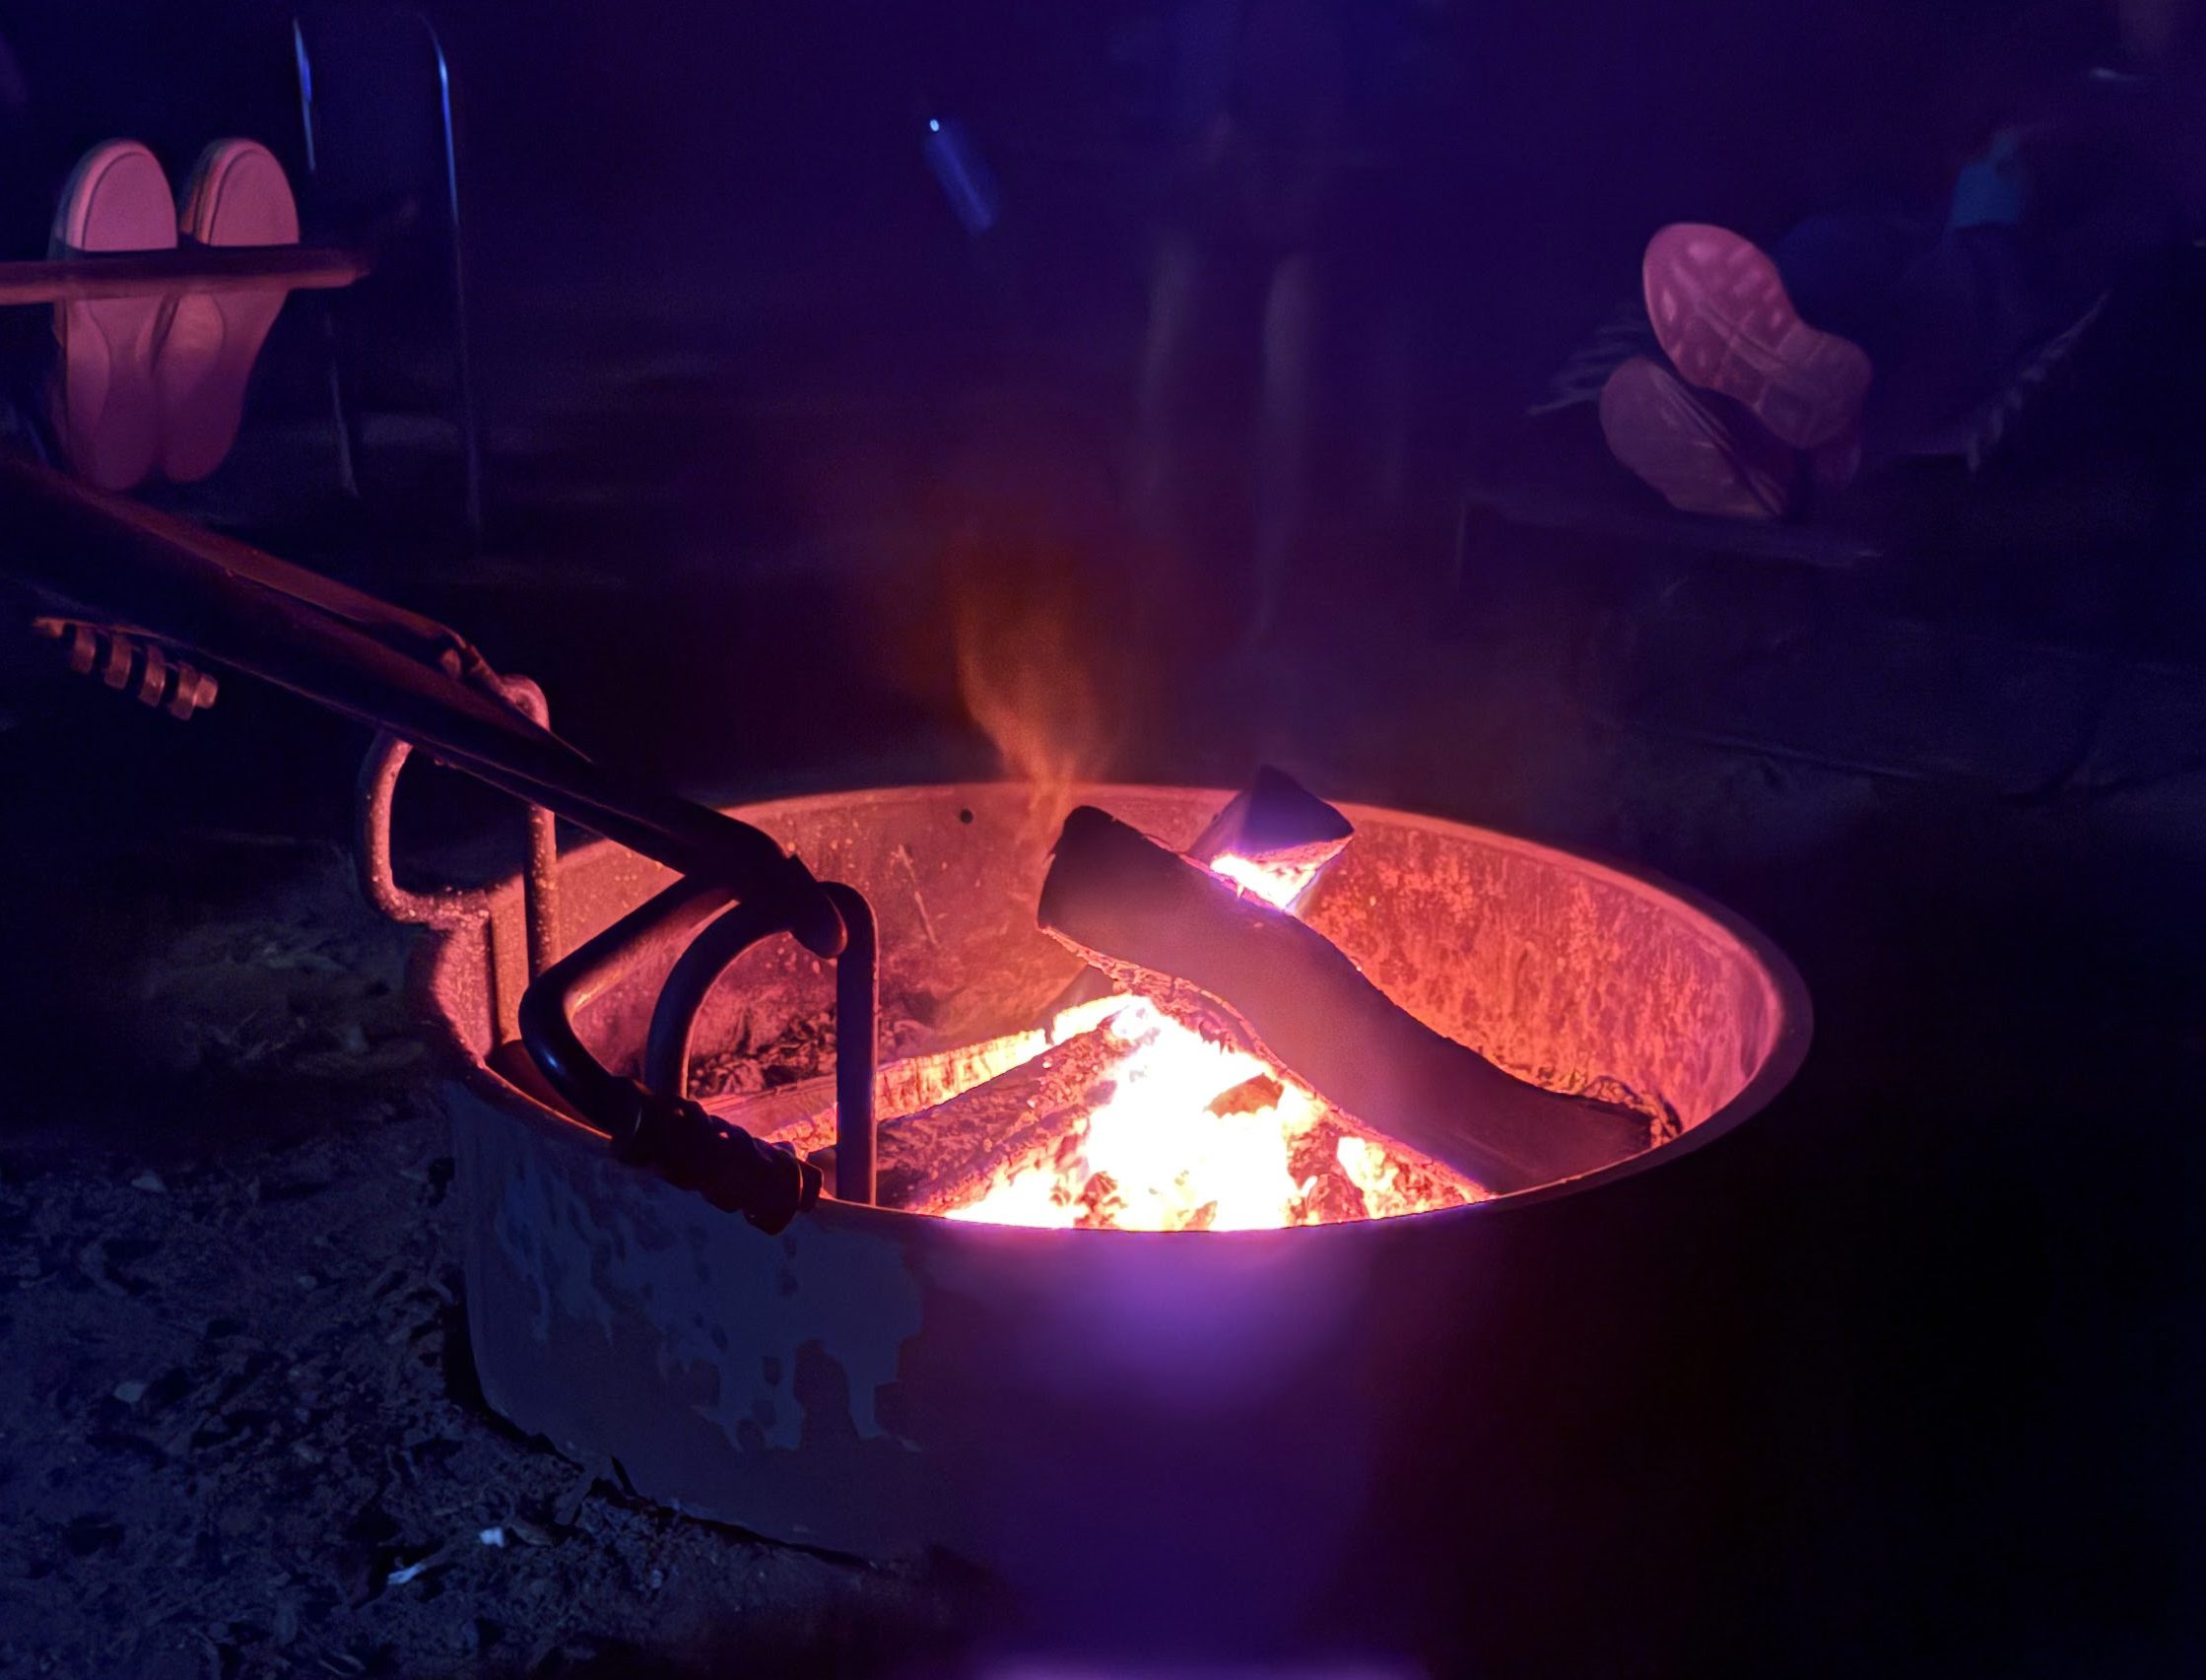
    Campfire

    The activities are varied, of course we have typical camping go-to’s such as campfires, stargazing and cornhole, but our location also provides several other opportunities. These include paddleboarding, mountain biking, water sports and even sneaking in some pickleball at a nearby resort. Whatever your activity preference is, you can find it in northern Wisconsin, and no I am not sponsored in any way by the Wisconsin tourism department, although if you are interested let me know! 

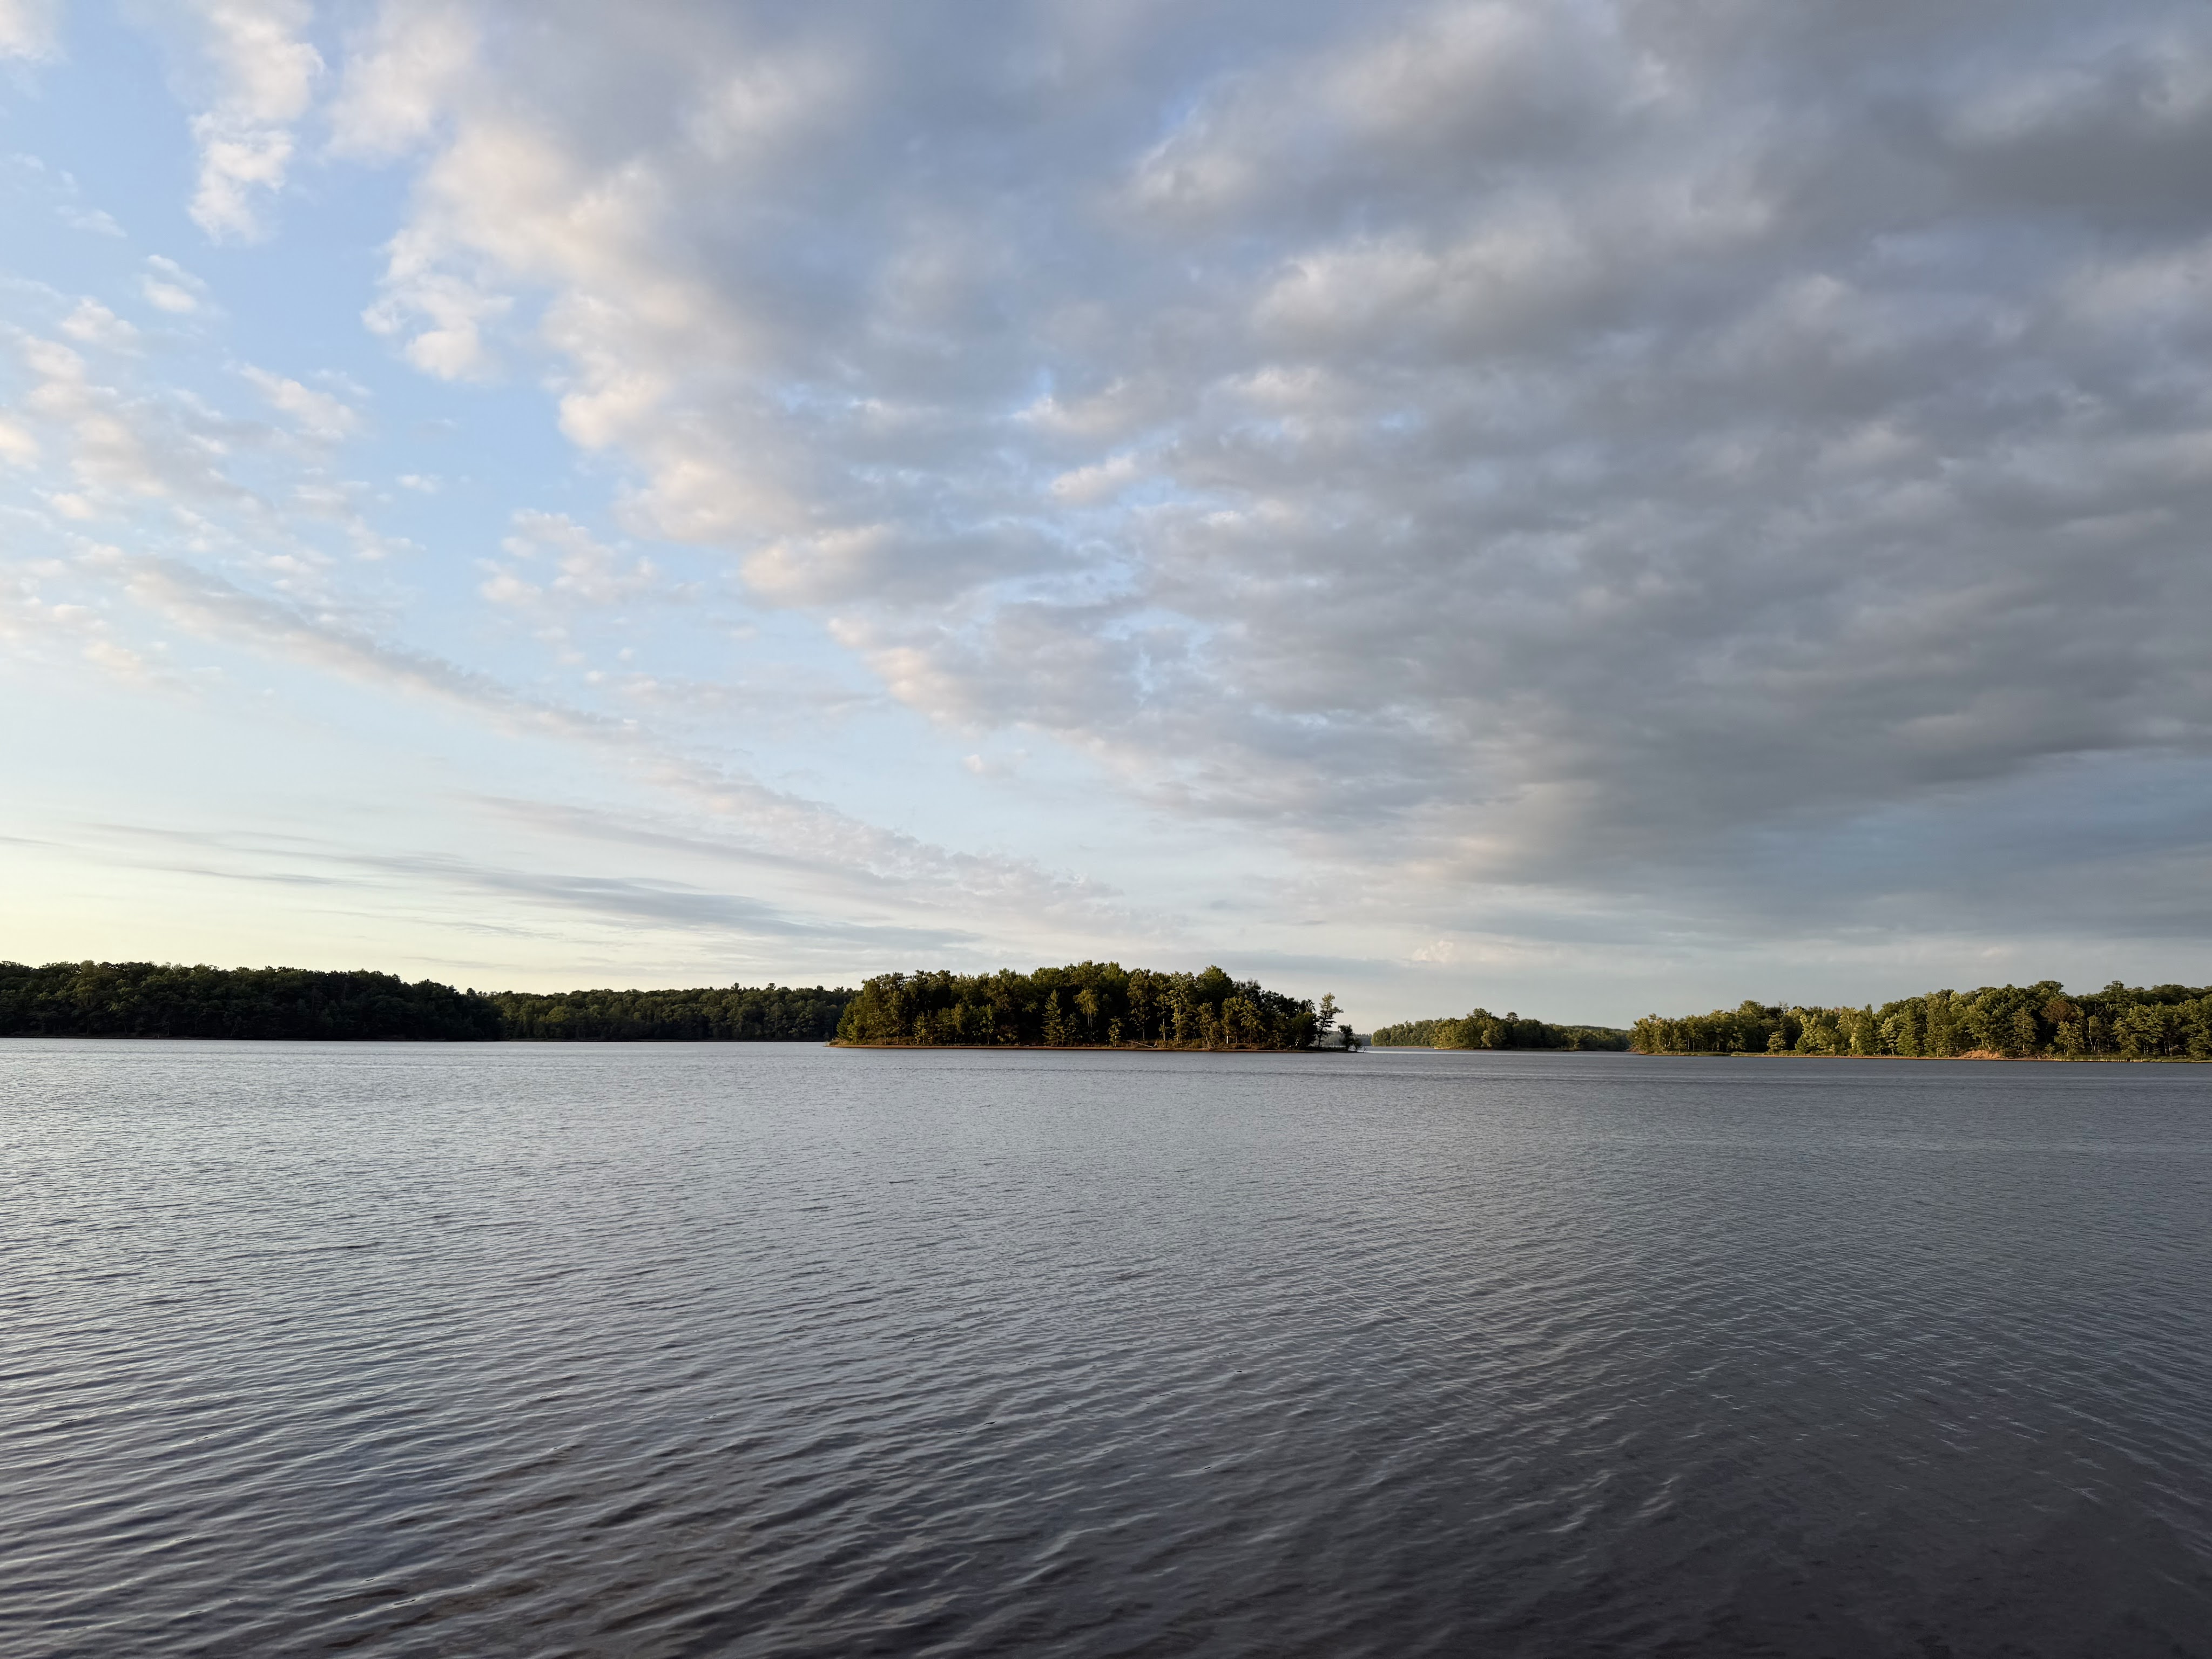
    Let’s start off with a little paddleboarding. As mentioned we camp on the shores of the Chippewa Flowage, also called the Lake Chippewa. This body of water was created when the Winter Dam was completed on the Chippewa river in 1923. The result is the 3rd largest lake in Wisconsin and is littered with coves, islands and floating bogs. If you are planning on exploring the lake in a motor boat, be sure to have a good map or GPS as it is easy to get lost. For paddleboarding you rarely get out far enough for this to be a problem, but prudence should still be used. With all the coves and islands, this lake is a bit more forgiving of wind. While it can still whip up some whitecaps, there is usually a shoreline or bay that can be explored.

    Lake Chippewa

    The paddleboard that I have is an inflatable, with 3 smaller built in keels. Like all sporting goods equipment choices there are personal preferences and trade-offs and SUP’s are no different. Rigid or inflatable and removable or fixed keels are probably the two biggest decisions. I am not an avid paddleboarder, which no doubt alters my choices. For me the number one concern is ease of use. For me, this means I can easily pack the board and nothing is forgotten or lost. An inflatable rolls up and fits in a large pack with the take down paddle and pump all in one bag. Also, since the keels are built in, there is nothing to forget. I have used someone else’s board when the keel wasn’t installed and it is not fun. Because I don’t paddleboard everyday or even every month for that matter, the time it takes to inflate a paddleboard is also a non-issue for me, it is all part of the experience for that event. 

    Now for a little mountain biking. Northern Wisconsin has a ton of it! Since my hub was at Lake Chippewa, I was mostly exploring the CAMBA (Chequamegon Area Mountain Bike Association) system and the Trek trails that surround the Mt Telemark area near Cable. The CAMBA network covers over 135 miles of single track spread out over the Hayward to Cable stretch and also includes a section further north at Mt. Ashwabay.

    Trek Trails

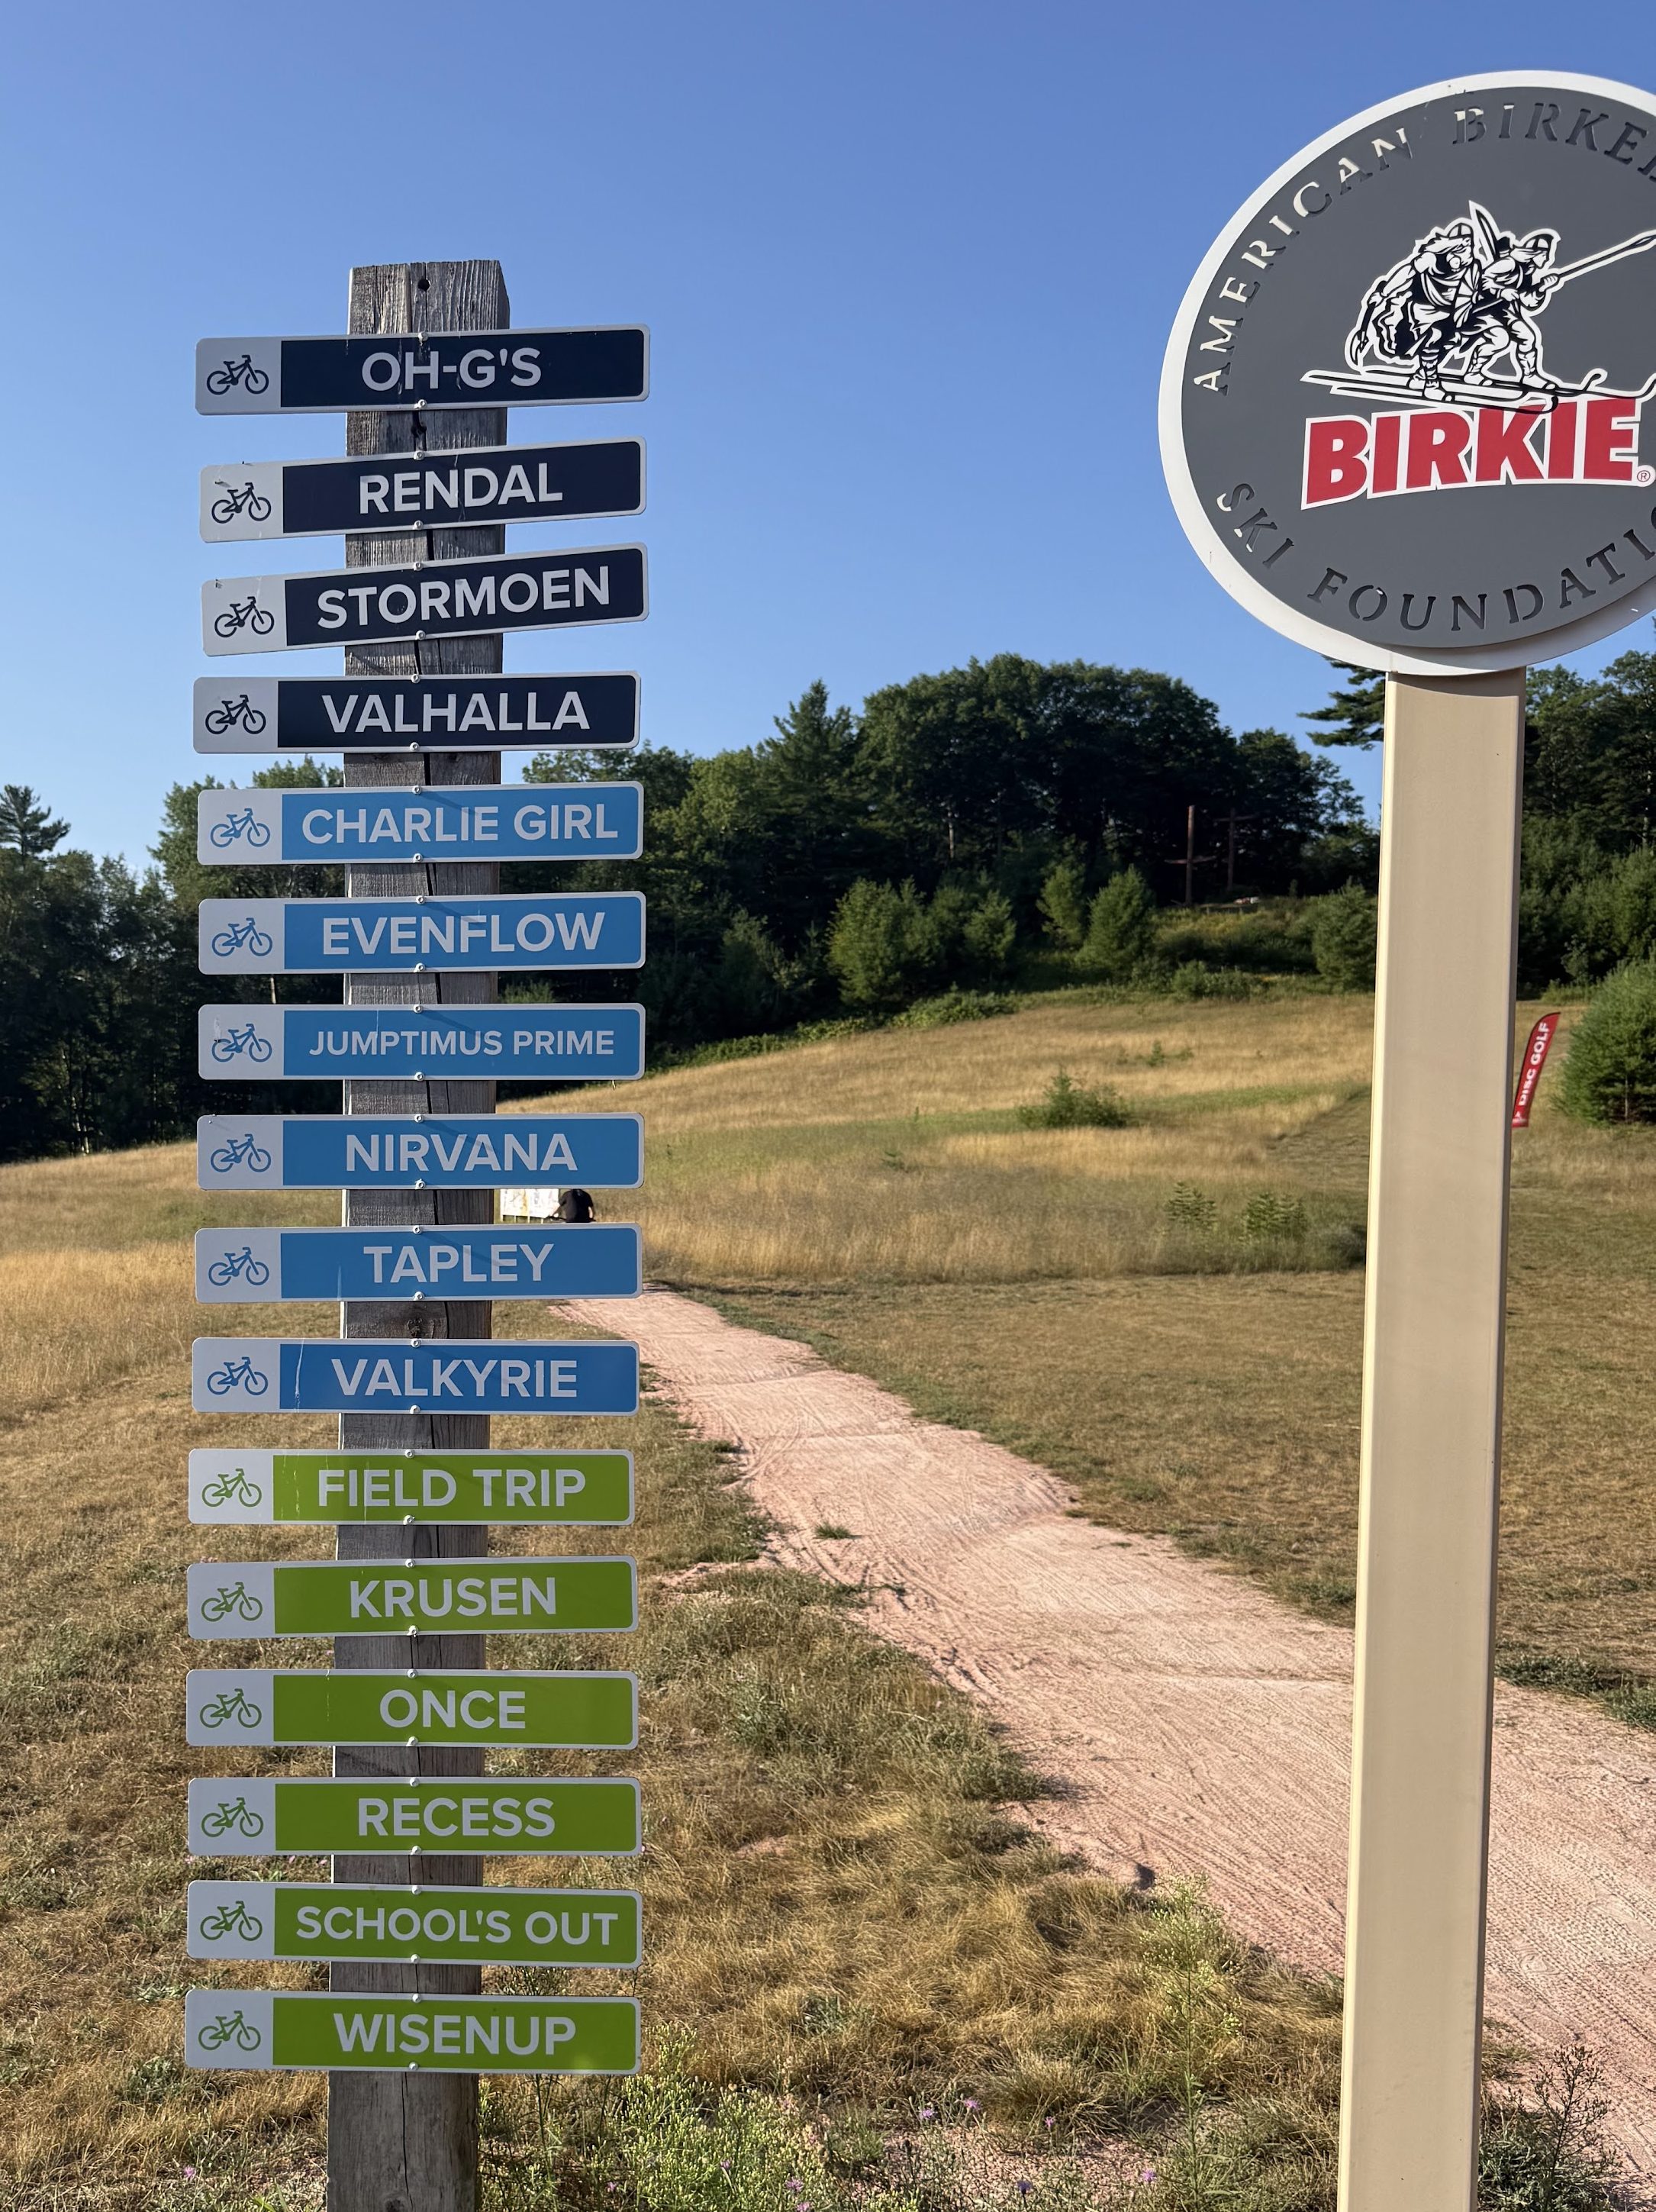
    The CAMBA trails link seamlessly with the Trek trails and using Mt. Telemark as a base is a mountain bikers paradise. They have gear, food, showers, even a disc golf course for some non-biking downtime. The Trek trails also seem to be ever-expanding, it seems as though there are new trails every time I go there. Additionally there is a trail type for all riders. Whether your jam is easy flow, XC, technical downhill, fast flow or downhill jumplines, they have you covered. Being from Minnesota I have a soft spot for Cuyuna, but I have to admit, the CAMBA/Trek trail systems take the cake for me. There is also lodging right at Telemark if you want to stay there for a weekend of fun. 

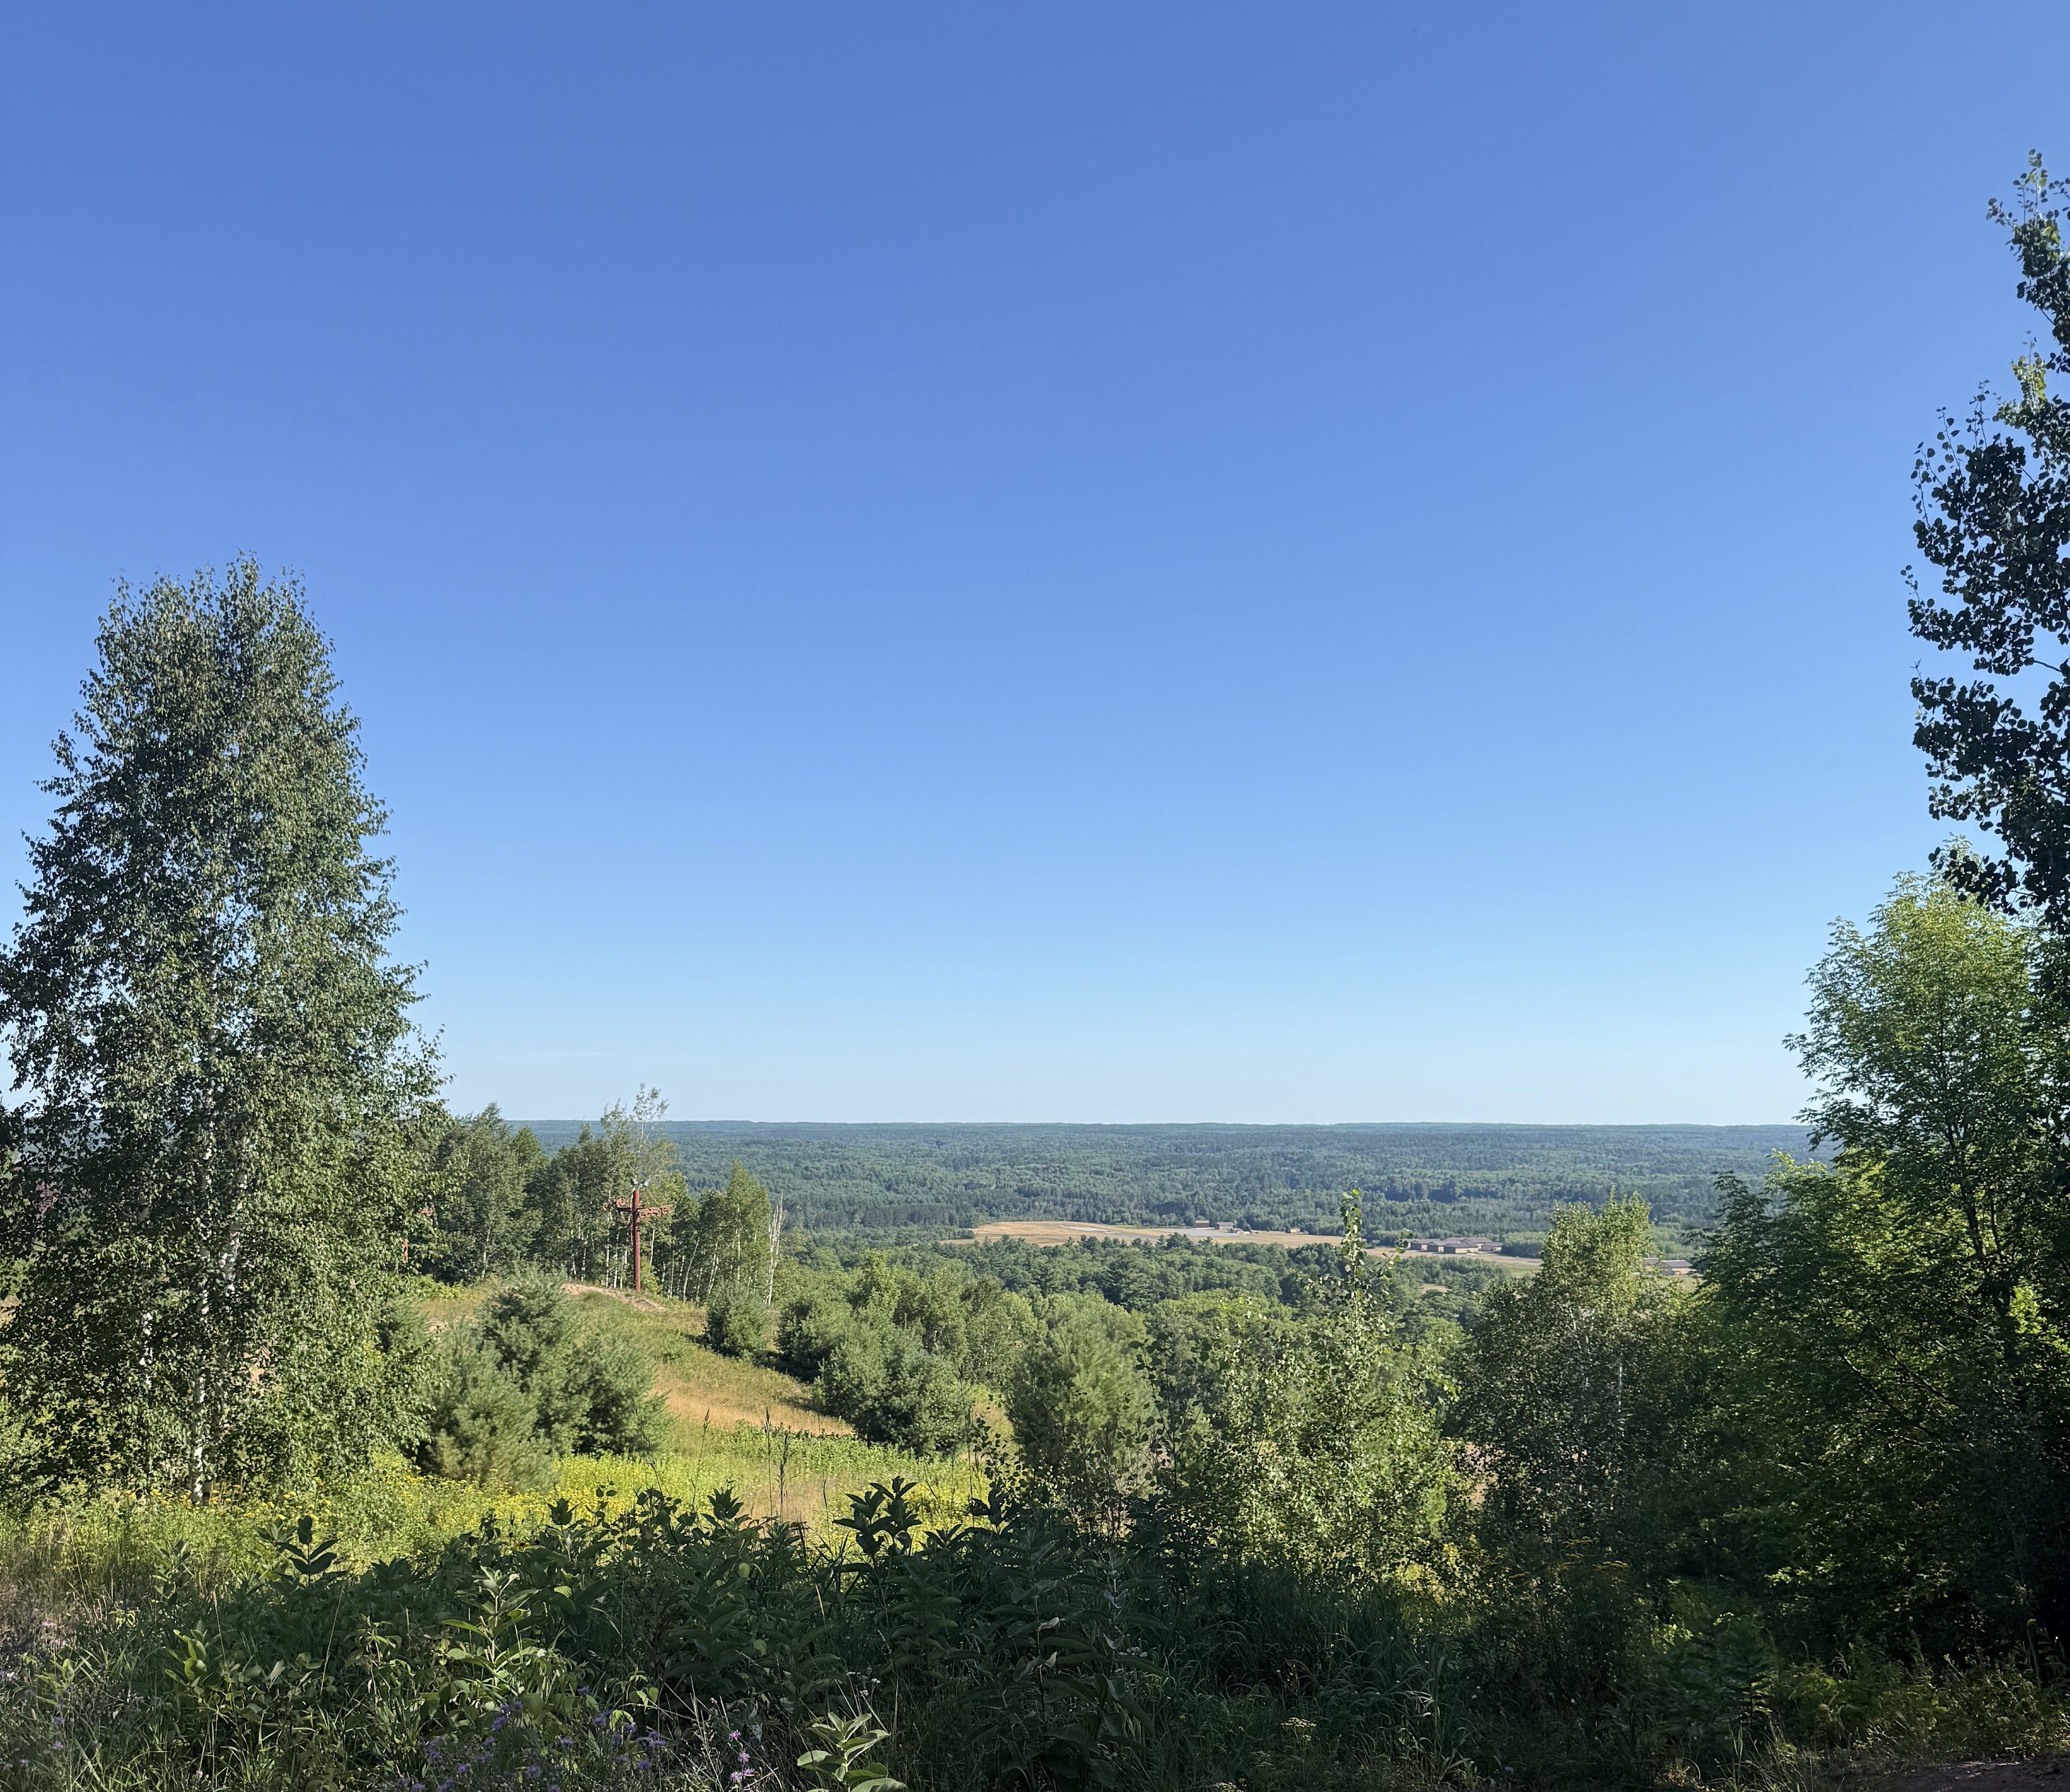
    Mt Telemark

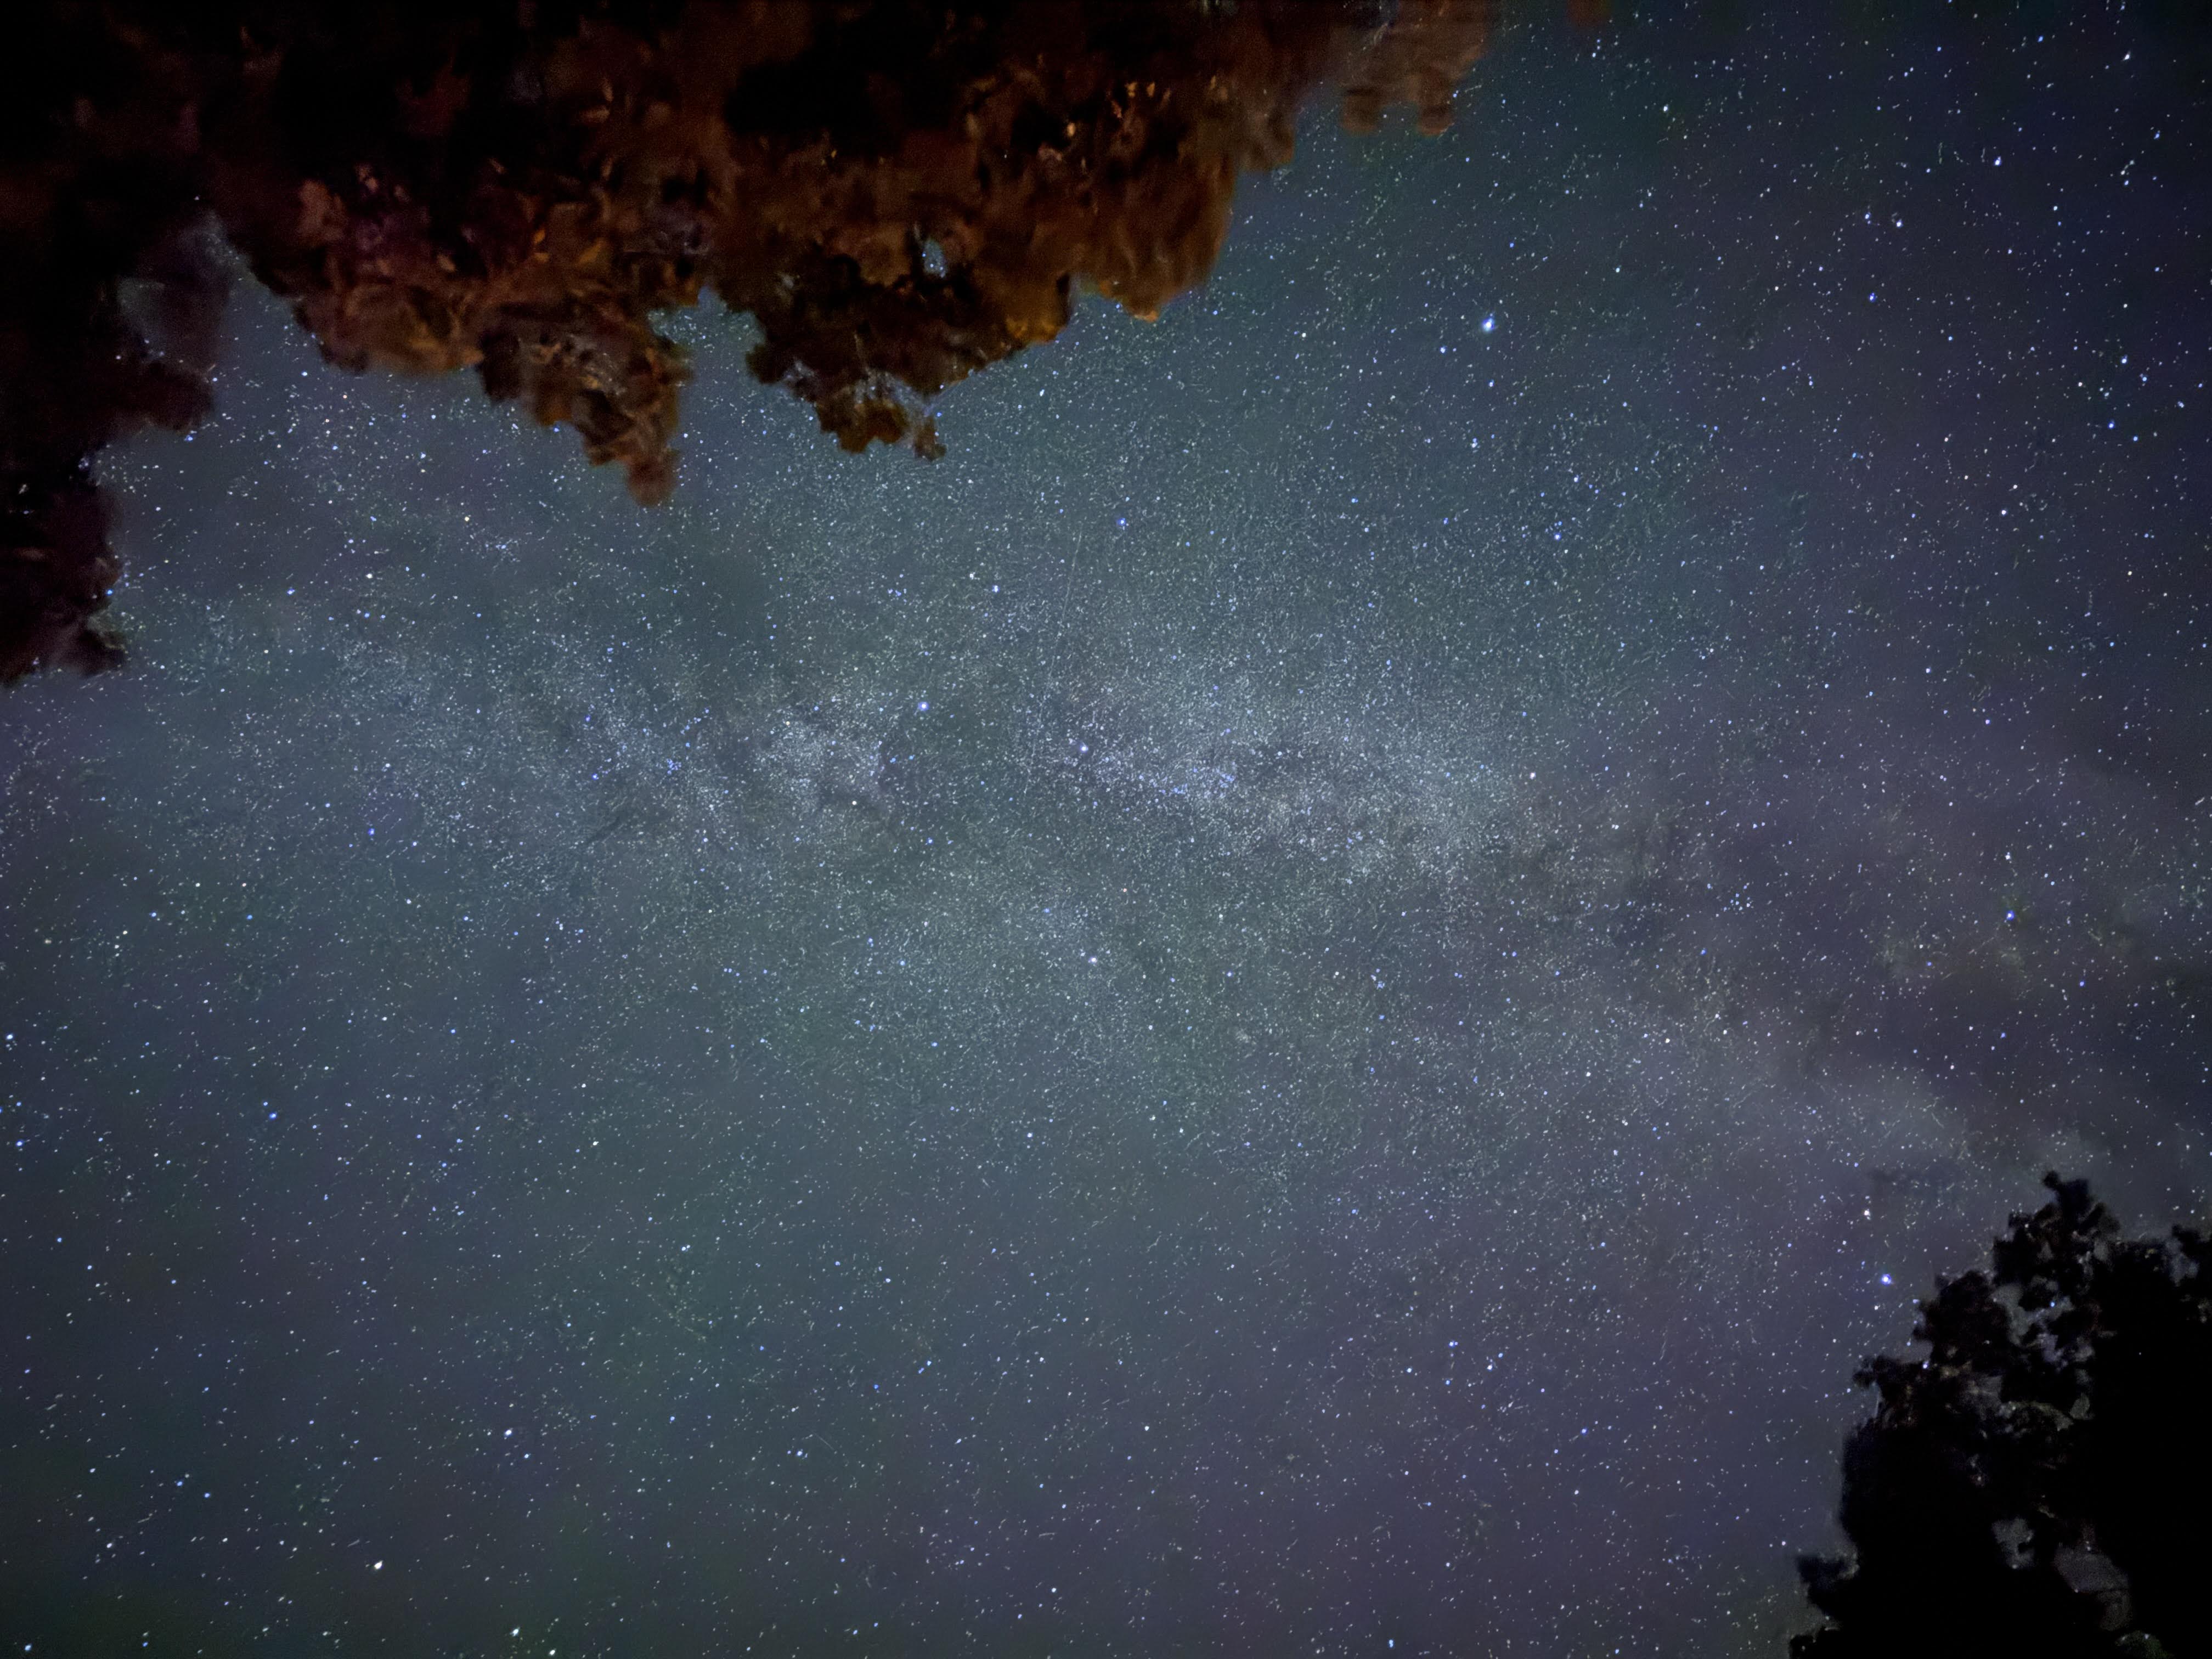
    One of the best parts of spending some time “up north” is the nighttime skies. Far from light pollution the sky lights up and shooting stars are common. With a few setting changes, even a smartphone can take incredible images, even being able to see the Milky Way.

    Milky Way

  • Biking Bentonville

    It seems as though Bentonville has achieved a mythic status when it comes to mountain biking…and now I understand why. 

    For 7 days we stayed near Bentonville in the next town over called Bella Vista. This is a distinction by name only as far as I’m concerned. For the visitor it is the same community. The group we had was diverse. Myself and two sons are intermediate mountain bikers who are comfortable on blue and some black trails. My wife is more of a beginner, preferring the green trails. My father in law is most comfortable on green and some blue trails and my mother in law likes the paved trails. 

    A couple other notes on our stay, it was hot! Our riding days were from July 4th through the 10th with high temps each day in the 90’s. In the end I don’t think this mattered too much, if anything it made us slow down a little bit, enjoy the rides and not burn ourselves out early in the week. 

    As far as bike setups go we were all riding full suspension mountain bikes (with the exception of MIL) of different makes and models. In my opinion the most important part of your rig when headed to Bentonville is the tire selection. A good tire with sidewall protection is a must. This area is full of chunky sharp rocks that could wreak havoc on cheaper tires. My father in law had cheaper stock tires that came on his bike that were setup tubeless. After just a couple rides there were about 10 small pinhole leaks where sealant could be seen leaking out and one big enough that required a bacon strip. By the end of the week sealant was weeping through the sidewall of his rear tire. On the other hand, my boys had Maxxis tires (Aggressor and Assegai) and had no issues all week. The biggest surprise for me was the Bontrager Gunnison Pro XR tires that I had on. These were also setup tubeless, but at $55 each I was not sure how they would hold up. After 145 miles of riding over the week, I can honestly say I am quite impressed. These tires showed no signs of premature wear, no pin holes, no leaks, etc. While there were a couple sections where a little more tread could have helped, that is on tire selection not on the tire. I will definitely look at Bontrager tires in the future. 

    Getting back to tire tread. While many of the trails in Bentonville might be classified as XC trails, even the green trails have some loose sections. I would really recommend a trail tire that has some good tread and cornering ability. 

    OK, on to the trails and the riding. What makes Bentonville such a special place is the accessibility of the trails and the variety of trails that provide for riding of all levels. It was easy for all 6 of us to park in the same spot, disperse in different directions, ride for several hours and meet back with different routes and stories to tell. 

    While nearly all of the trails can be accessed via bike path, the most central trail cluster is Slaughter Pen. This trail system is literally dispersed through the community, offering a wide variety of climbs, descents, difficulty and jump lines. In general the Slaughter Pen trails loosely follow the paved greenway trail and they can all be ridden right into downtown Bentonville. Slaughter Pen is also home to the OZ Castle, which is a great system of flowy jumplines with a central hub (The Castle). 

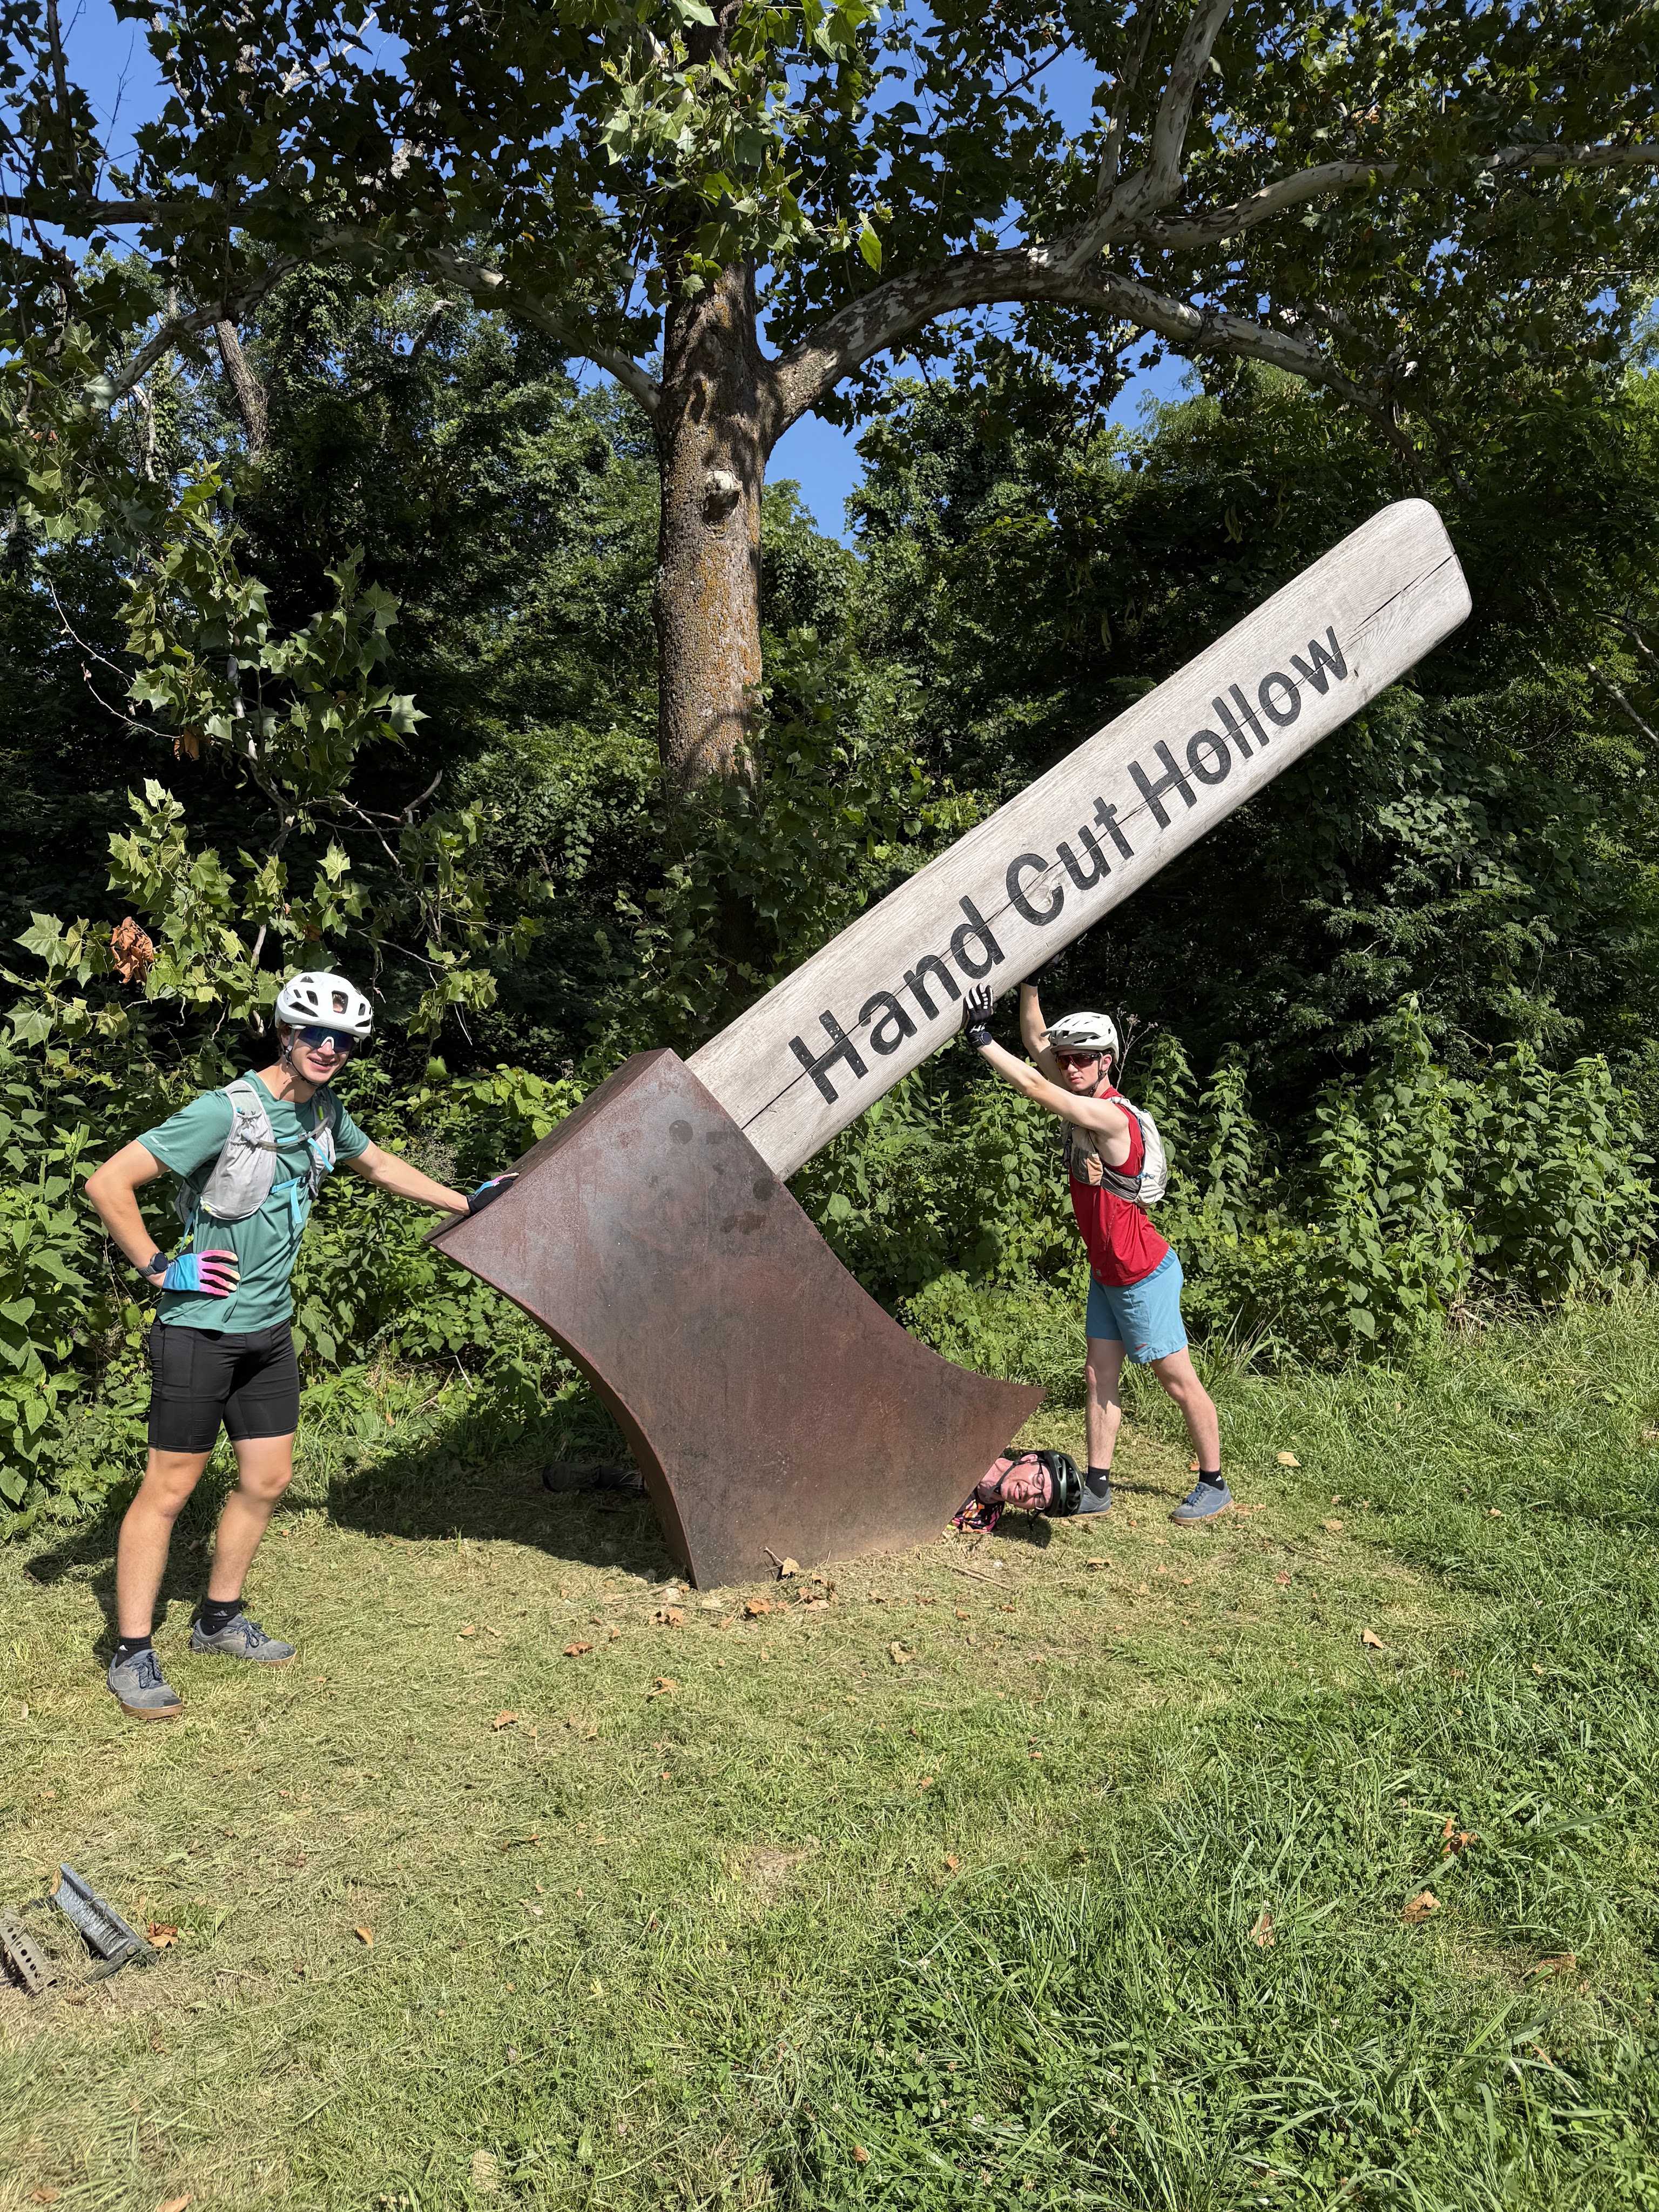
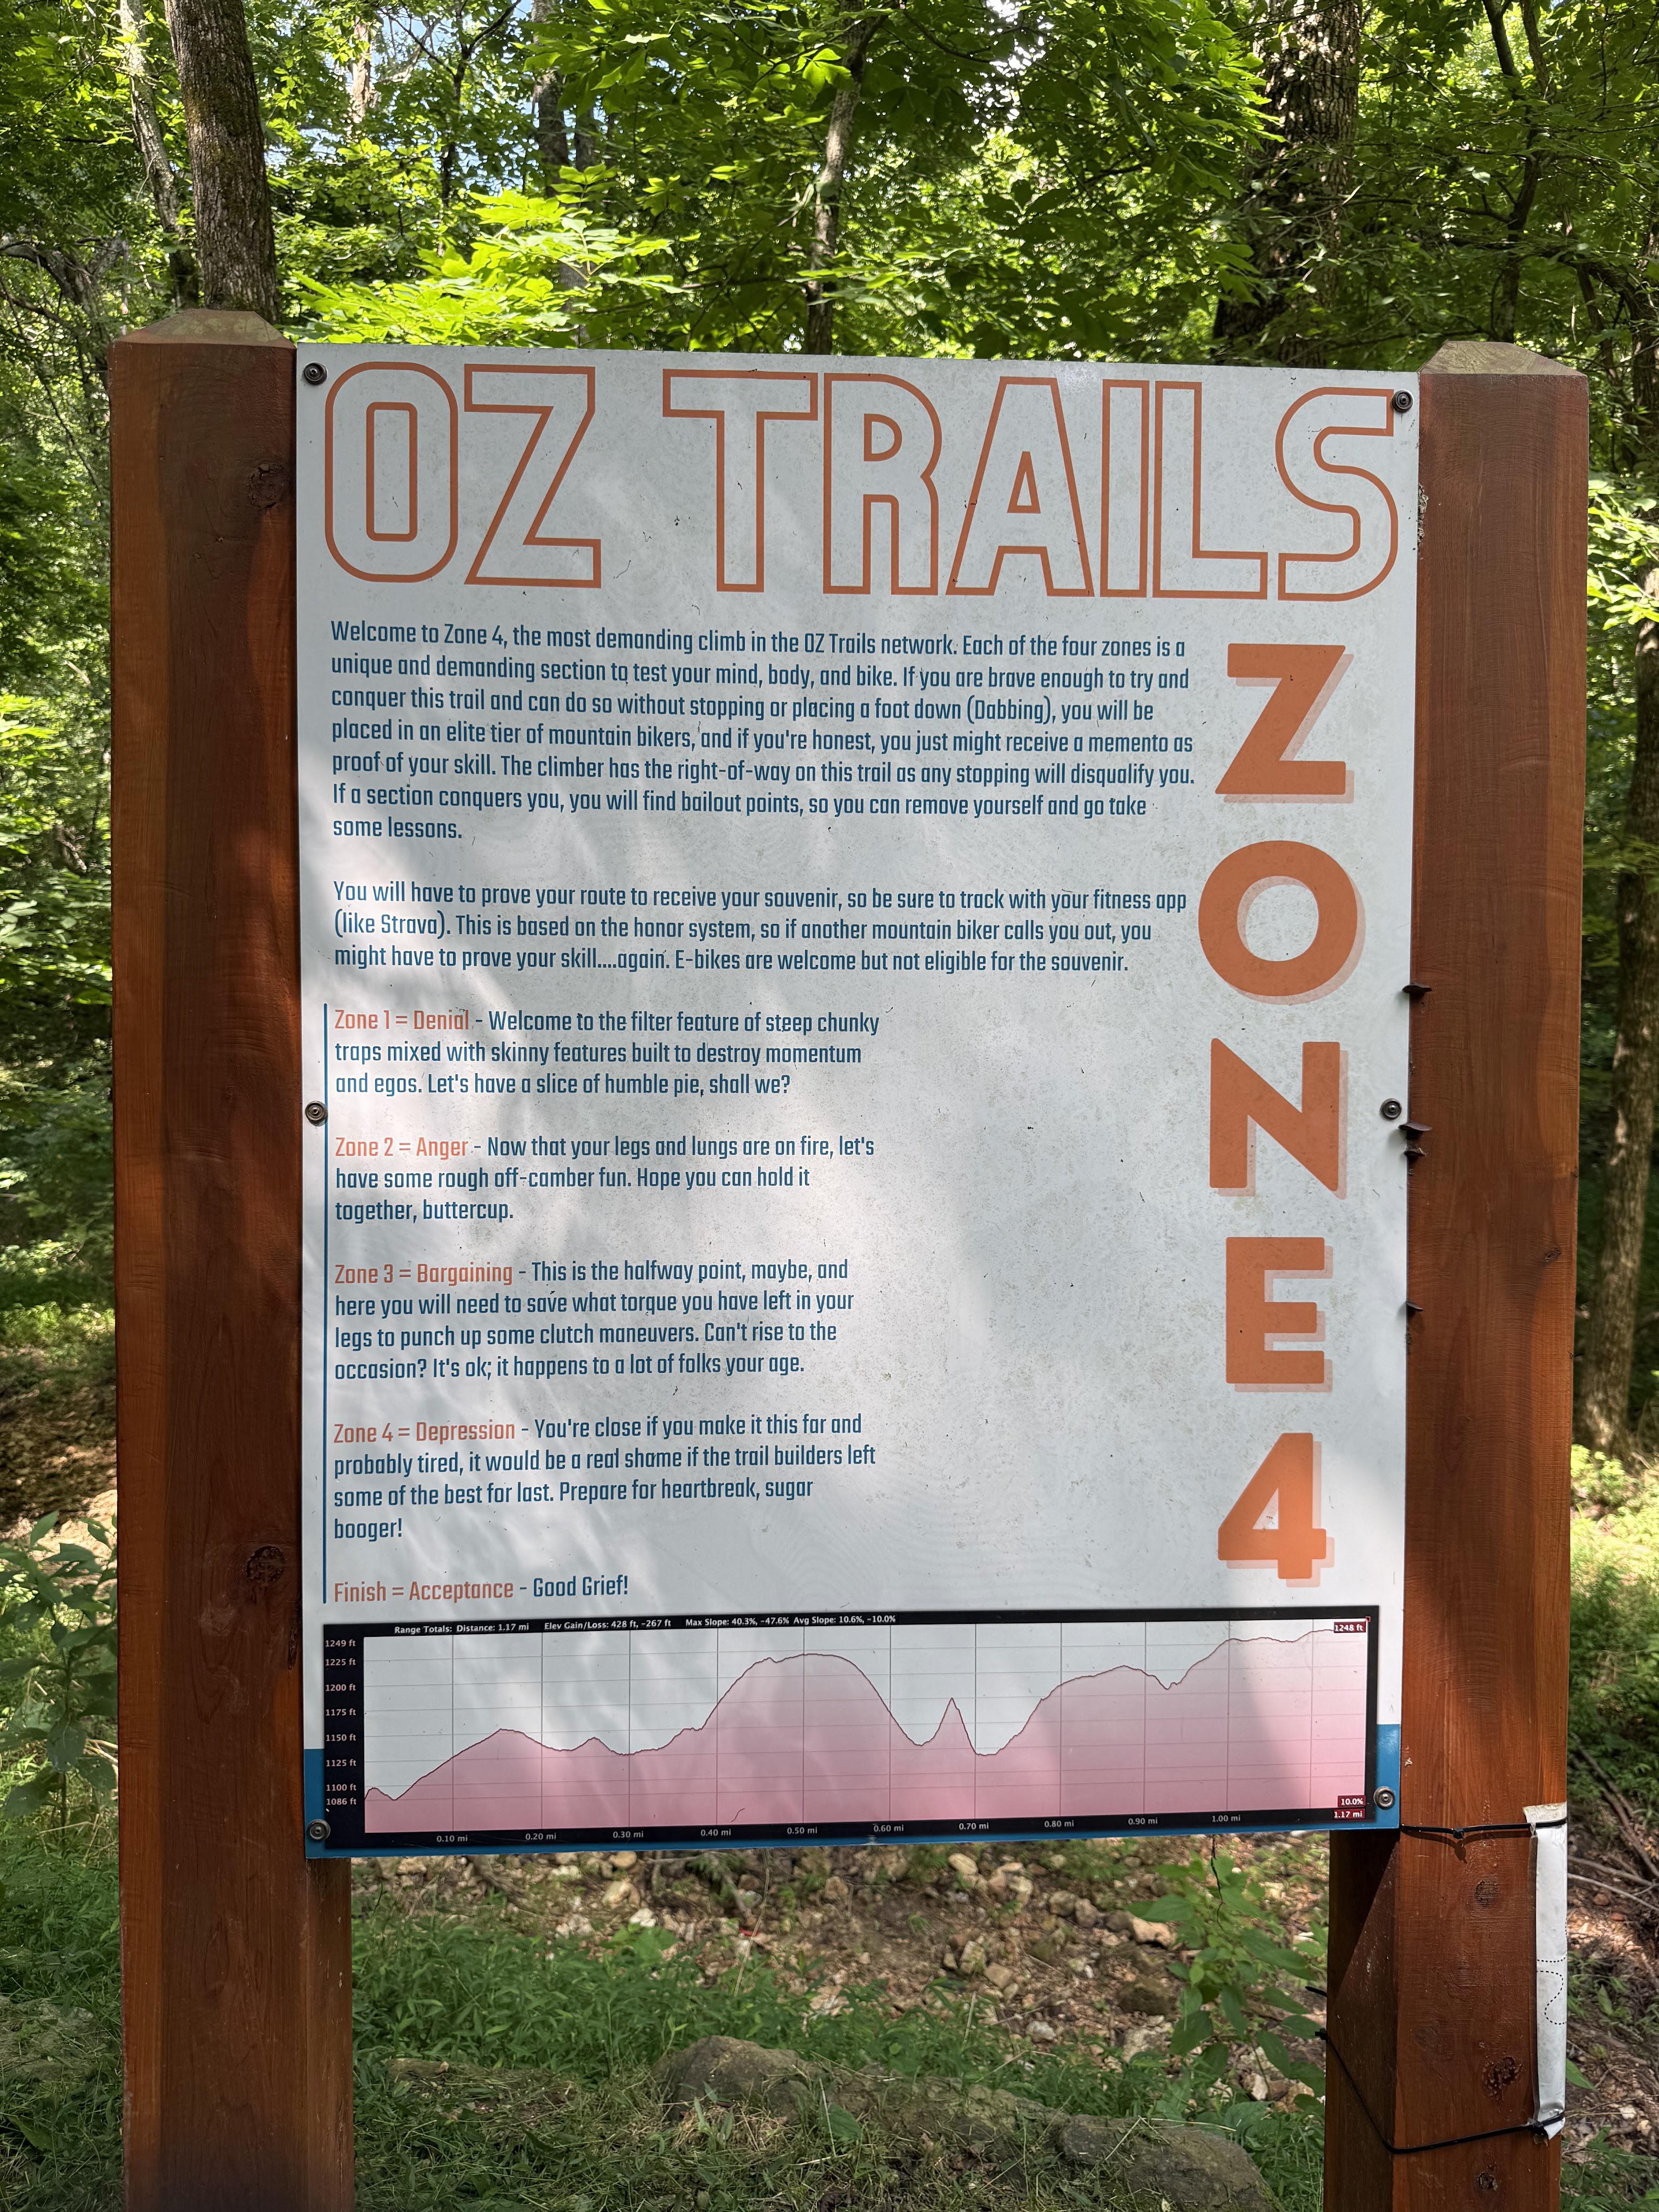
    Coler and Hand Cut Hollow can also be ridden to from Bentonville, with each of them sitting just East and West of Slaughter Pen respectively. Coler is home to the unique Airship Cafe, a ride-in cafe where a mid-ride coffee or beer can be enjoyed. Hand Cut Hollow, is home to the insidious Zone 4 trail, touted as the toughest climb in the area. While it was probably a bit out of our league, the boys and I thought we should give it a try. While we did finish the trail, it certainly lived up to the hype! 

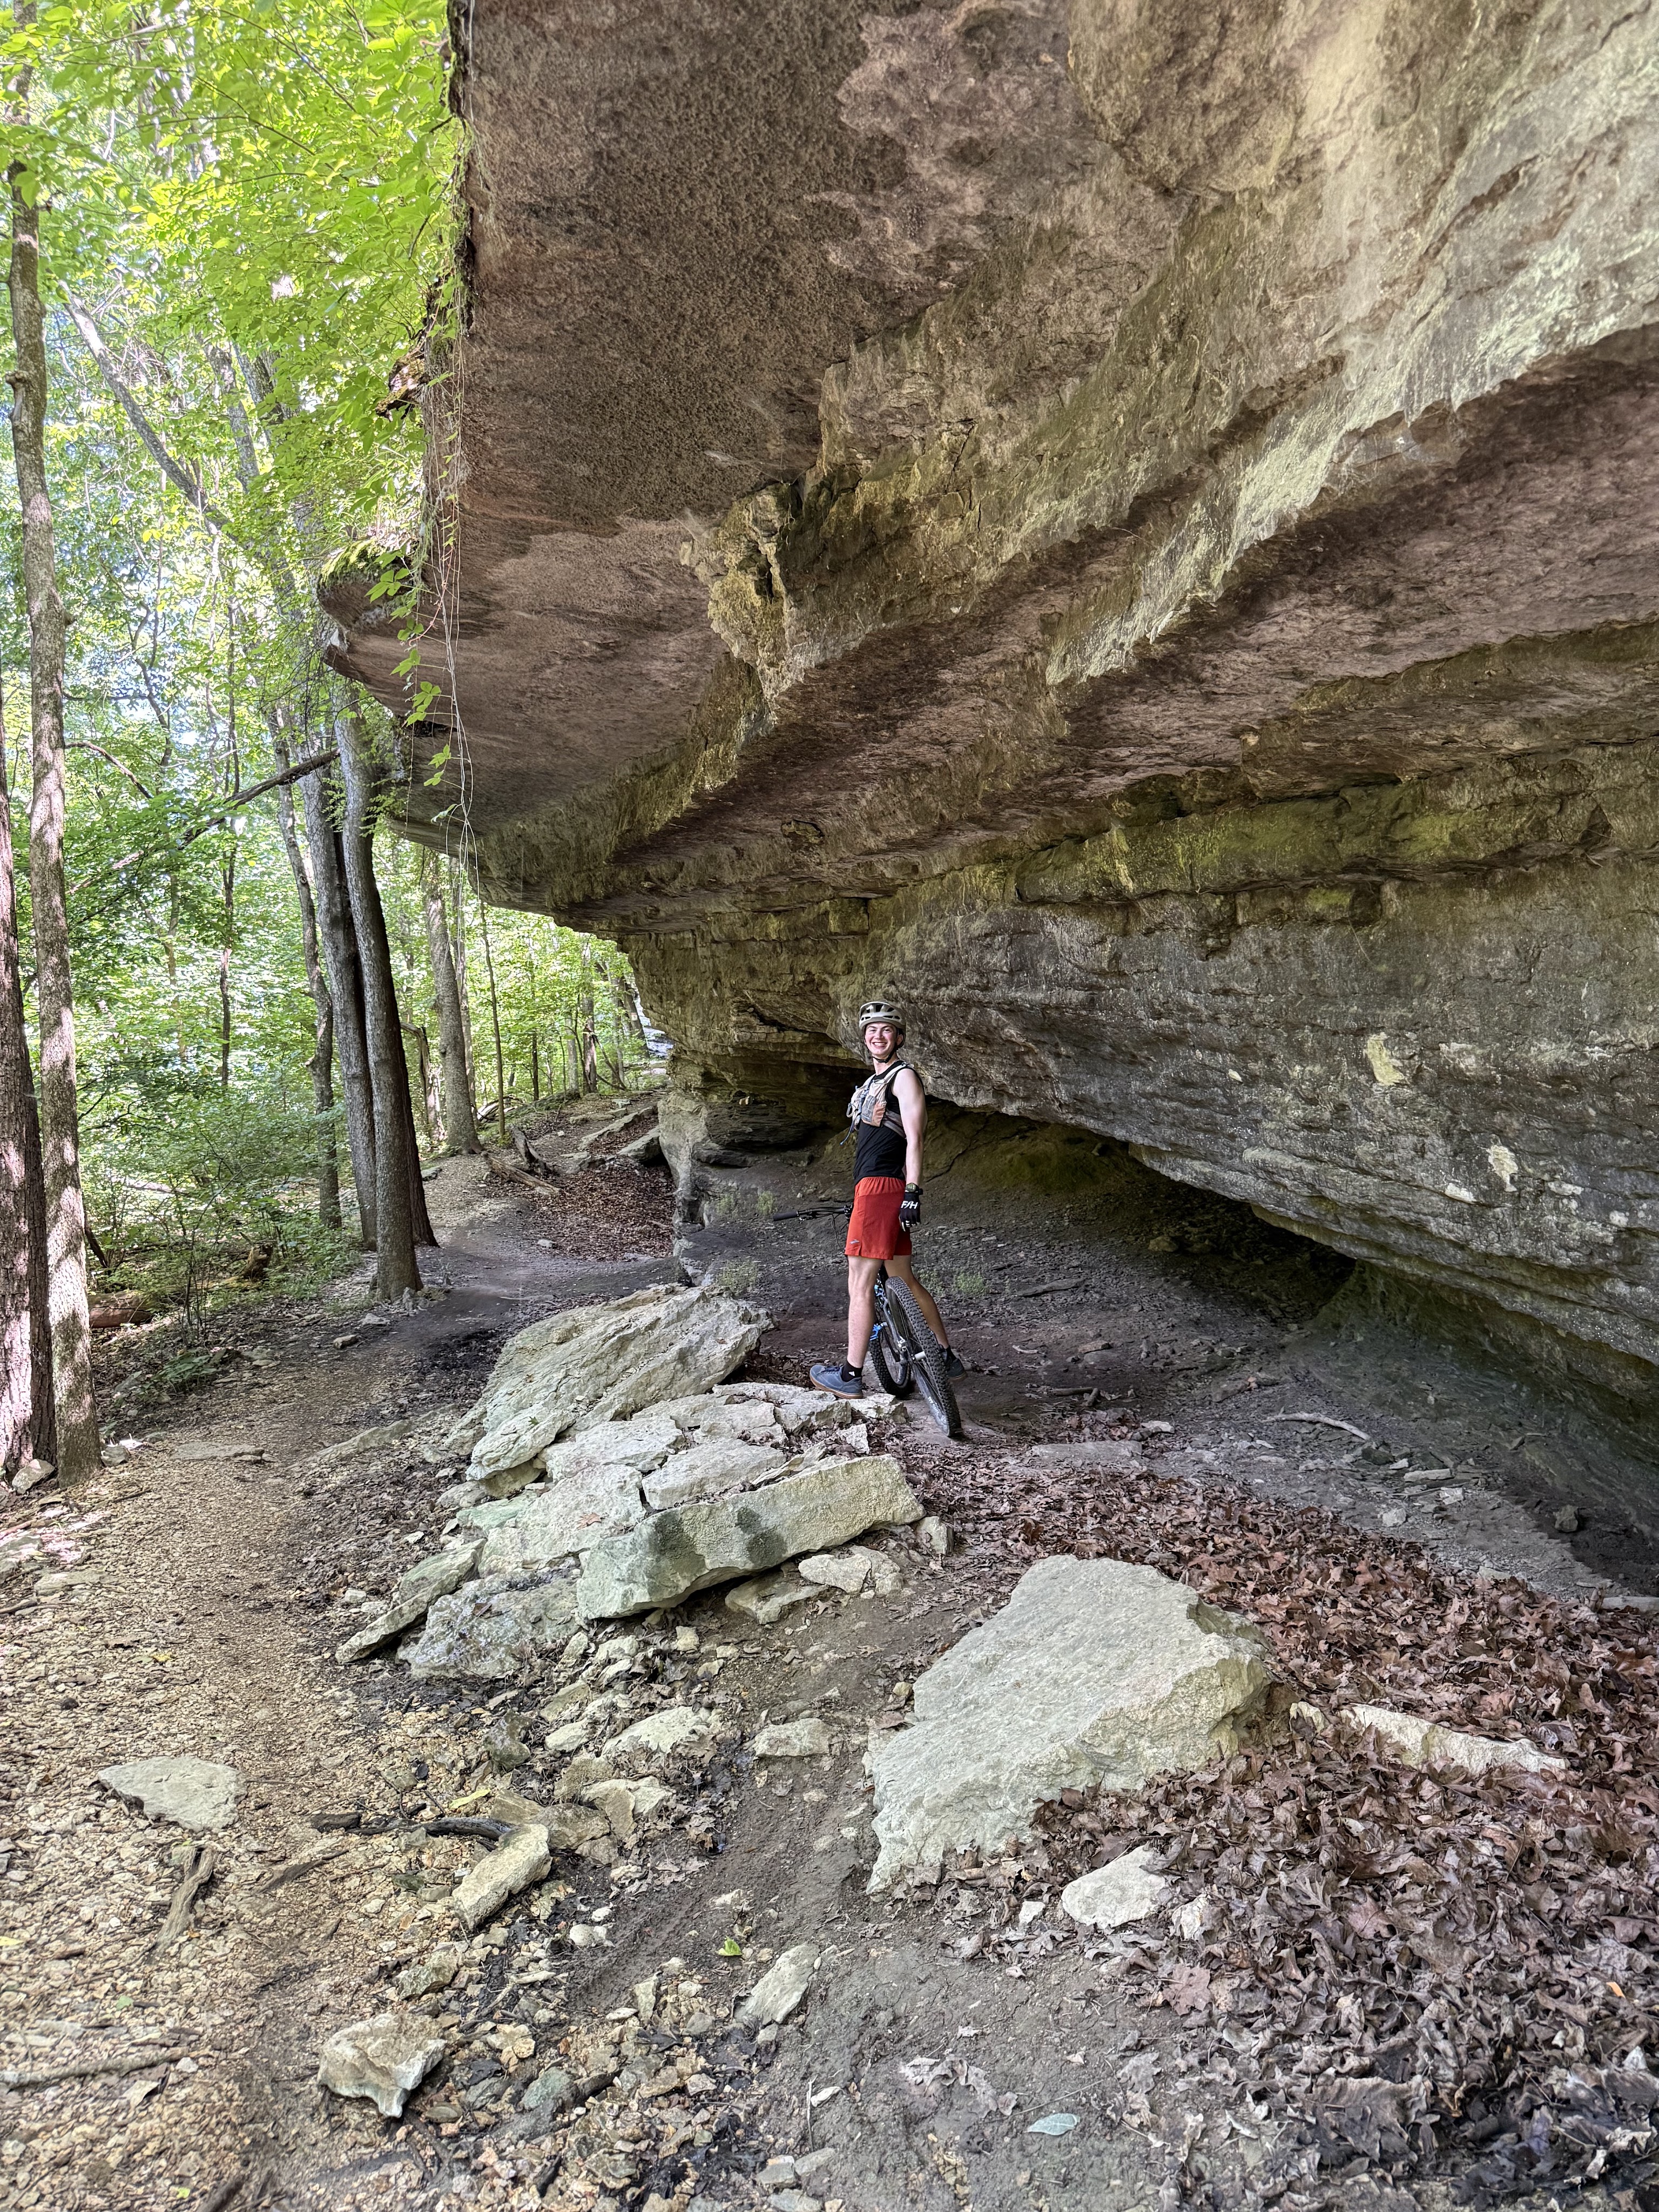
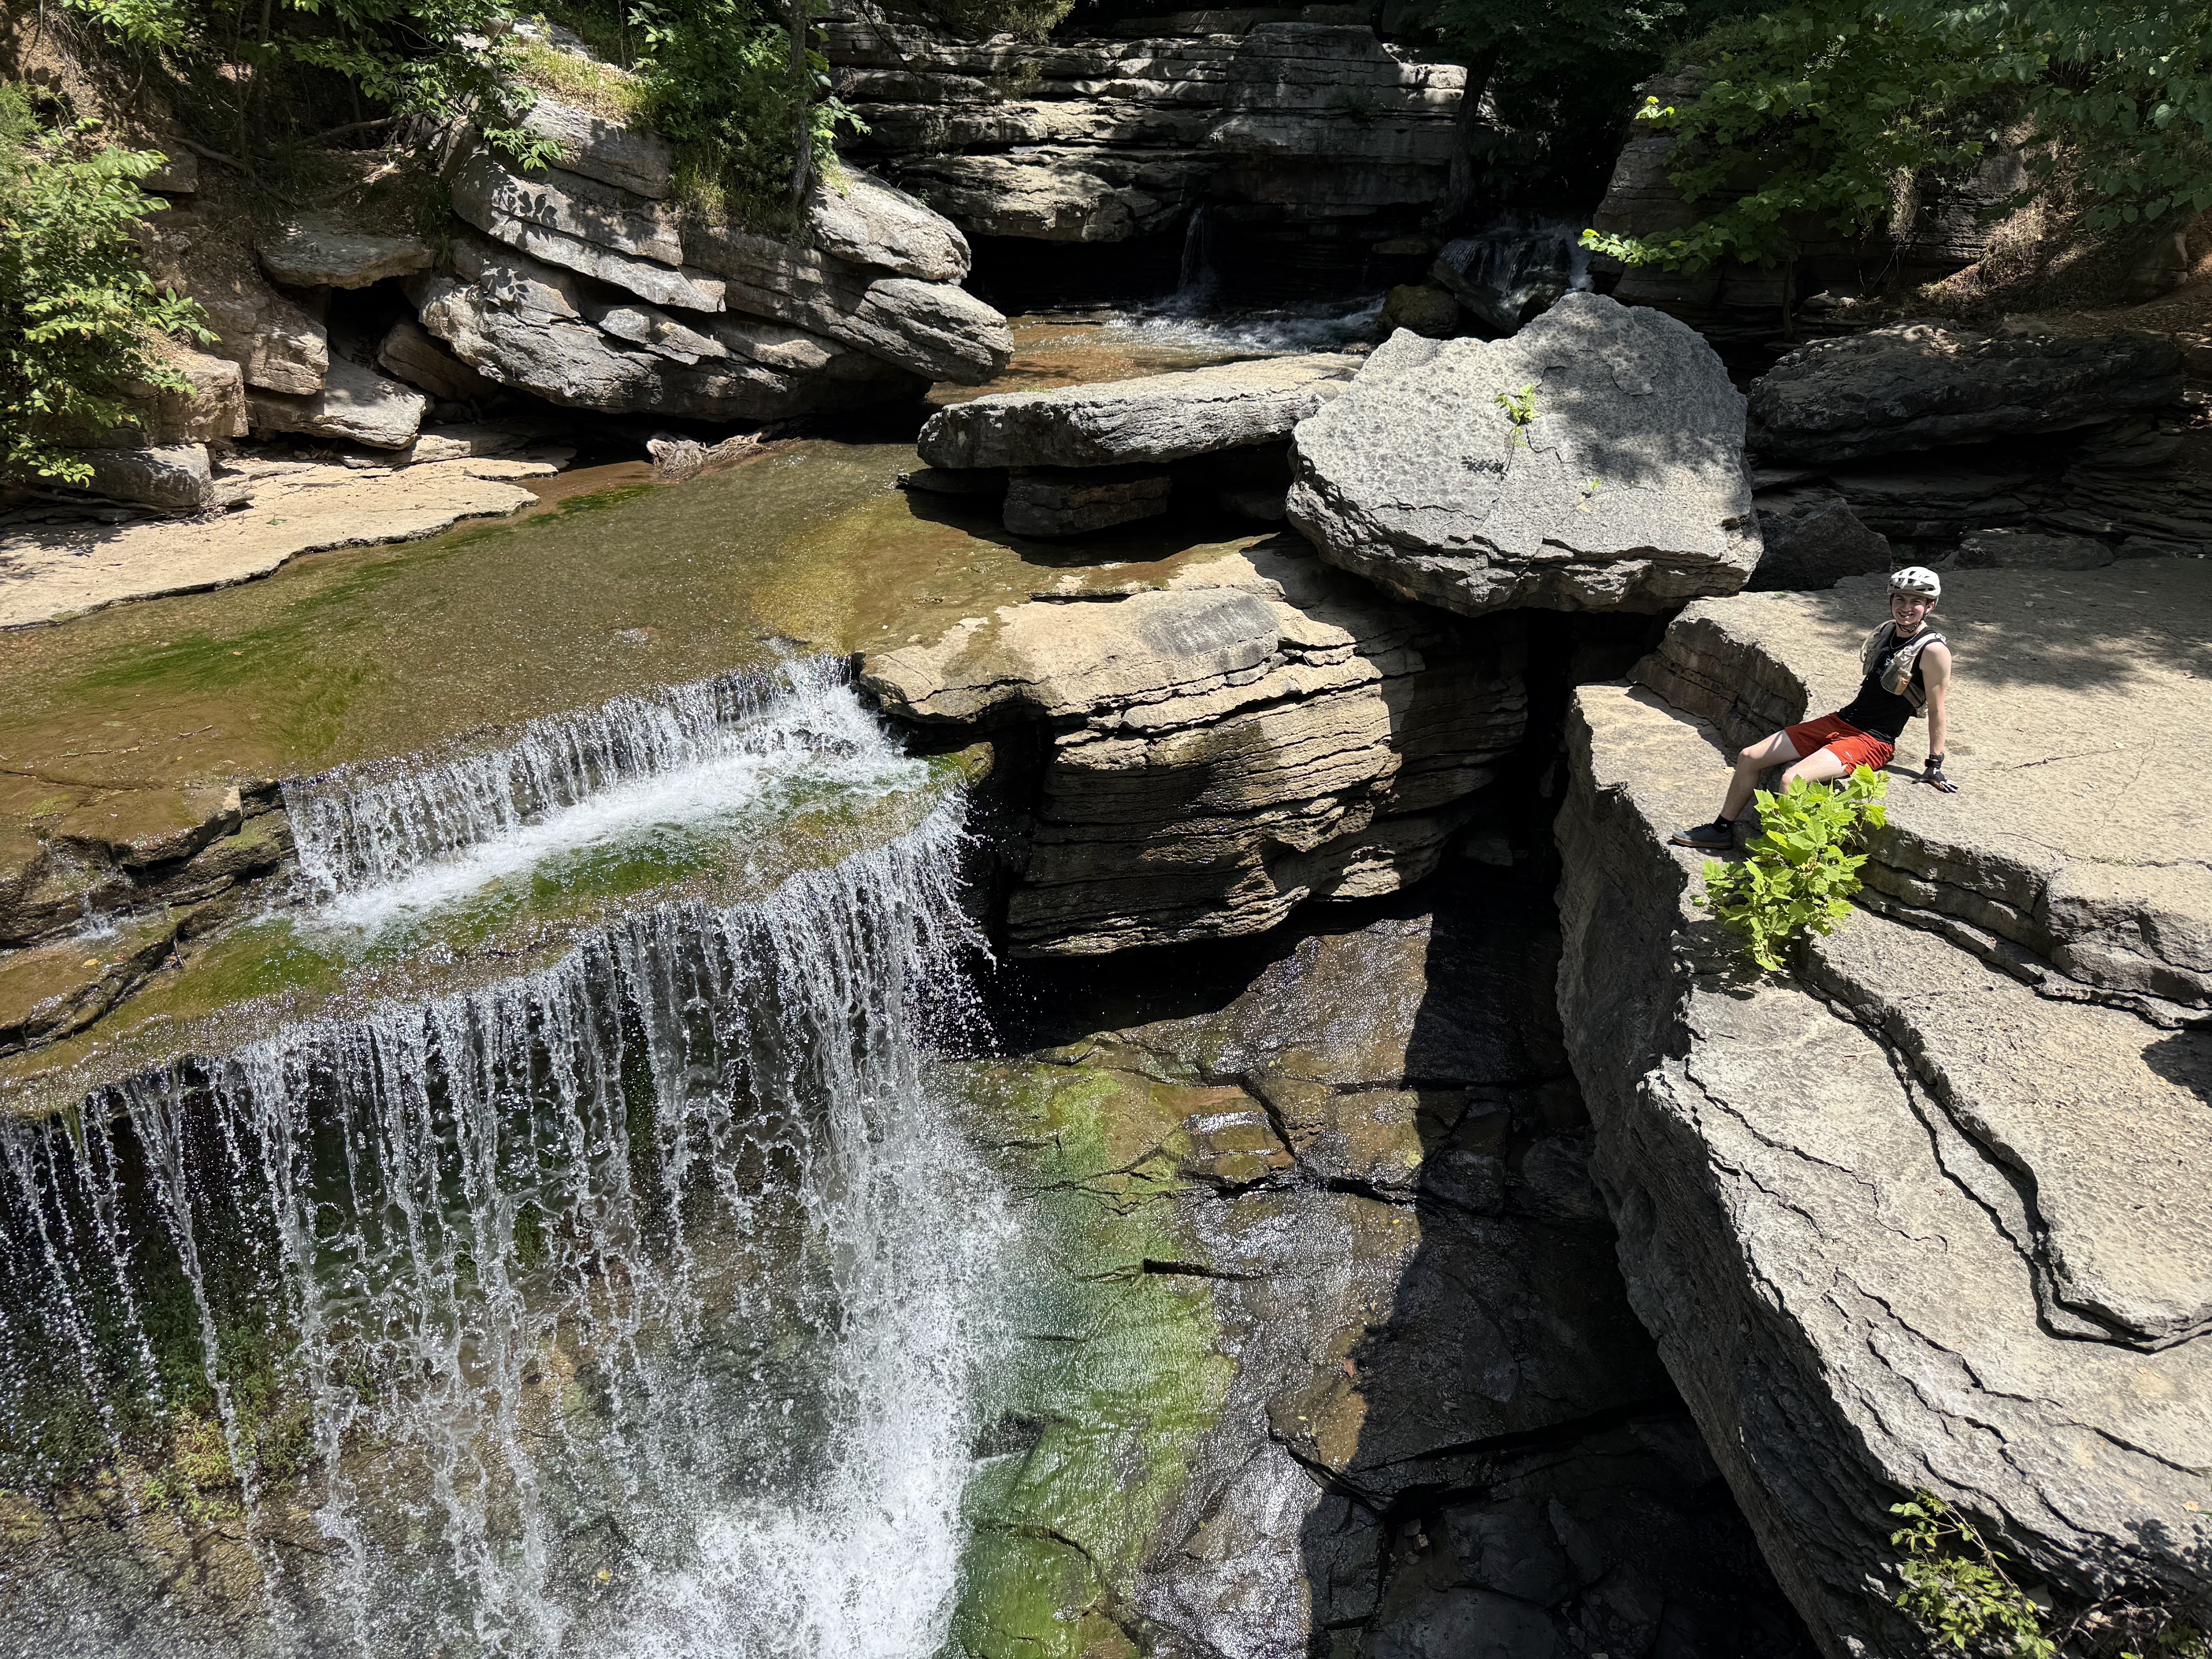
    North of Bentonville (technically Bella Vista, where our Air B&B was) lies the extensive Back 40 and Little Sugar trail systems. Together these trail systems are nearly 100 miles of wonderful trail that feel like back country but still wind through homes, lakes, waterfalls, and golf courses. Personally, the Back 40 and Little Sugar trails were my favorite. I love getting out and “getting lost” on a trail systems, even if only metaphorically. While preparation needs to be considered, one welcome feature is several trailside locations to fill water. In fact on one 4 hour tour of the Little Sugar trails, my older son was just fine with his two on-bike water bottles. 

    While a slight drive from Bentonville, the next town over of Rogers, has another unique location called the Railyard. This is an all paved bike park that has green, blue and black jumps and flow lines. Like other parts of the area, The Railyard also has connecting trails and a paved greenway trail that leads around the lake. I have never been a great jumper, but I know that I improved after spending a couple hours at the Railyard. There is something to be said for being able to take the same predictable jump over and over again when learning something new. 

    As mentioned earlier, there is something for everyone in Bentonville and the surrounding communities. There is great shopping, art, food, kayaking and swimming. With how hot the weather was, a favorite activity after a long hot bike was to take a refreshing dip in the creek behind Buddy Pegs bike shop. 

    If you are a mountain biking enthusiast, then Bentonville should definitely be on your list and don’t be afraid to bring the whole family!

  • Next Level Hydration and Fueling

    silent sports at the chequamegon mountain bike festival.

    I have an active household, with two teenage boys (and myself)  that love biking, Nordic skiing and running; we go through a lot of drink mixes. Our kitchen can sometimes look like a laboratory, with various powders, scales and concoctions strewn about in the name of science. OK, maybe that is putting too much weight on a beverage, but getting the right balance of electrolytes and carbs can make or break your next endurance race or long training event. My wife might tell you that I tend to go off the deep end for certain things like biking, ski waxing or, in this case, drink mixes for training and racing. The result of this deep dive is this lengthy blog post, but I think it will be worth it. In addition to my personal quest for hydration glory, my two sons also have unique needs that prompted even further investigation. One of my sons has been diagnosed with a condition called neurocardiogenic syncope (NCS). Basically, he experiences a sudden drop in blood pressure causing him to faint. While NCS is a different disorder than POTS (Postural Orthostatic Tachycardia Syndrome), they are both a form of dysautonomia, can have similar symptoms, and in both cases one of treatments is usually to increase salt intake. My other son has always dealt with stomach issues, and finally after many tests, we found out that he has a low level of the enzyme sucrase-isomaltase, making it difficult to digest sucrose (table sugar). In rare cases, there may be a complete absence of the enzyme in which the condition is called CSID (Congenital Sucrase-Isomaltase Deficiency). For him, this is unfortunate, since many sports drinks and snacks use sucrose. It all made sense why he would get bad stomach aches during intense activity. What we thought was related to the activities themselves, was actually related to the stuff he was eating and drinking prior to and during those activities.

    This is where I need to mention I am not a doctor or nutritionist, and if you are questioning any of this it would probably be best to consult a professional. OK, that is out of the way, lets dive in. I am going to break this up into two main parts: electrolytes and carbohydrates, then bring them back together in the end. 

    Let’s start with electrolytes. Electrolytes are minerals that our bodies use to help maintain fluid balance, muscle contractions and nerve function. The most common electrolytes are sodium (Na), magnesium (Mg), potassium (K) and calcium (Ca). Most of the time we get enough of these minerals in our everyday life that we don’t need electrolyte infused beverages and we can just drink water. However, if there is a lot of sweat loss due to heat, exertion or illness then replenishing your electrolytes might be needed. Also, as mentioned above, an increase in sodium can be beneficial to treat the symptoms of POTS and NCS, by increasing blood pressure. Be sure to meet with a doctor if you think you have either of these conditions. 

    In our electrolyte mix, the main focus is on sodium since the majority of electrolytes lost through sweat is in the form of sodium chloride. I still include magnesium, potassium and calcium as well. There are different ways to get these electrolytes too. Some options for sodium include sodium chloride (table salt) and sodium citrate. Sodium chloride is cheap, easily available and has that distinct salty taste, while sodium citrate doesn’t have a strong salty flavor, is more expensive and some people don’t care for the almost tangy flavor of it. I actually prefer the salty flavor of table salt. For magnesium, I use magnesium malate which is one of the forms that is less disruptive to the stomach. Avoid magnesium citrate as its primary use is a laxative! For potassium I use potassium citrate and for calcium I use calcium citrate. Now let’s put it all together. Note that the amounts of the compound are different than the amount of mineral you get, this is because not all of sodium chloride is sodium, in fact only 40% is sodium. So to get 1 gram of sodium, you need to ingest 2.5g of sodium chloride. 

    1 Liter Electrolyte Drink

    • 2.5 g sodium chloride (1000 mg sodium)
    • 1.25 g magnesium malate (200 mg magnesium)
    • 0.25 g potassium citrate (100 mg potassium)
    • 0.75 g calcium citrate (165 mg calcium)

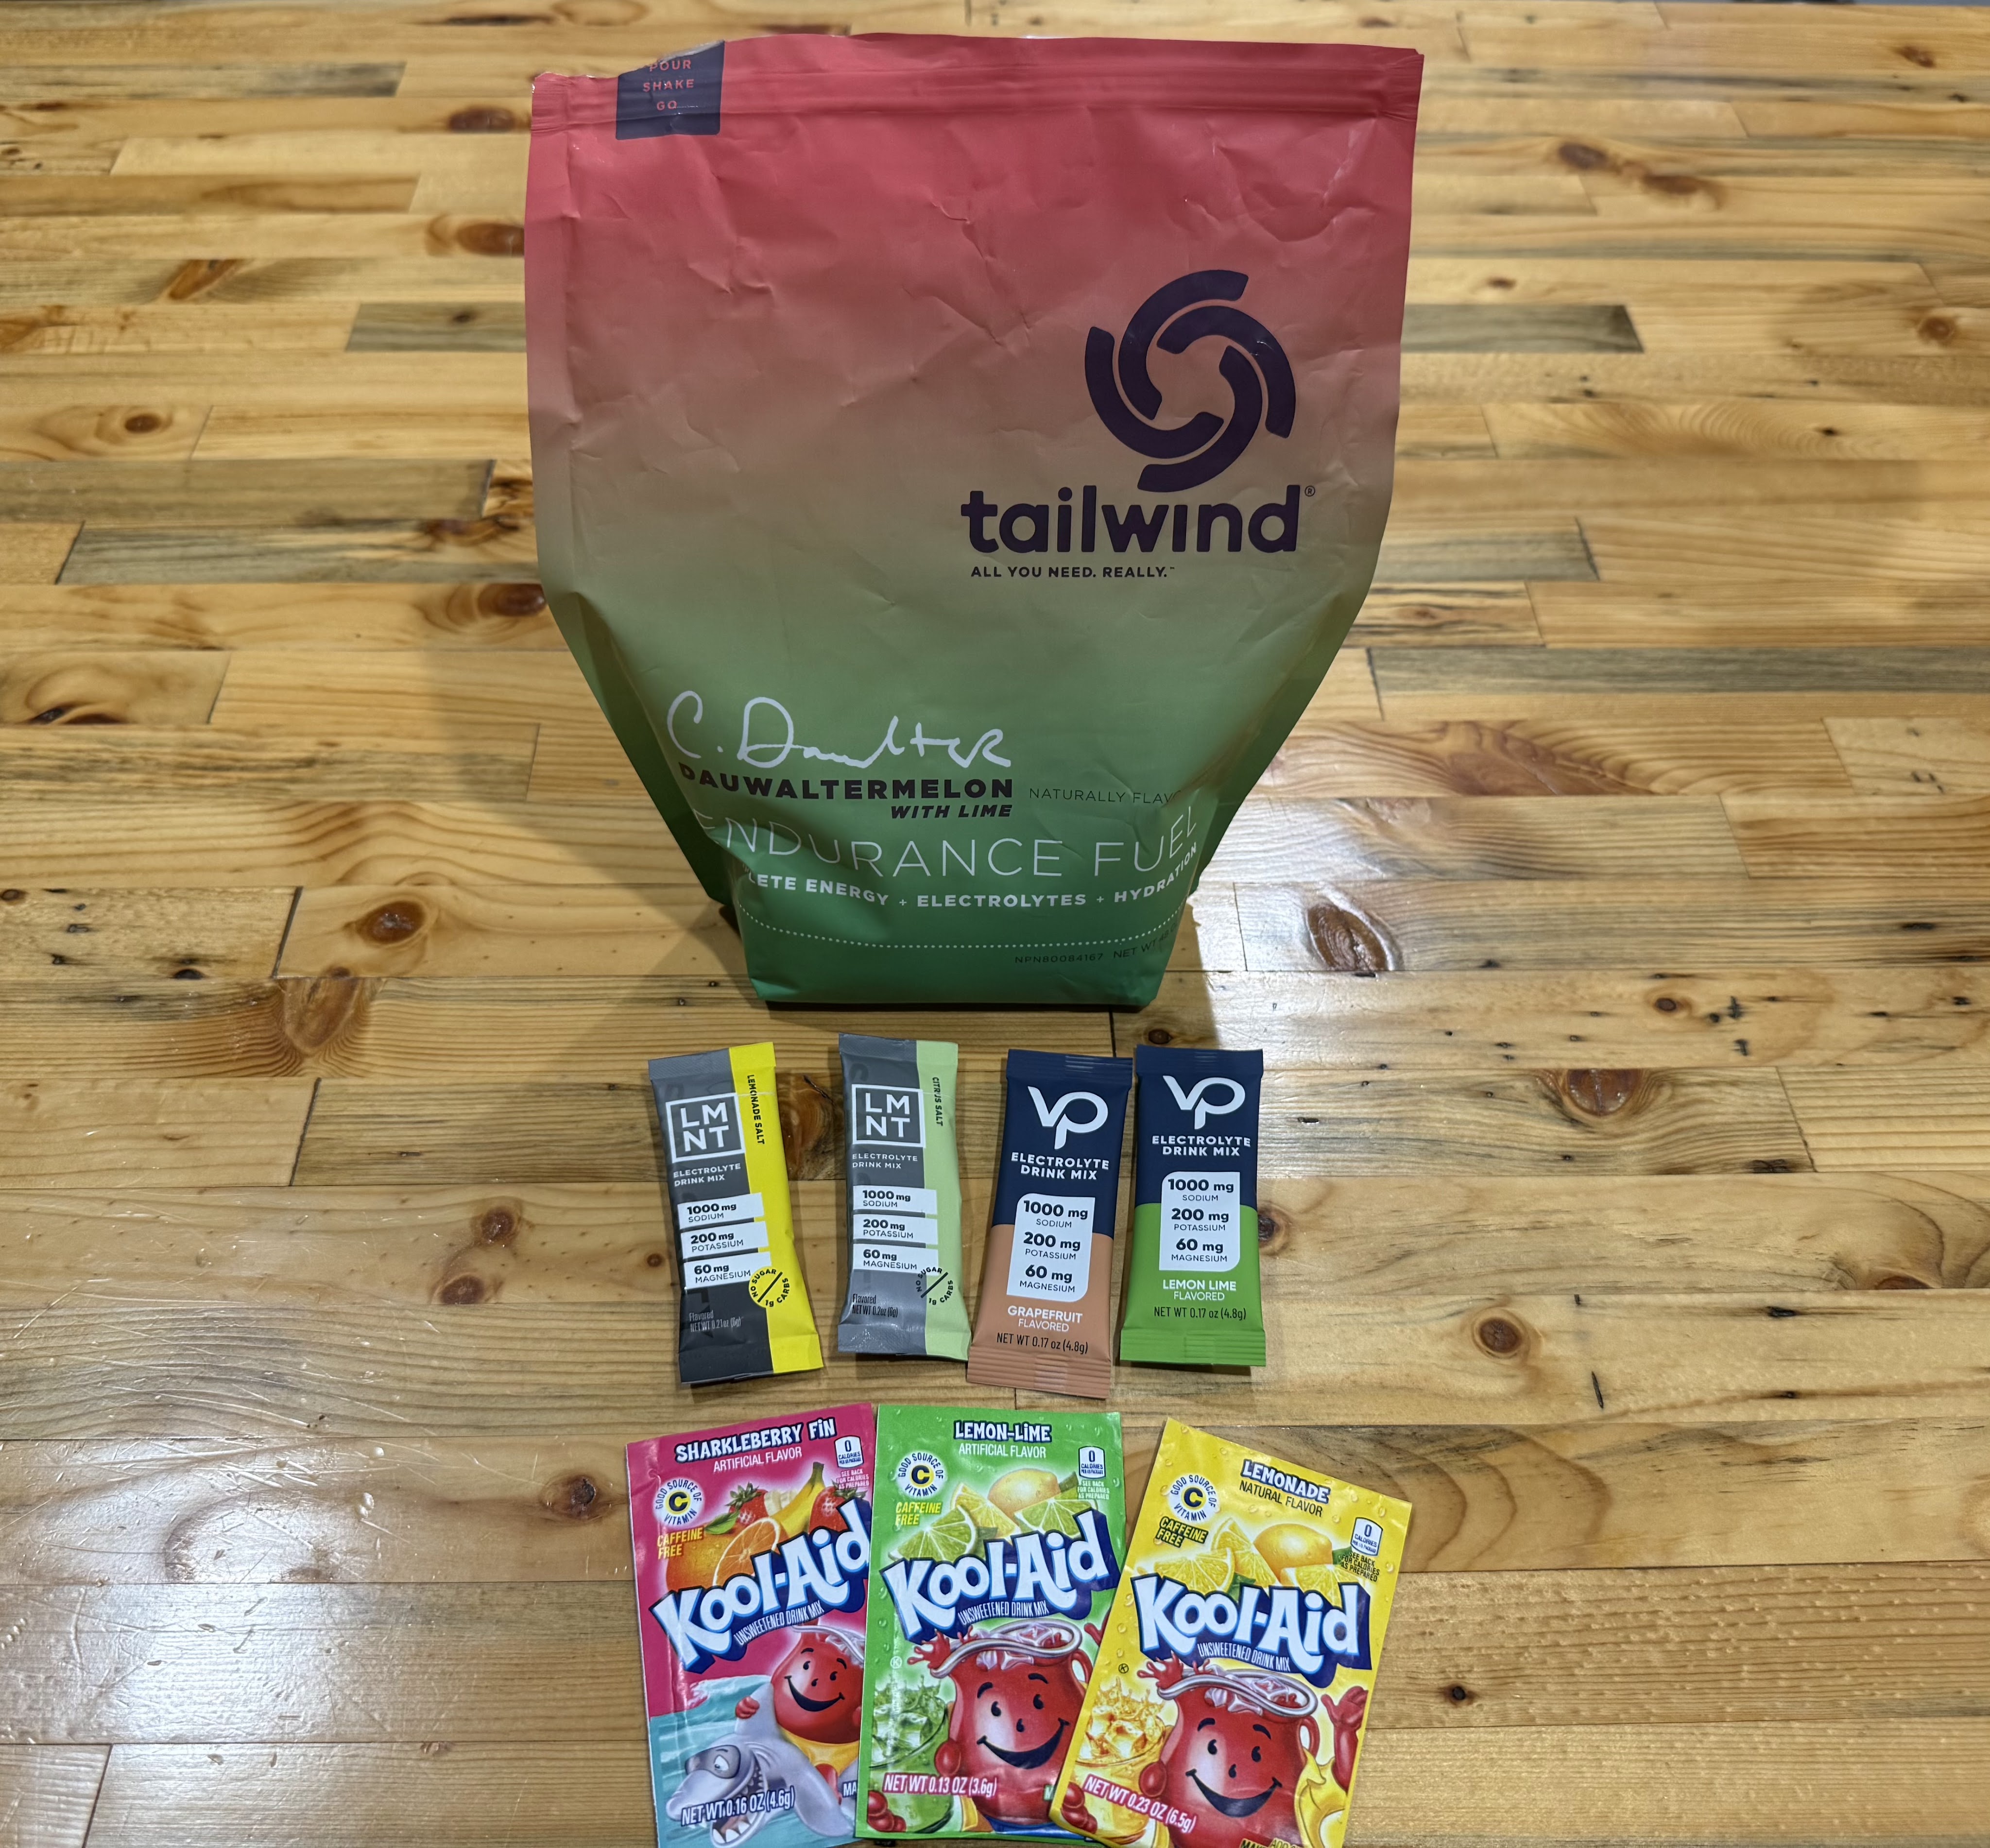
    Note that calcium citrate is not very soluble, in fact, only about 1 gram will dissolve in 1 liter of water. If more than a gram is added it will likely just settle to the bottom and get dumped out later. This mixture can be consumed as it is, or if desired add some lemon juice, or a flavor packet such as Welches or Crystal Light. That is the stand alone electrolyte drink, similar to what you could buy already made for you. If buying a pre-done mix is more your style there are several options. Two of them that I have used and fully endorse are LMNT and Venture Pal.

    Silent sports drink mixes

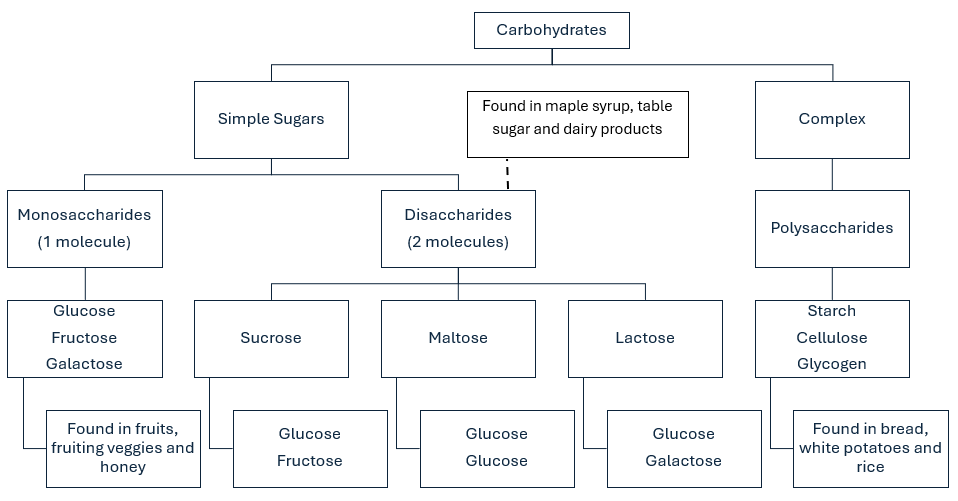
    Now let’s get into carbohydrates. When we talk about carbohydrates for endurance athletes we are not talking about a big bowl of alfredo before the fun run like Michael Scott. For us, we are talking about sugar, however sugar is not as simple as you thought, pun-intended.

    Silent sports carb chart

    Carbohydrates can be broken down into two groups: Complex which are also called polysaccharides and simple sugars which have two groups, monosaccharides and disaccharides. Monosaccharides include glucose (dextrose) and fructose and galactose. Disaccharides include sucrose, maltose and lactose, which have to take another step to break down into glucose, fructose and galactose. Another popular substance used in carbohydrate drinks is maltodextrine. This is technically a polysaccharide, but it breaks down rapidly into glucose. For most people this may be a good option, but unfortunately, it requires the same isomaltase enzyme that my son is deficient in. For this reason I stick to straight glucose and fructose. Glucose absorbs nearly instantly, giving us a burst of energy quickly, while fructose needs to be converted to glucose by the liver first, so it has a “metering out” effect. More science is coming: Our bodies use something called transporters to absorb glucose and fructose and there is a limit to how quickly we can absorb them. Fortunately, there is a different transporter used for glucose than fructose, meaning we can manage each of them separately in order to maximize the amount of total absorption. Research has also shown that the optimum ratio of glucose to fructose is 2:1 and furthermore the maximum absorption rate is a bit over 100 grams per hour. However, more than 90 g/h and an upset stomach can occur, therefore 90 g/h is considered a safe maximum. This doesn’t mean that 90 g/h is required for all activities. A rough guideline for activities and required carbs is as follows:

    • 1-1.5 hours: 30 g/hour
    • 1.5-2 hours: 60 g/hour
    • 2+ hours: 90 g/hour

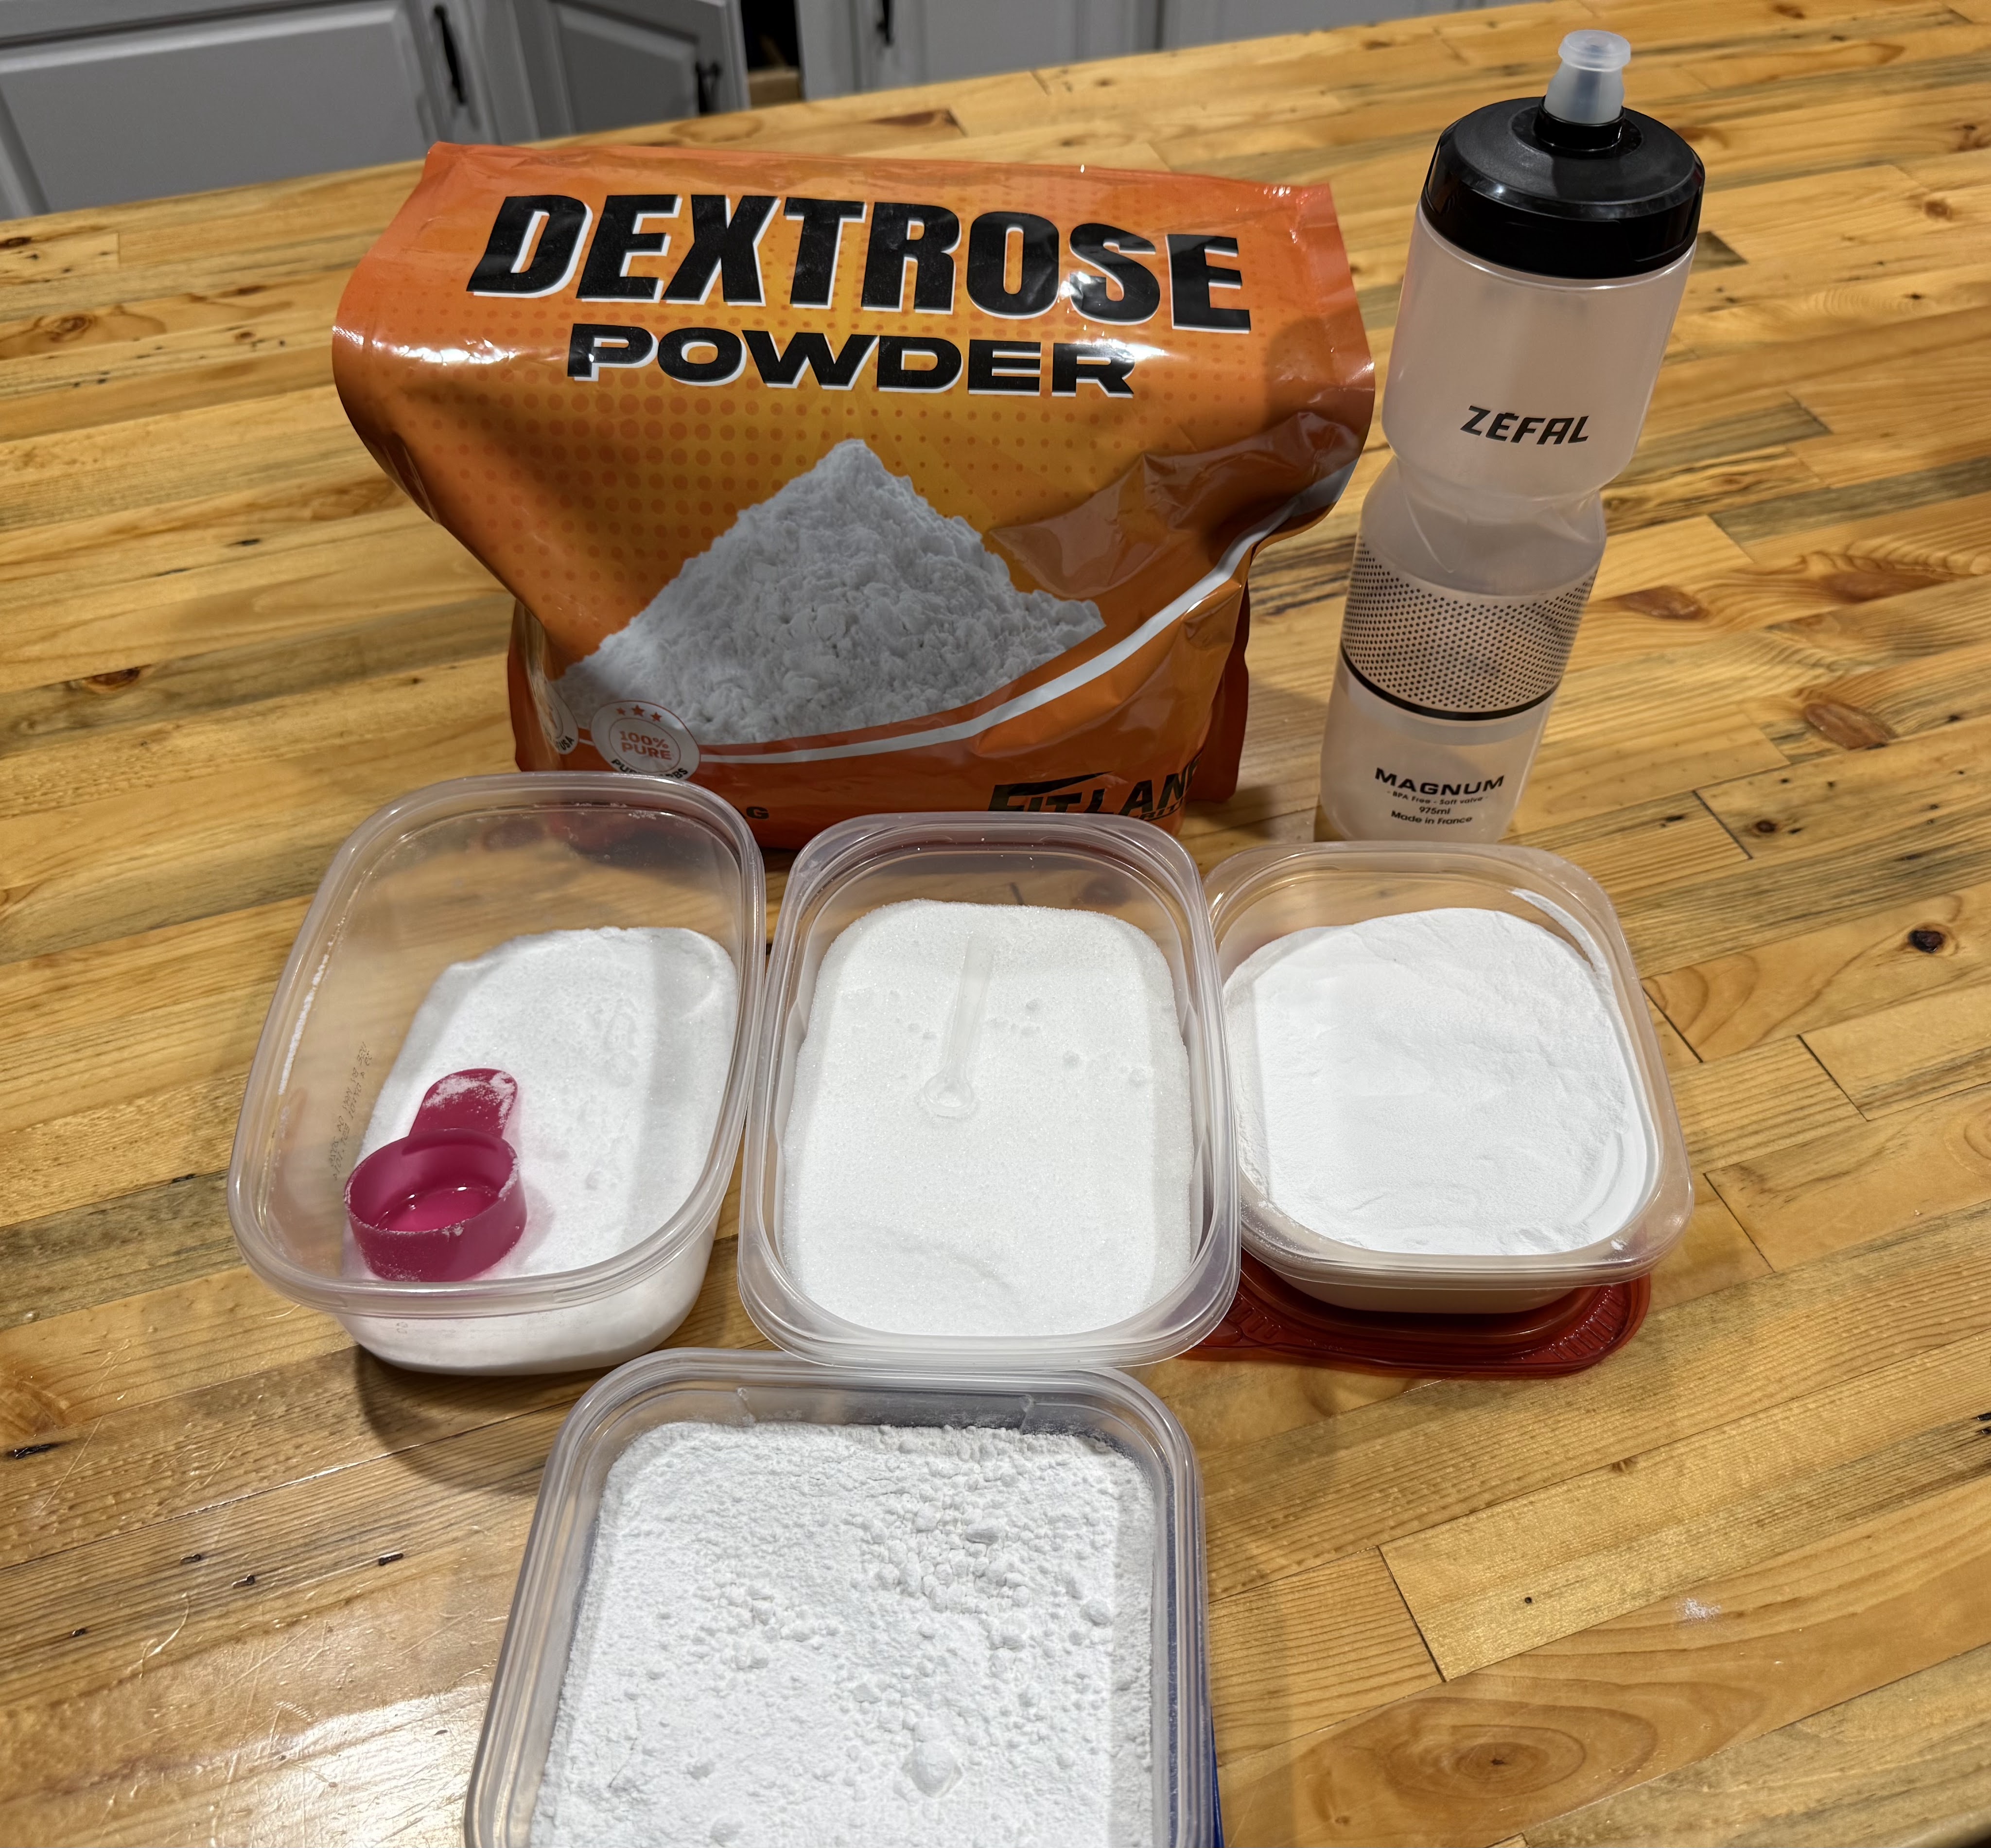
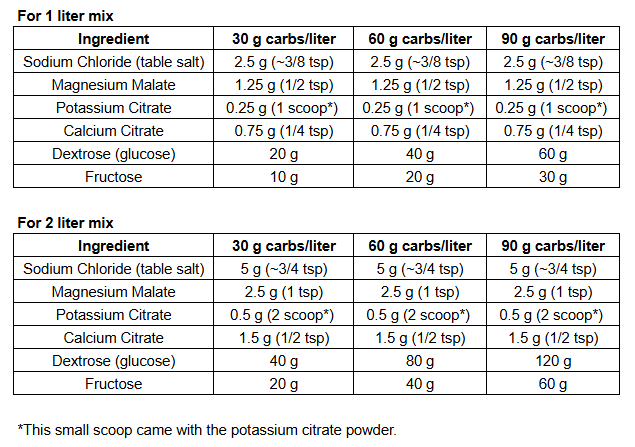
    Now it’s time to put it all together. In order to simplify things as much as possible I organized a chart with two different volume sizes: a 1 liter bottle and a 2 liter jug or hydration bladder. Each of those can be filled with either a 30, 60 or 90 gram dose of carbs depending on your activity. Additionally, I added the electrolyte ingredients to this chart as well. What about flavor you may ask? Just imagine the Kool-aid man smashing through that brick wall. When making a 2 liter batch a packet of original Kool-aid flavor is perfect. There are many flavors to choose from and the dextrose/fructose take the place of the sugar. Even when I’m not needing to take 2 liters with me on the activity, I will often make a 2 liter jug and keep it in the fridge for convenience. 

    silent sports drink mix chart

    Just like the electrolyte mix, there are also carb mixes that are available, and sometimes it is easier to buy pre-made powder. The advantage of making it yourself aside from long term cost savings, is that electrolytes and carbs can be combined into one. If looking for an option to purchase I would recommend Tailwind, it comes in many flavors and is what powered me through the Lutsen 99er, before I went down the drink mix rabbit hole. 

    silent sports commercial drink mix options

    Below is a complete list of all the ingredients and products that I have mentioned. Please note that these are affiliate links, meaning that if you click and purchase through these links, I may get a small commission at no cost to you, however I would never recommend something that I have not personally used and trust. 

    Electrolyte Ingredients and Products

    Carbohydrate Ingredients and Products

    Other Stuff

    Thank you for sticking with me on this lengthy but important post. If you found it beneficial or just interesting, please consider sharing it.

    Sources

    1. Electrolyte Imbalance: Types, Symptoms, Causes & Treatment 
    2. Electrolytes: Types, Purpose & Normal Levels     
    3. The Science of Carbohydrate Fueling: Why 2:1 Glucose-to-Fructose Changed Everything

  • 2026 Granny’s Gravel Grinder

    Grass roots bike events are special. It is rare that you will find big corporate sponsor tents, media coverage or big pay outs. What you will find are nice people, small crowds and home brew aid stations. Granny’s Gravel Grinder is no exception…well there are a couple exceptions, at Granny’s you also get post race tacos and a root beer float!

    silent sports, granny's gravel grinder relaxing with dog

    Granny’s Gravel Grinder is a race put on by Chase Wark of Wark’s Cycling Services and is quite literally hosted from his grandma’s house in central Minnesota. Chase also puts on the The Hotdish 100 race which takes place in Winona, MN. Together with the Day Across Minnesota (DAMN) and the Filthy 50, they make up the Northstar Gravel Series. At Granny’s you can choose from three distances: 100, 50 and 25 miles. 

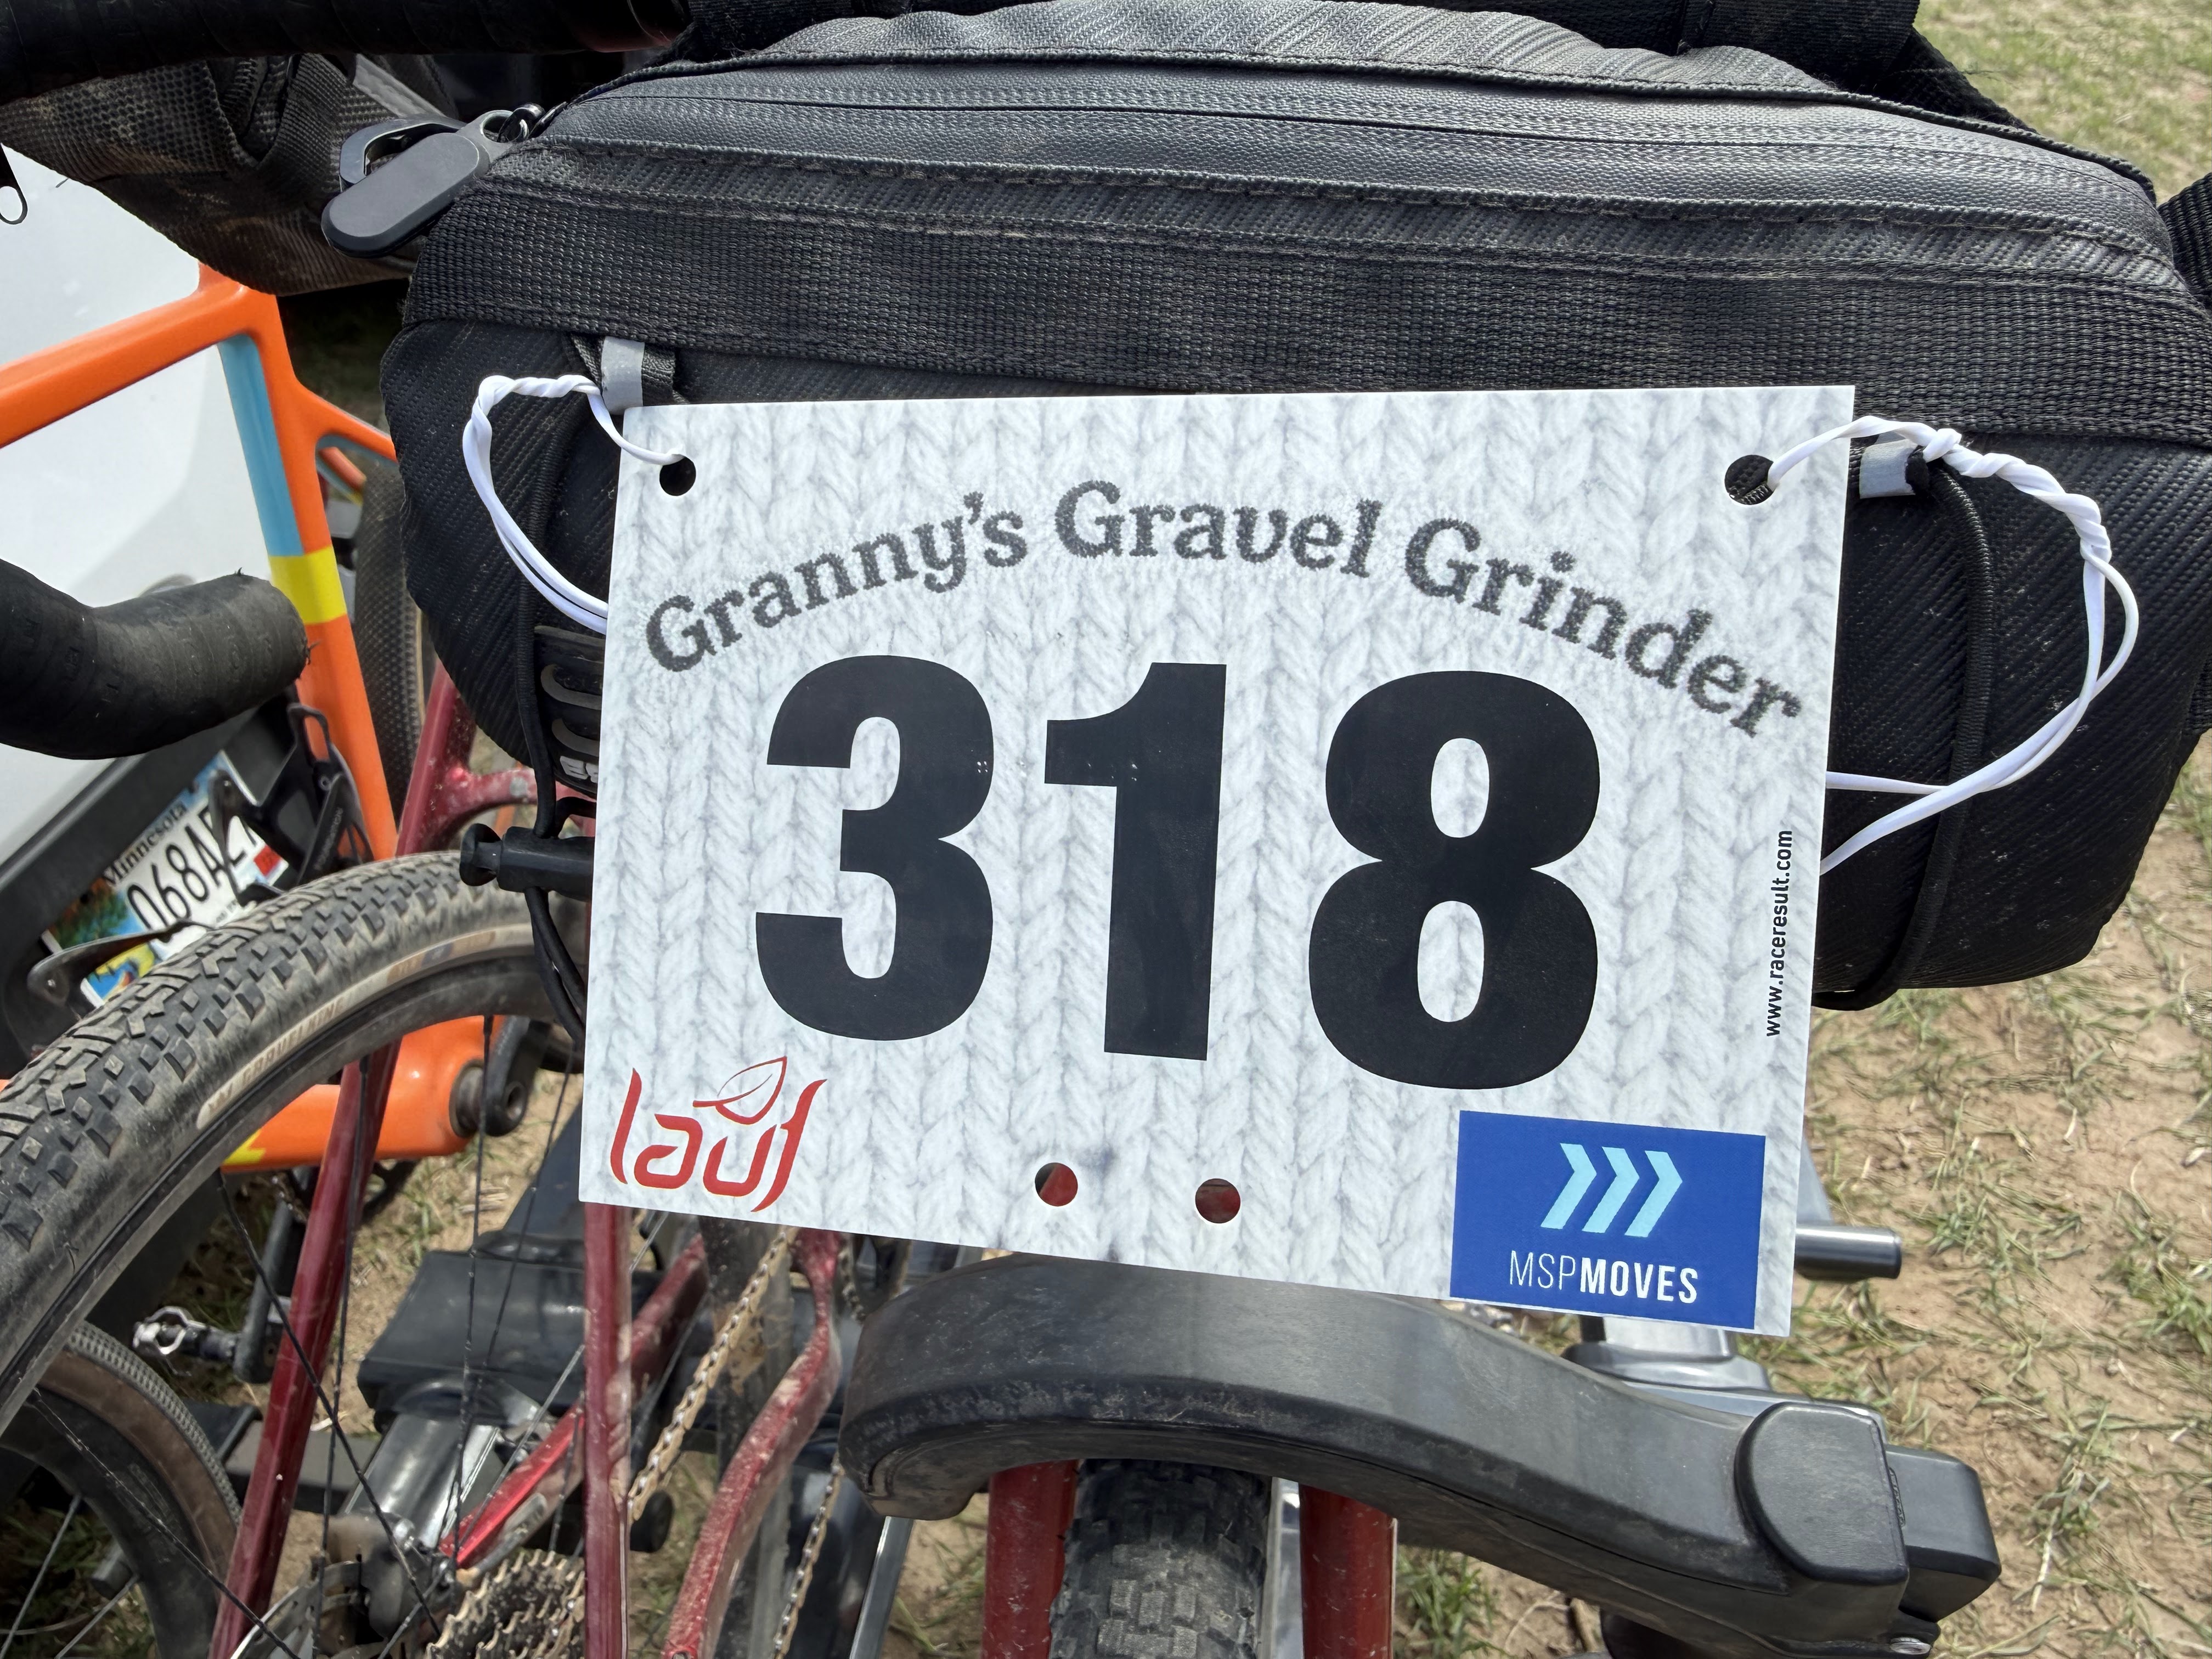
    silent sports, granny's gravel grinder face plate

    2026 marks the 4th year of the event and my third trip to Granny’s house, and to be clear I am no elite athlete, I enjoy endurance events because of the challenge, I’m not out there to win and my results show that! Two years ago I did the 50 mile event, which was my first long distance race ever. It rained all night and into the start of the race. It was a total mud-fest and a total blast, made even harder by my decision to ride my single speed. Last year I decided I needed more punishment and did the 100 mile, as it was part of my prep for the Lutsen 99er. The weather was perfect, but the race was very difficult for me. Those last 30 miles are brutal! Oh and by the way, when I say it is a 100 or 50 miles race they are actually 109 and 57 respectively. Even though I knew the race distances going into it, there was a real psychological impact when I got to mile 89. My head felt like I should be nearly done, but I knew it was really another 20 miles…Uff Da! This year I went back to the 50 mile. I think I was actually in better shape this year than last year, but I wanted to ride the same event that my younger son is participating in, and it allowed me to try and push a little harder instead of just surviving. 

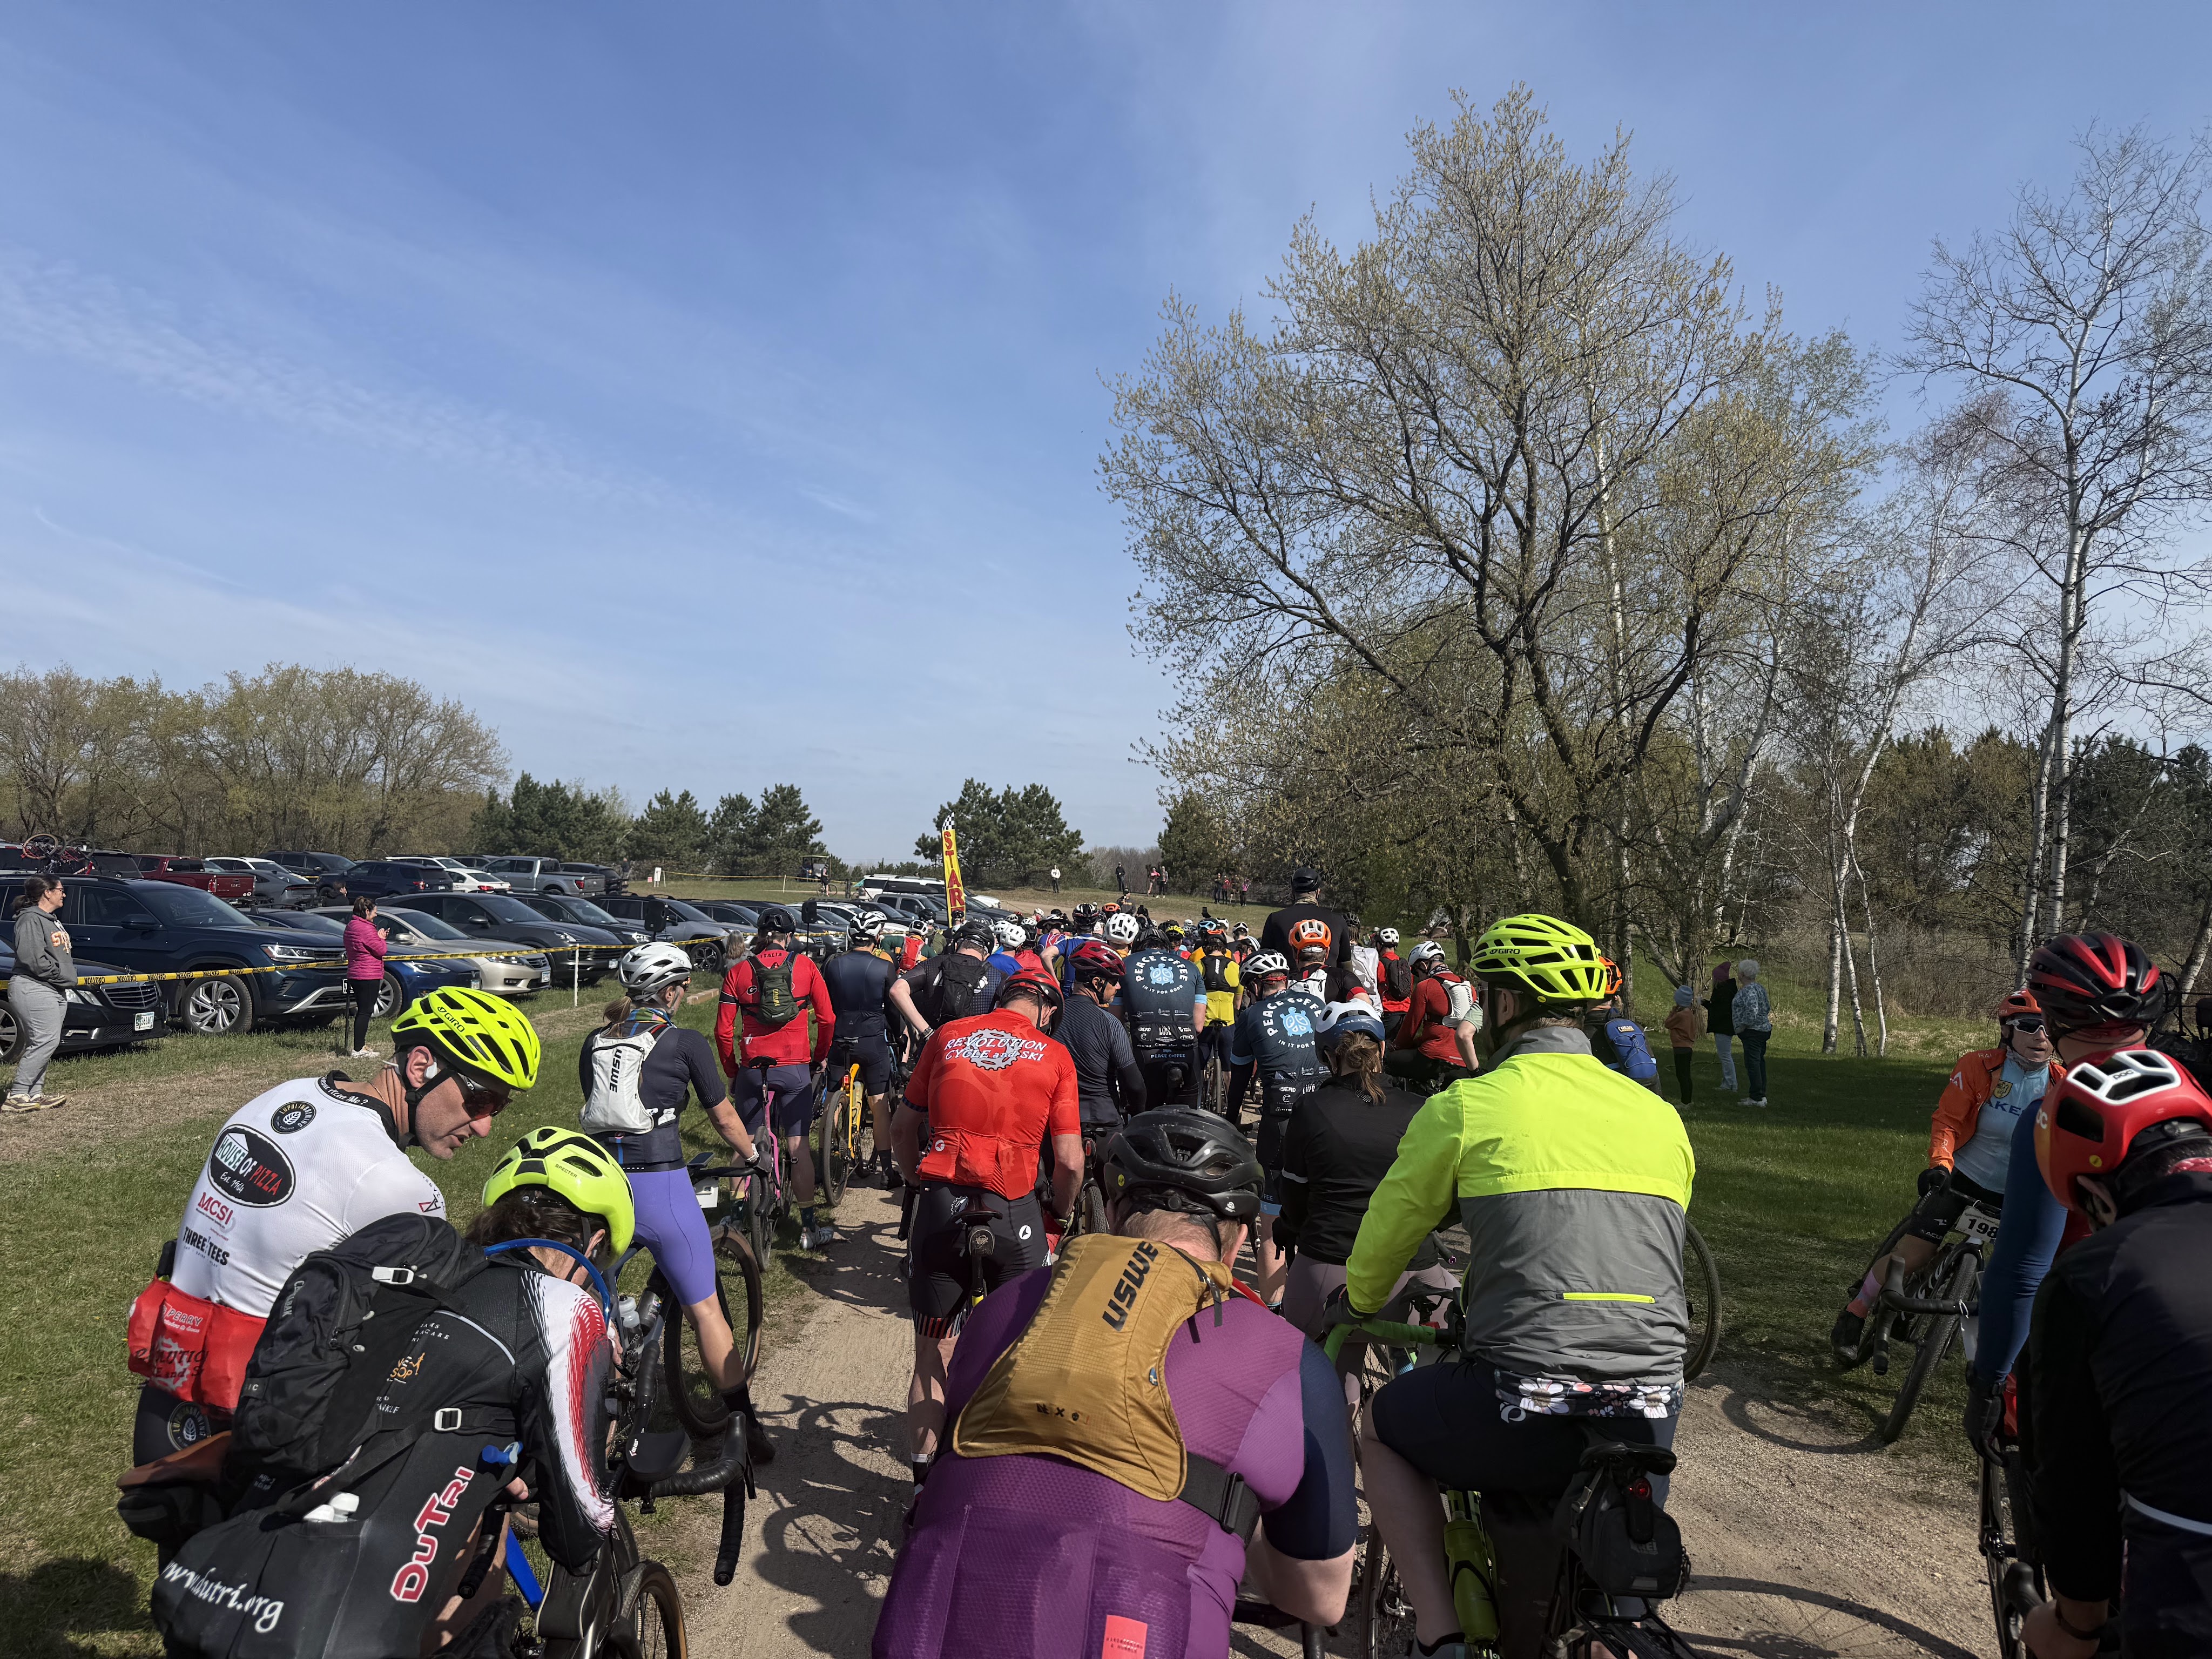
    silent sports, granny's gravel grinder start line
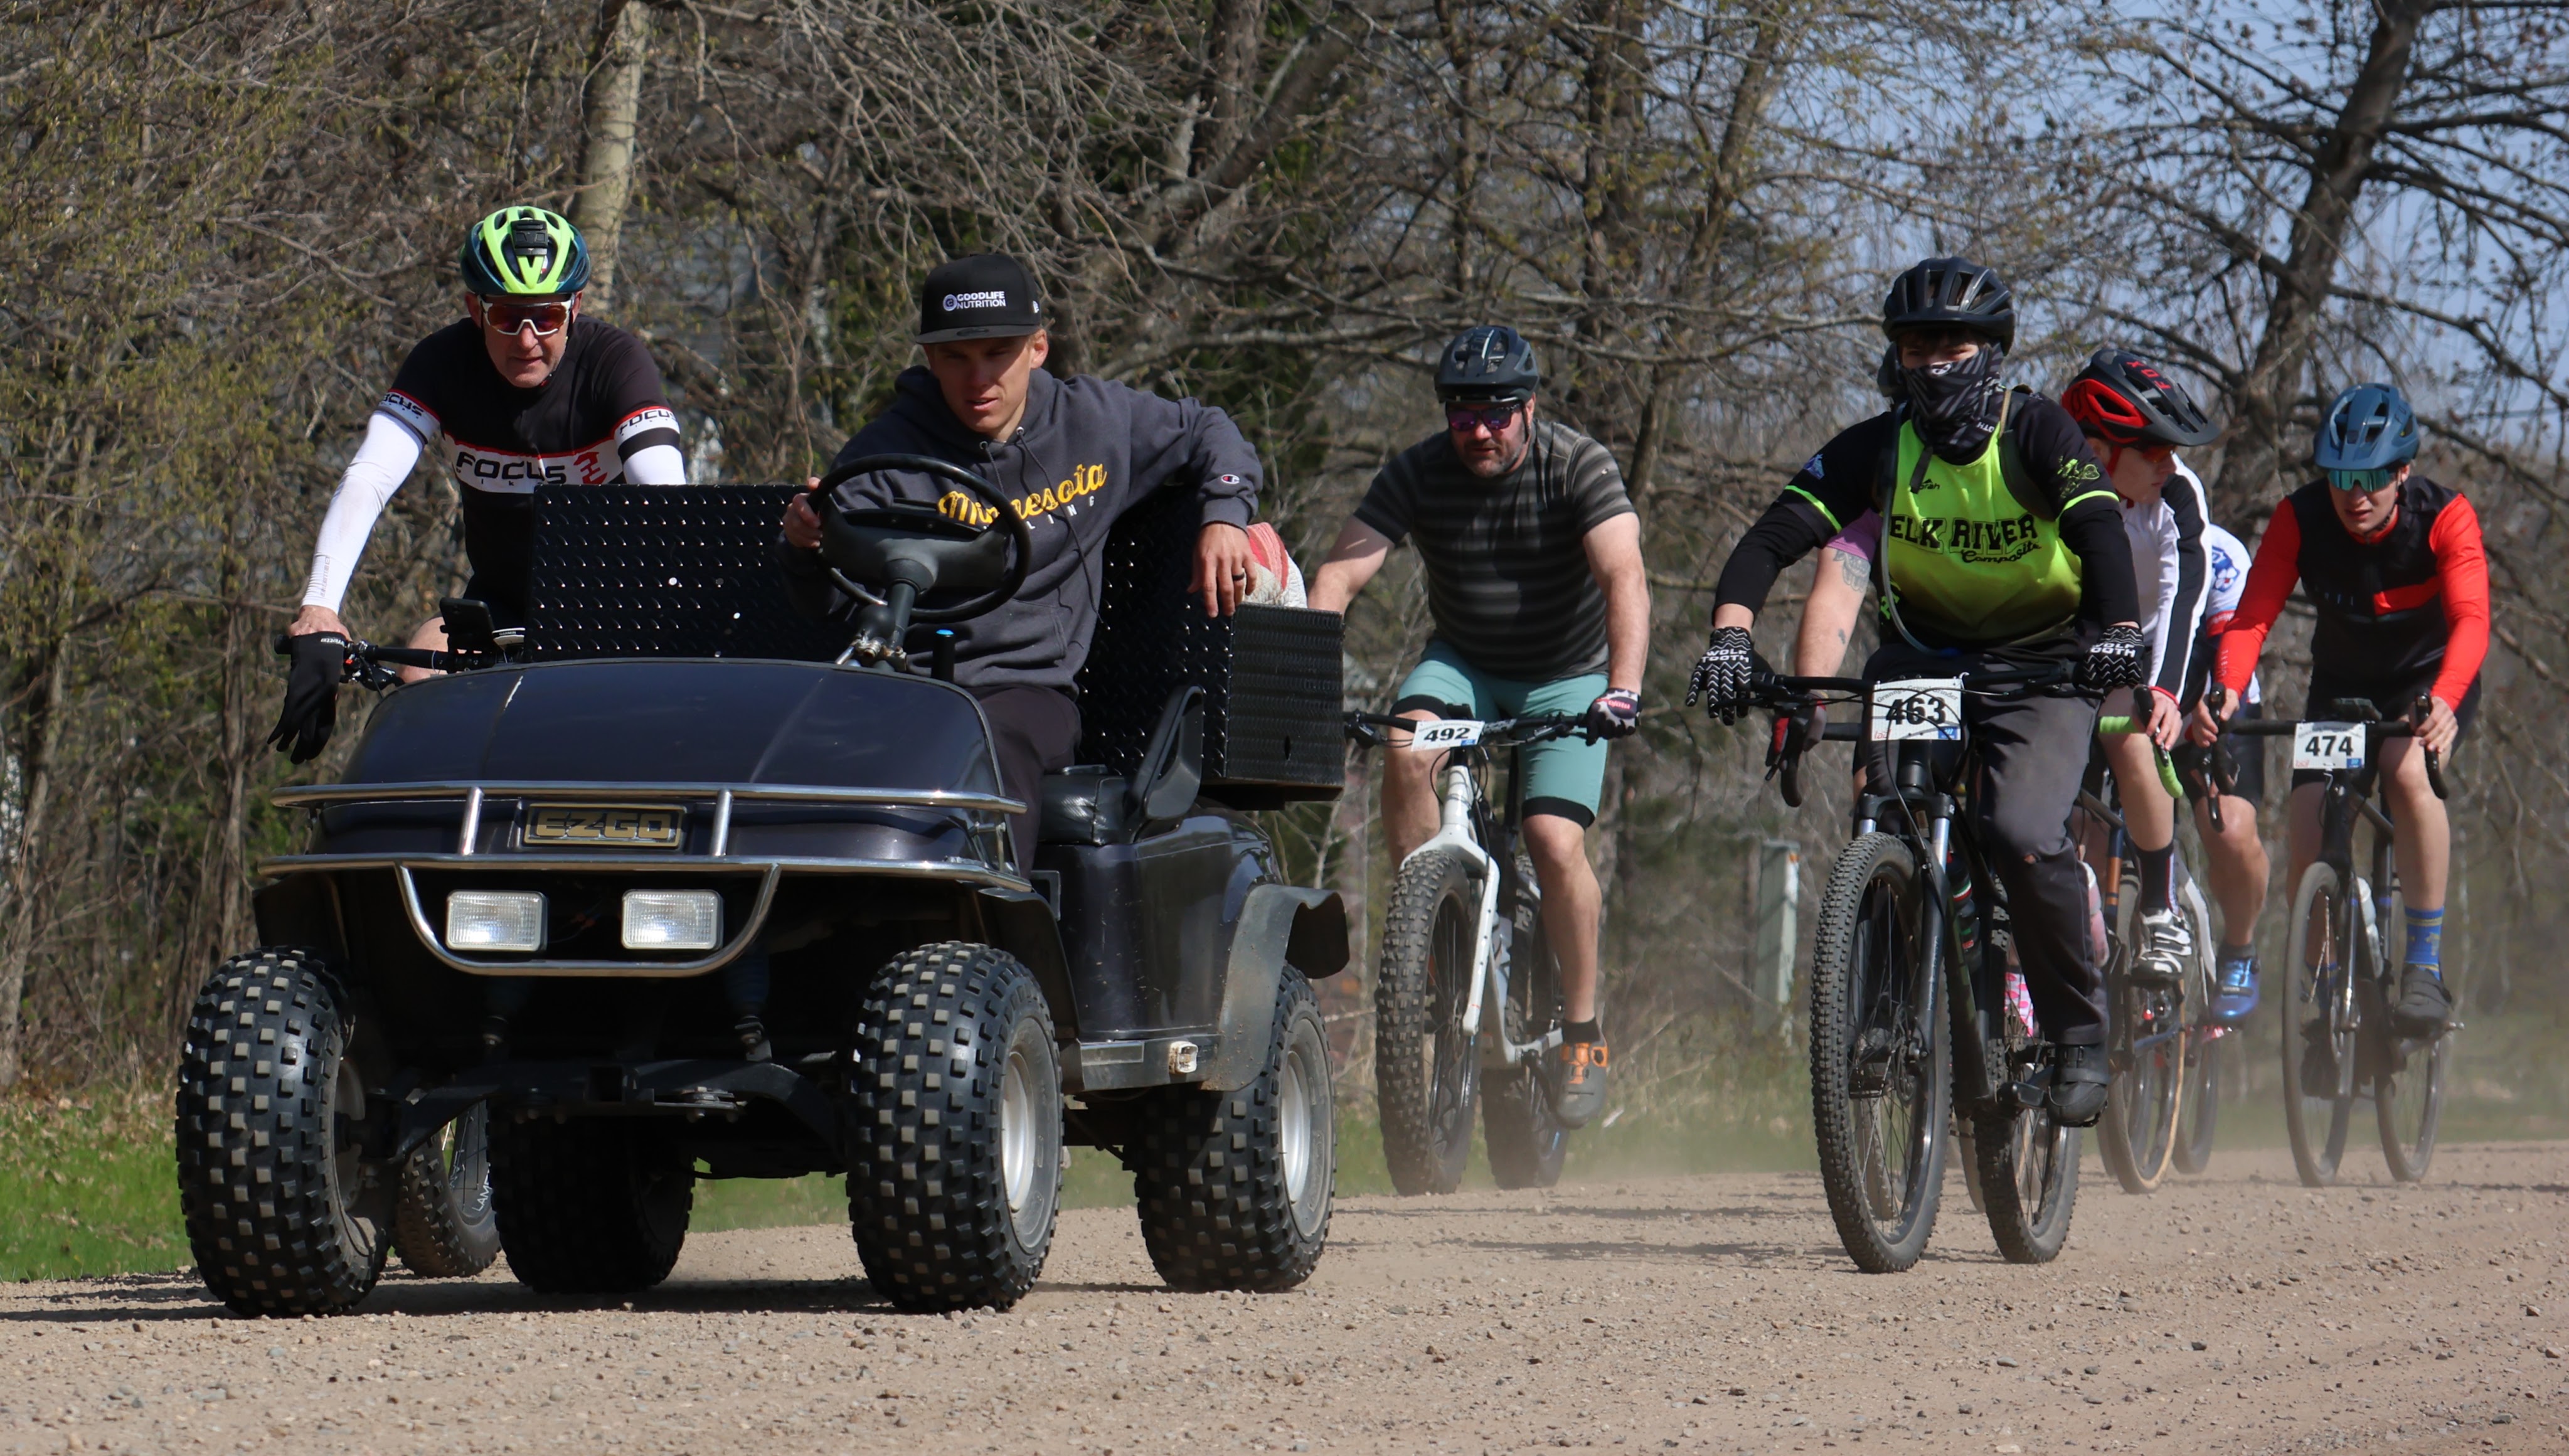
    silent sports, granny's gravel grinder the lead out

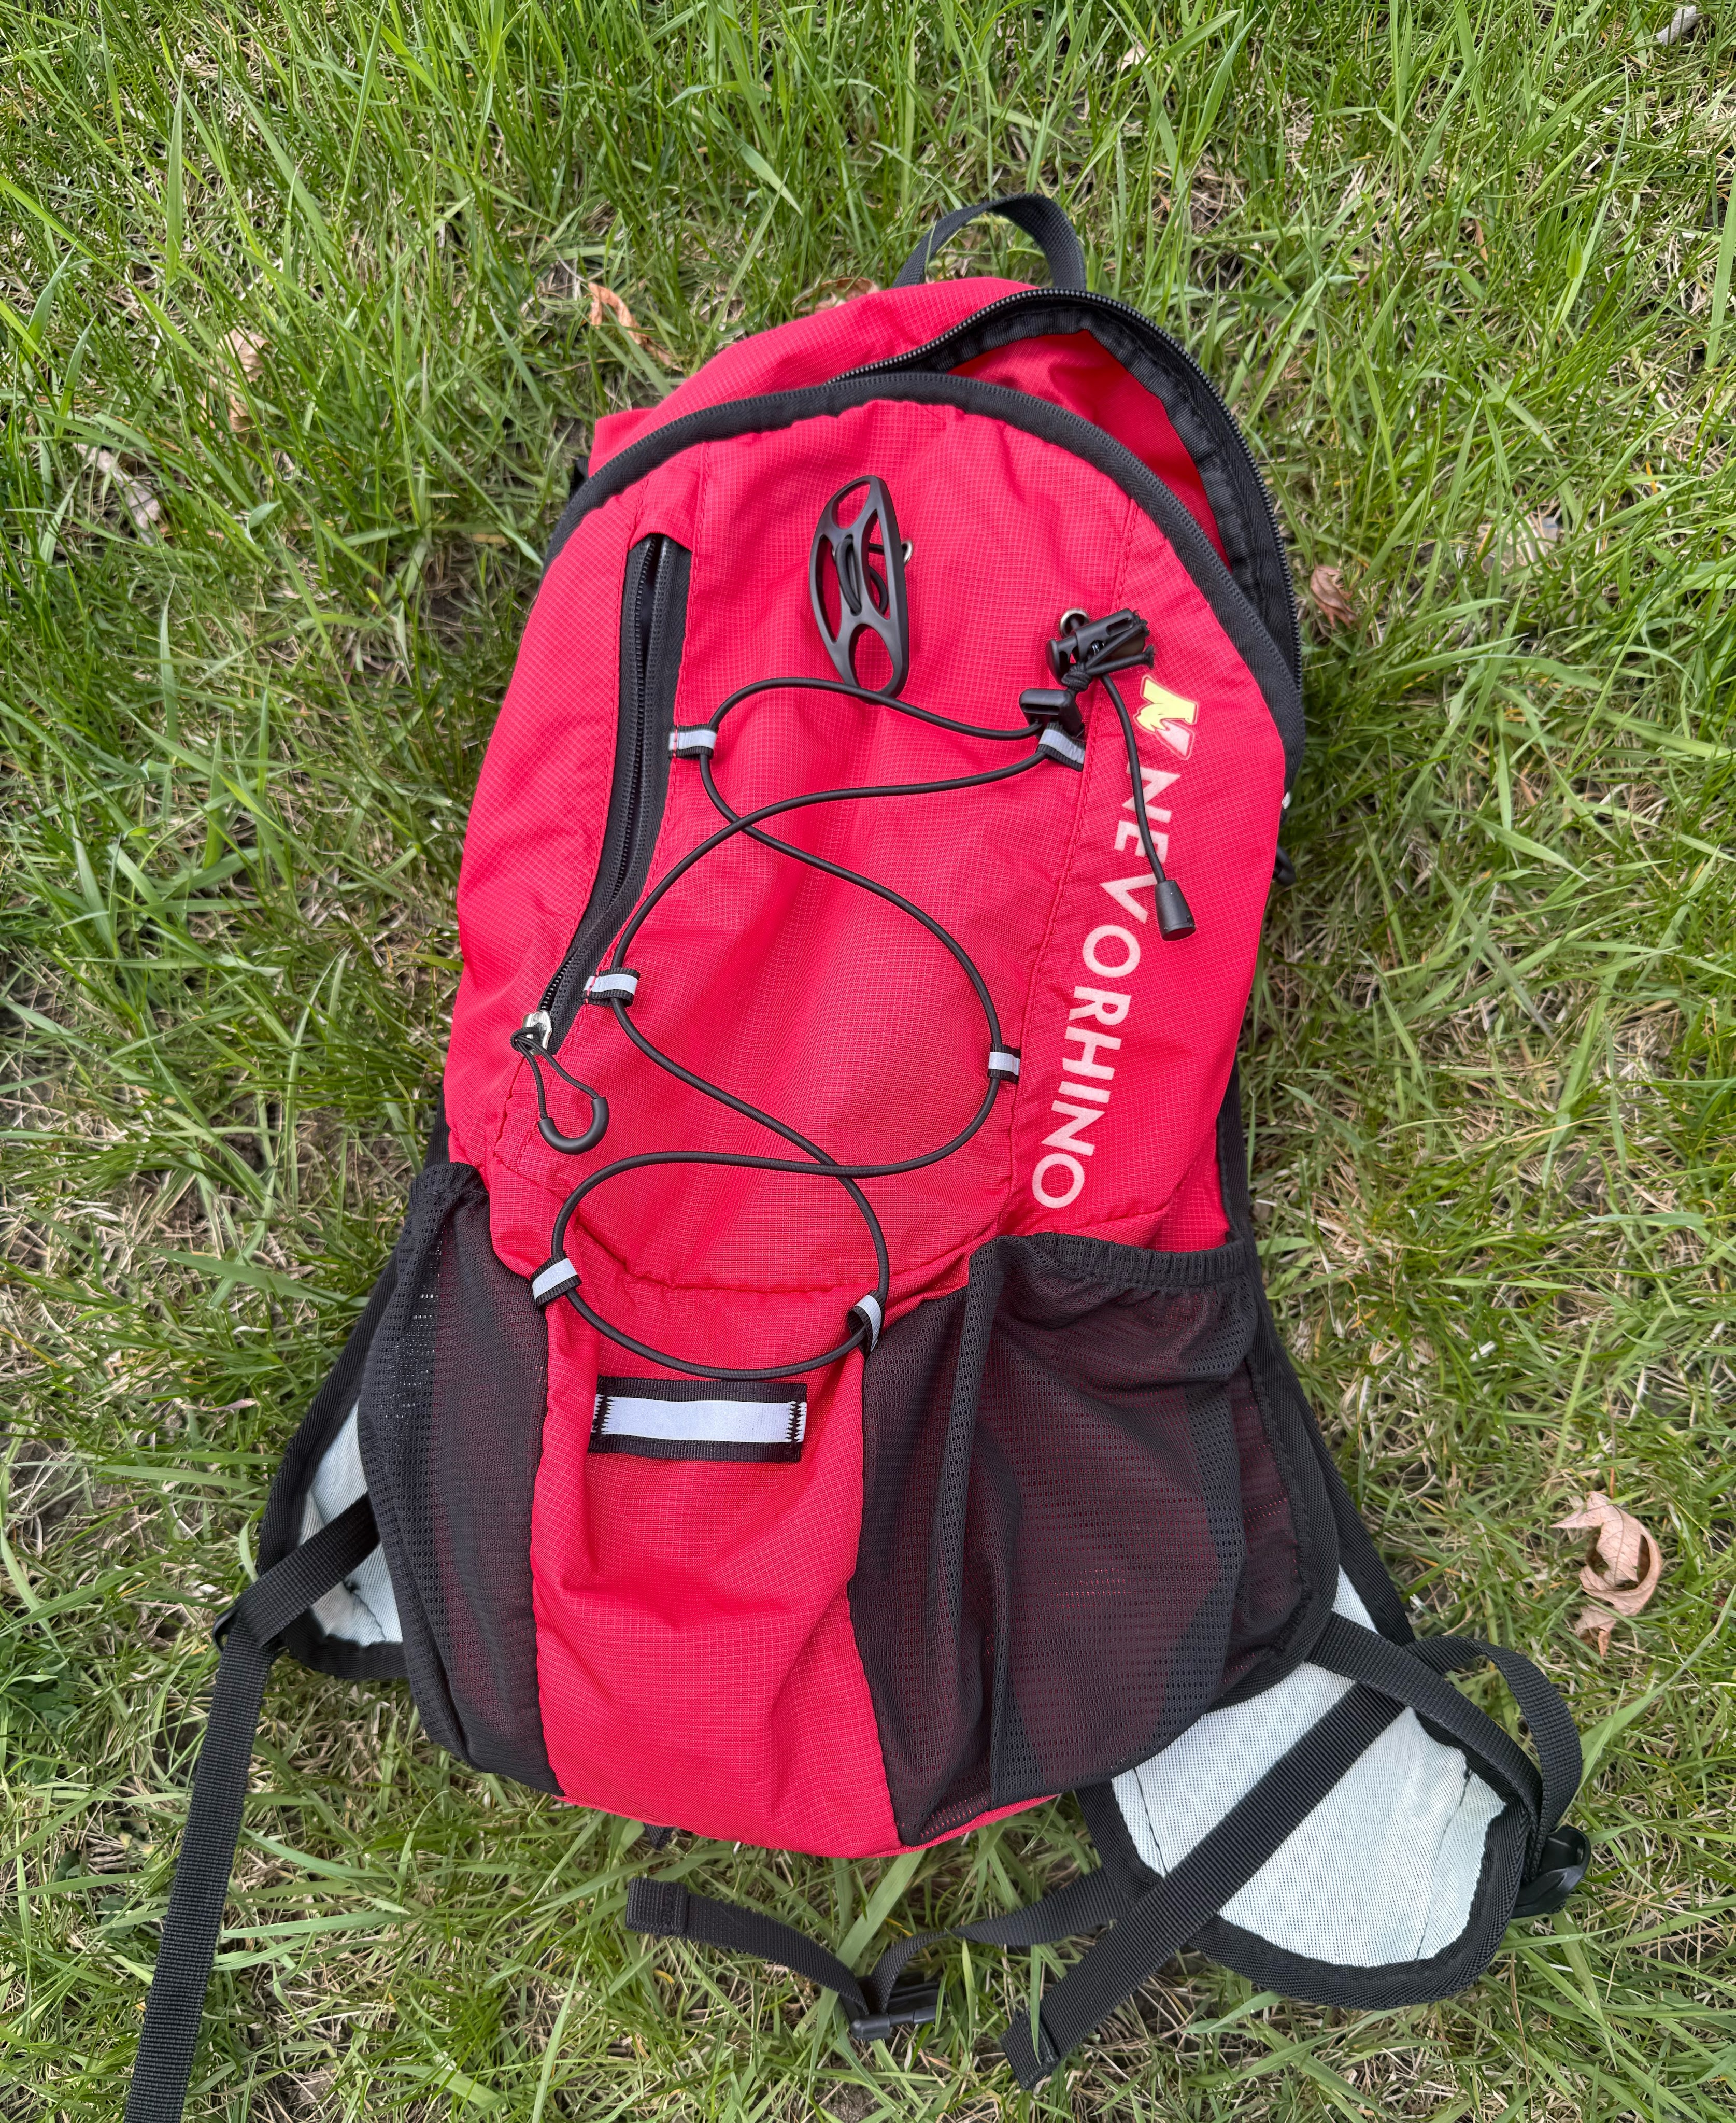
    For the second year in a row the weather was perfect, starting the 50 mile race at 10 AM under sunny skies and 50 degrees with just a slight breeze. The start was sure to be fast and it didn’t disappoint. My gravel bike is a carbon frame from bikes direct that has pretty nice components on it including Shimano Ultegra groupset and hydraulic disc brakes. For tires I was running Maxxis Rambler 40mm, set up tubeless. My nutrition for this ride was a home-brew calorie and electrolyte mix that I carried in a 2-liter hydration pack. This is the hydration pack that I have used for a few years now, it is inexpensive, but it is light, and has been on thousands of miles with me. I’ve used this pack for 3 granny’s, one Lutsen 99er, two Chequamegon’s and much of the training. You can see from the picture it is still in great shape, although I did just wash it. The only thing I changed was swapping the bladder that came with it for a Nathan bladder and hose which are more supple and user friendly. There is plenty of room for a light jacket, spare tubes, snacks and more. The following are affiliate links. If you click and purchase I may receive a commission at no cost to you, but rest assured I would not endorse a product or brand that I don’t use myself. 

    silent sports, hydration pack

    N Nevo Rhino Pack

    Nathan Hydration Bladder

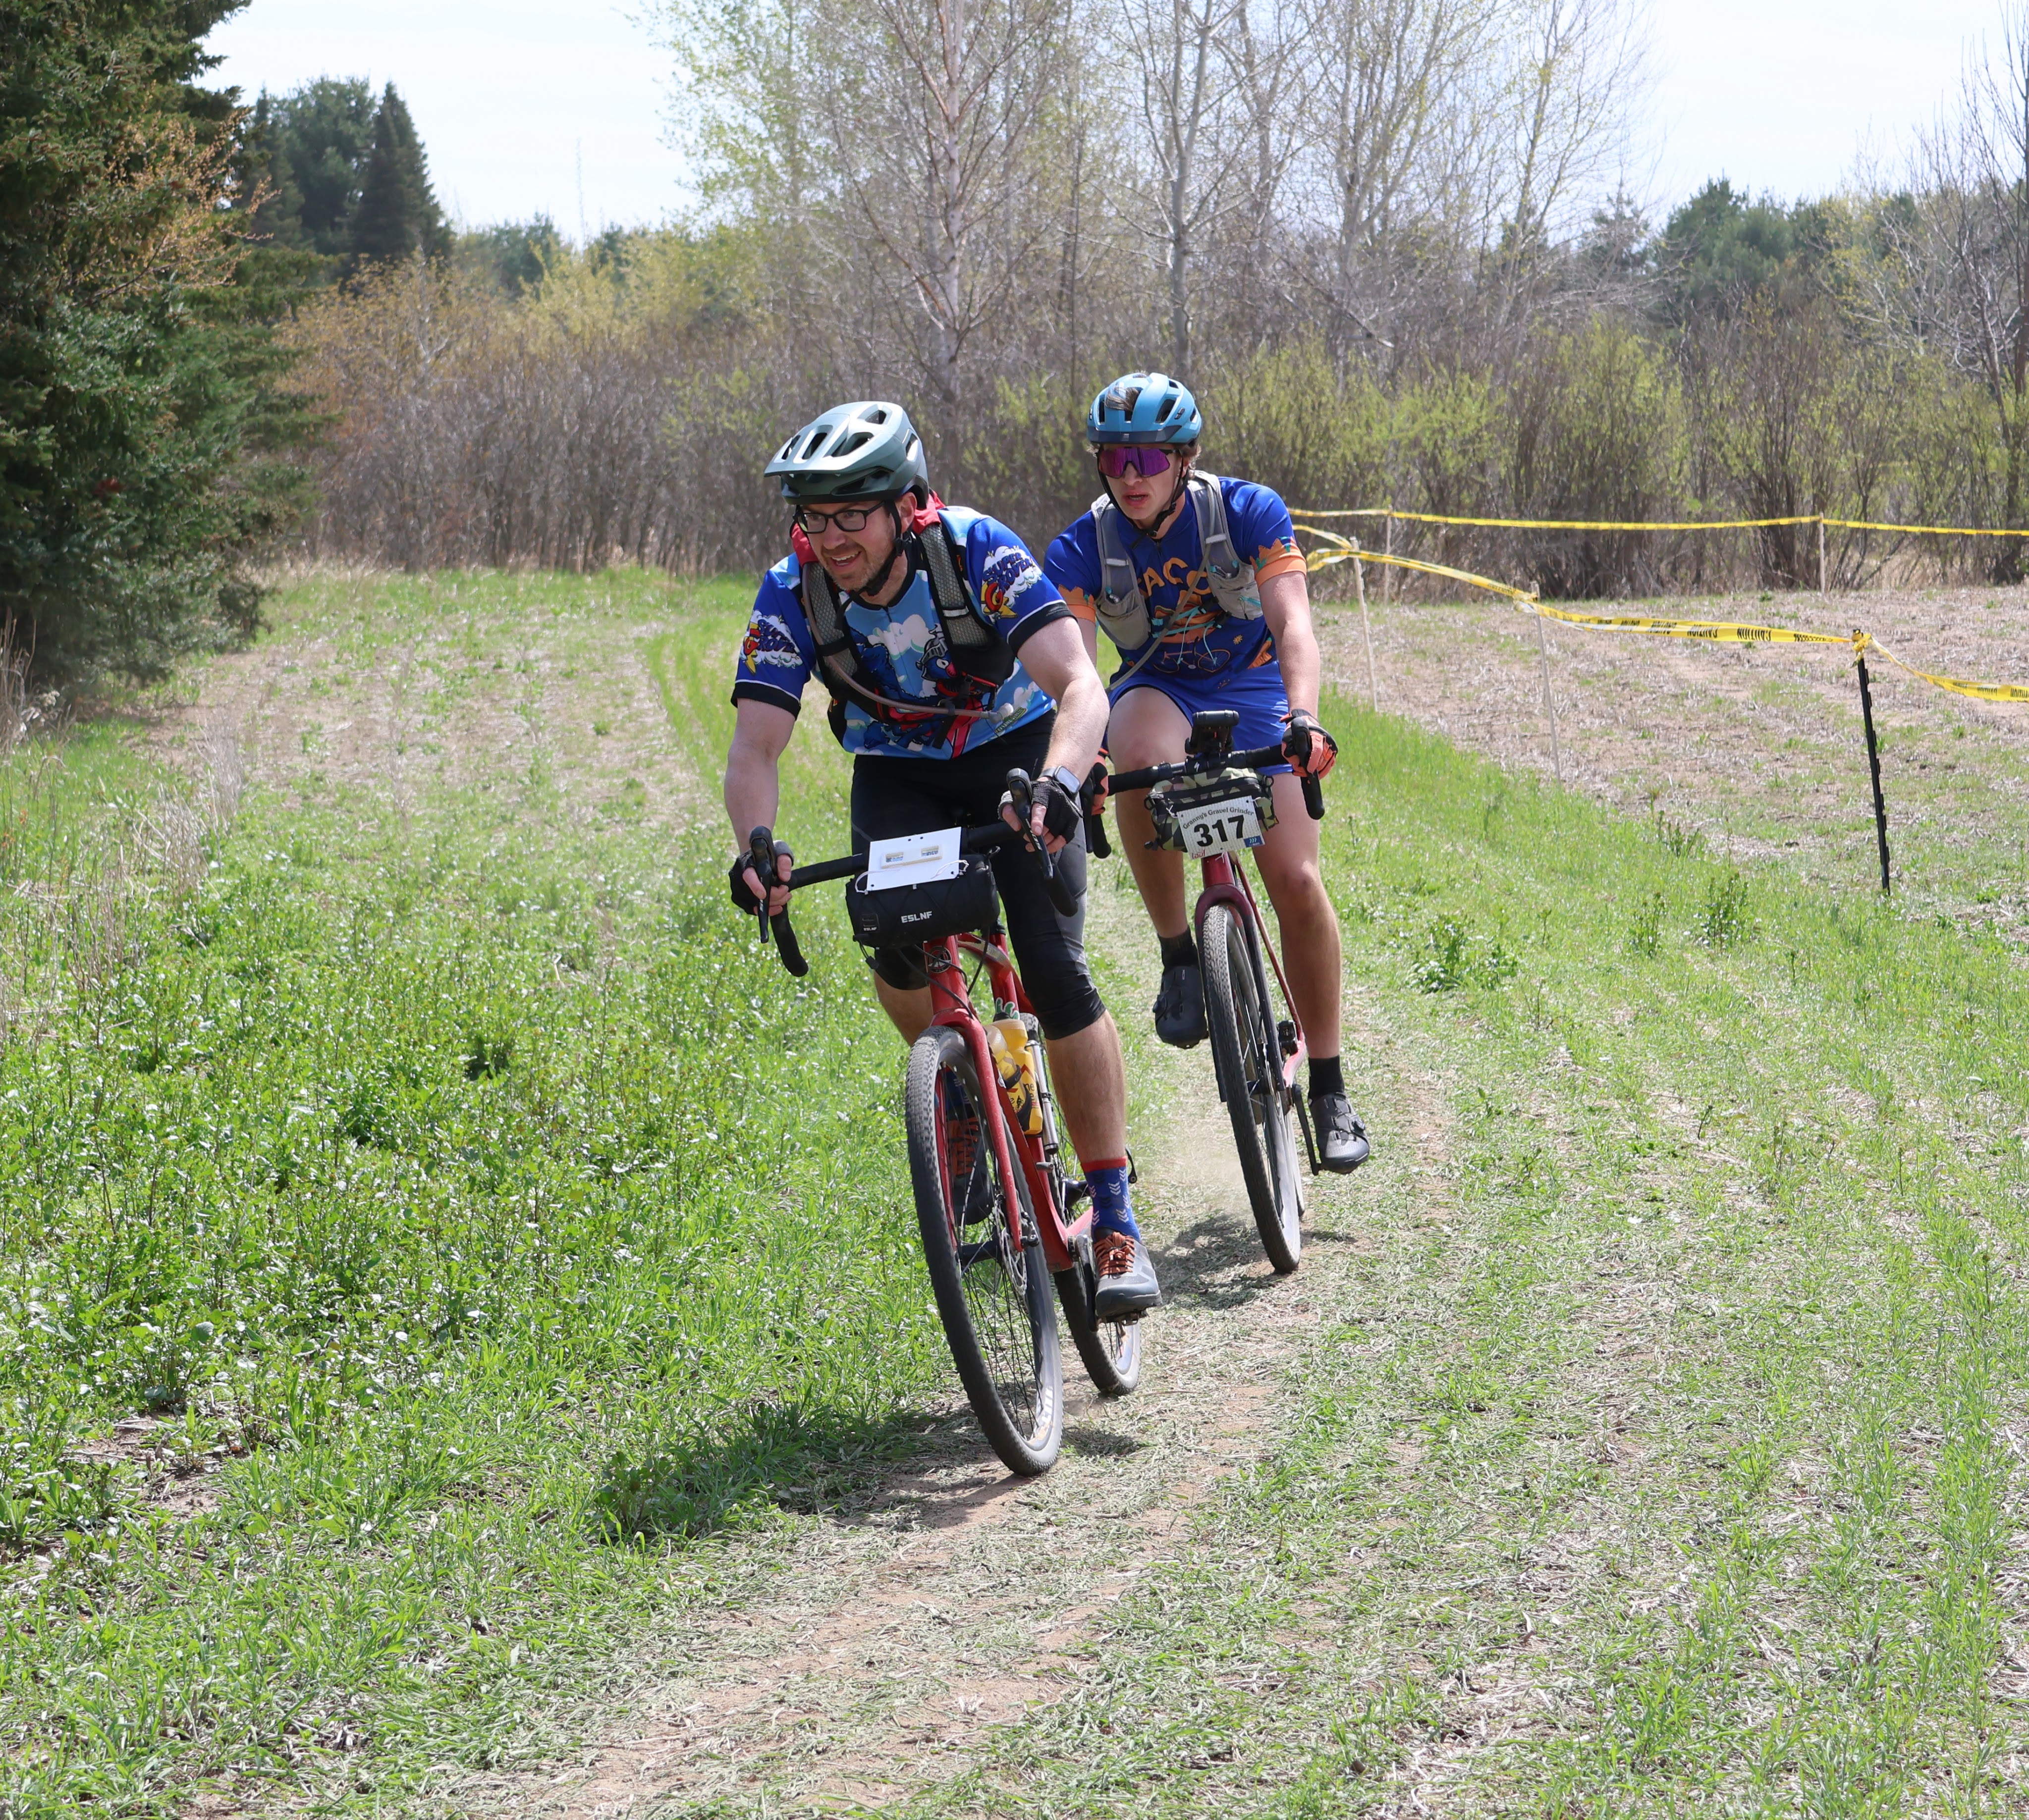
    My 15 year old and I planned to ride together with a goal of holding 16 mph. To this end we were doing quite well, keeping each other in check, taking turns when we lost a group and making sure we were having a good time. For the 50 miler, there is one aid station at about the 34 mile mark, which is set up at Jitters coffee shop in Ogilve, MN. Like always the aid station provided something for everyone; chips, drinks, pickles, fruit snacks, and much more. Our nutrition and hydration were on point, bodies feeling good and ready to go…until we left the aid station. As we pulled away and headed south, the wind hit like a ton of bricks. On top of legs that were maybe a little more tired than we realized, our pace slowed to about 14 mph. We would continue to battle the wind for the rest of the race, with our bodies going through the ebbs and flows of an endurance event. Although this is a gravel event, there are a few small sections of blacktop and I would be lying if I didn’t find a bit of relief when on the blacktop sections. It’s amazing what a difference it makes in speed and effort when going from loose gravel to blacktop! We continued to grind through the race and eventually one of us had to make a move. Before the race, my son and I decided we would race it together but the finish line is up for grabs. With about a half mile to go, I went for it, making the final turn through the pasture (yes the final stretch is through a field). I thought I was in the driver’s seat, when on the final corner, he shot past me and I had no answer. Fortunately in the picture below I was still in the lead! 

    silent sports, granny's gravel grinder the final turn

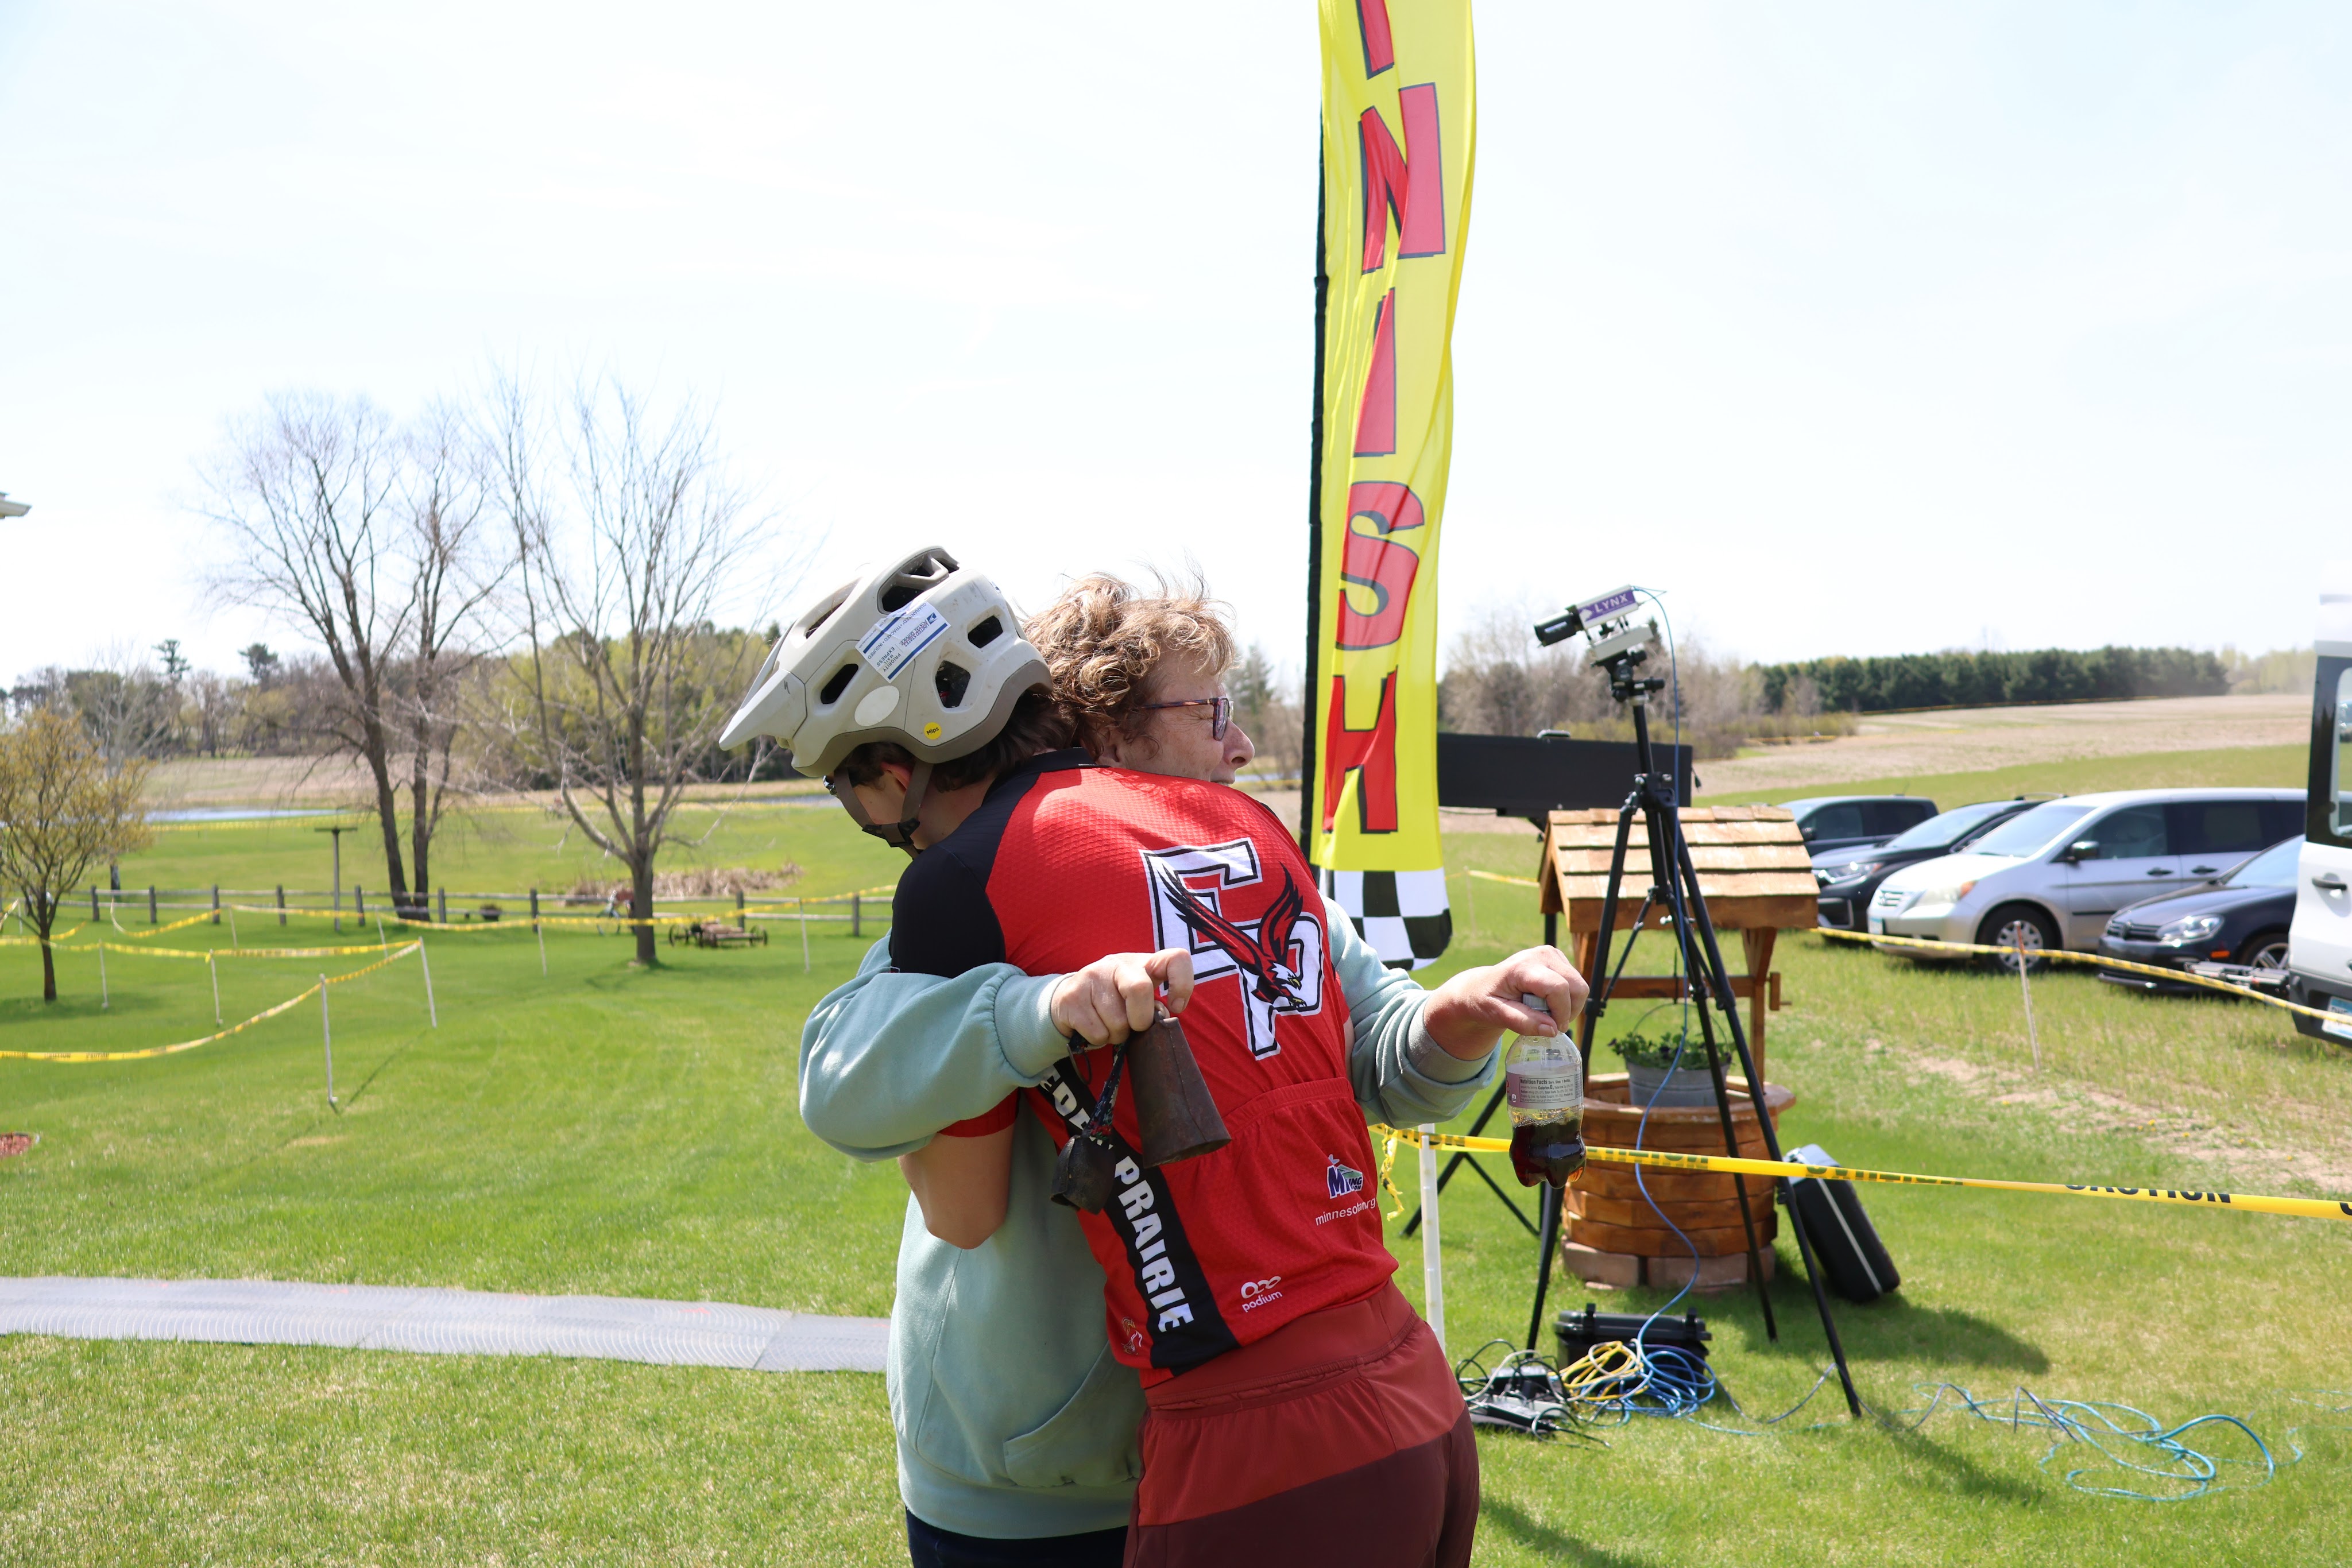
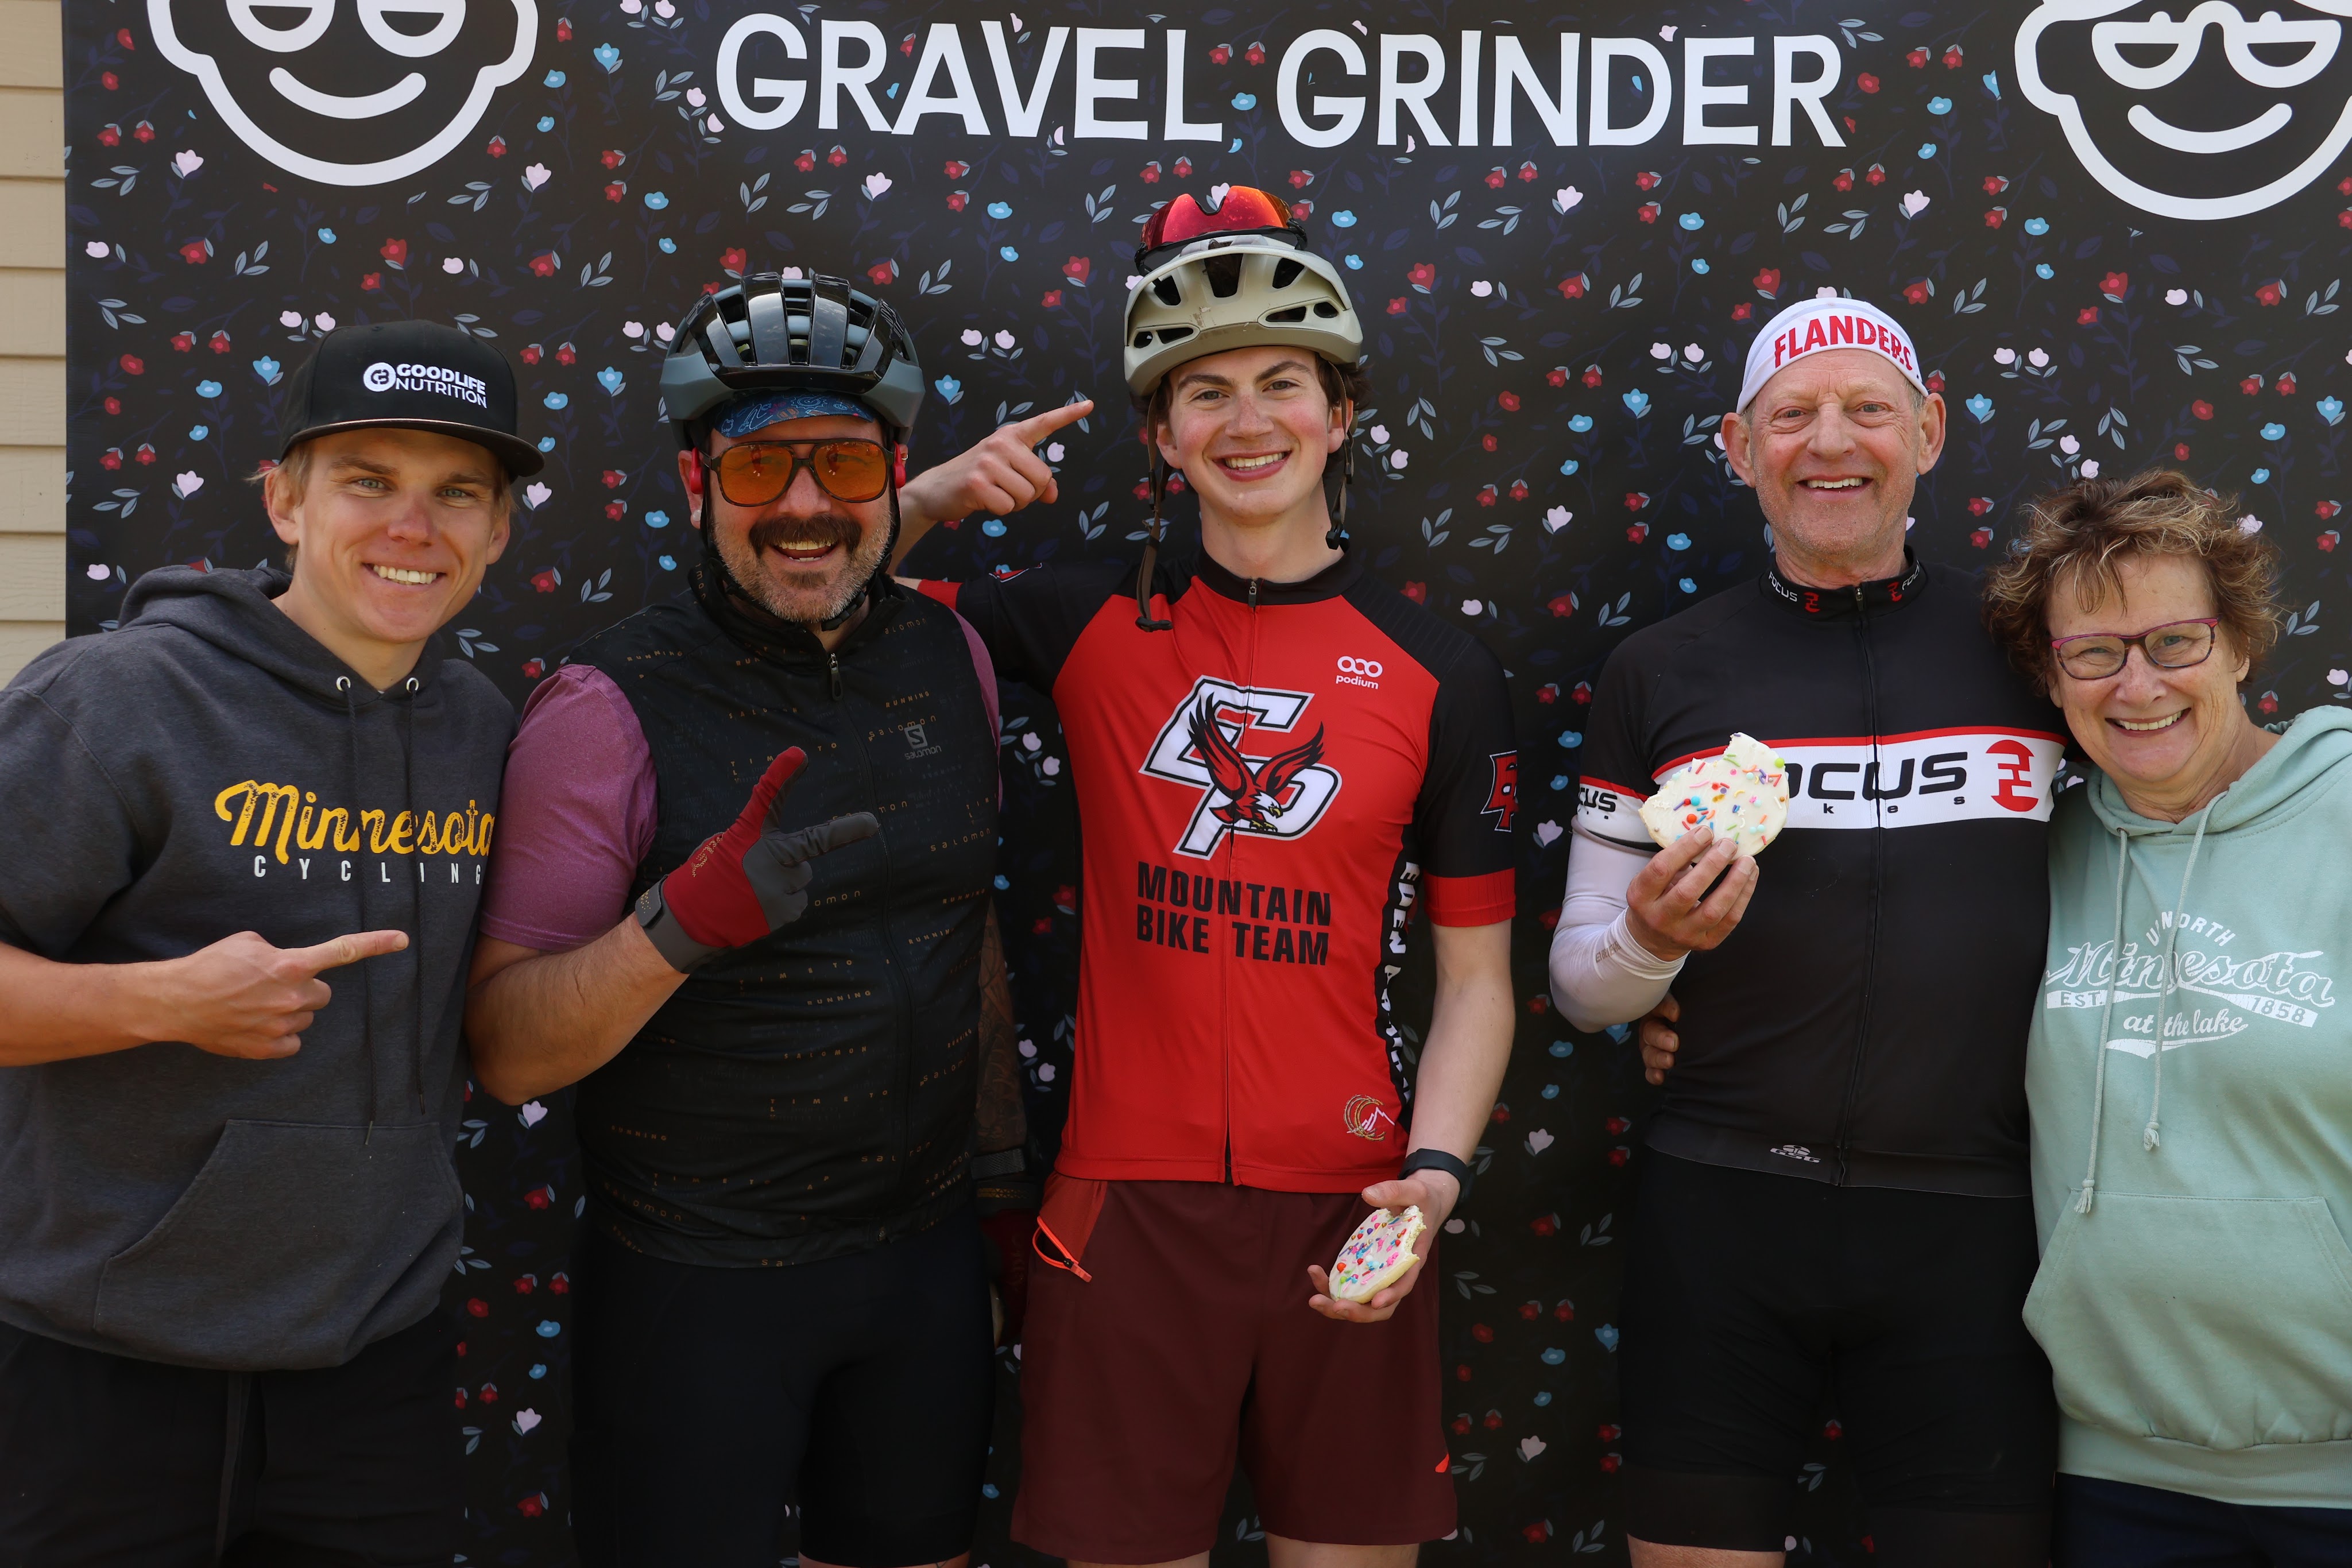
    It was a great day and a great finish, made better knowing that tacos and root beer floats waited for us. I should also mention that my older son, who was originally planning on doing the 100 mile race went down to the 25 mile since he is in the middle of track season and also nursing some calf tightness. He was planning on taking it chill and just following the crowd through the 25 mile course. His plans changed when he found himself in the lead, but kept taking wrong turns since there was nobody to follow. A mid-race Strava purchase set him on course and he won the 25 mile race despite the several wrong turns. I joked with him if he won a new bike, his response was; “no, a big cookie” and of course a hug from Granny! Which is the way it should be for events like this. Thanks again Chase, Granny, and the whole family!

    silent sports, granny's gravel grinder, 25 mile winner
    silent sports, granny's gravel grinder, 25 mile podium
  • Cold Weather Game Changer

    In Minnesota the transition months can be tough for the silent sport enthusiast. What is a transition month? I consider them to be April and November, although it could bleed into May or start early in October. This is the time period where the Nordic ski season is over or hasn’t yet begun, but the weather is pretty cold for riding. In the spring, the single track trails likely won’t be open on a consistent basis due to rain and freeze/thaw conditions. This doesn’t mean we stop biking, we just need to prepare. 

    I tend to have cold hands, especially when riding in cool weather. In the past I have tried many different glove and mitten combinations but I wasn’t satisfied with any of them. Thin gloves provide the dexterity but lack the warmth, thick gloves are clumsy, and mittens are better but make shifting challenging. I finally made the decision to try over the handlebar covers and boy am I glad that I did. 

    One quick note, this post contains affiliate links. If you click and purchase I may receive a commission at no cost to you, but rest assured I would not endorse a product or brand that I don’t use myself. 

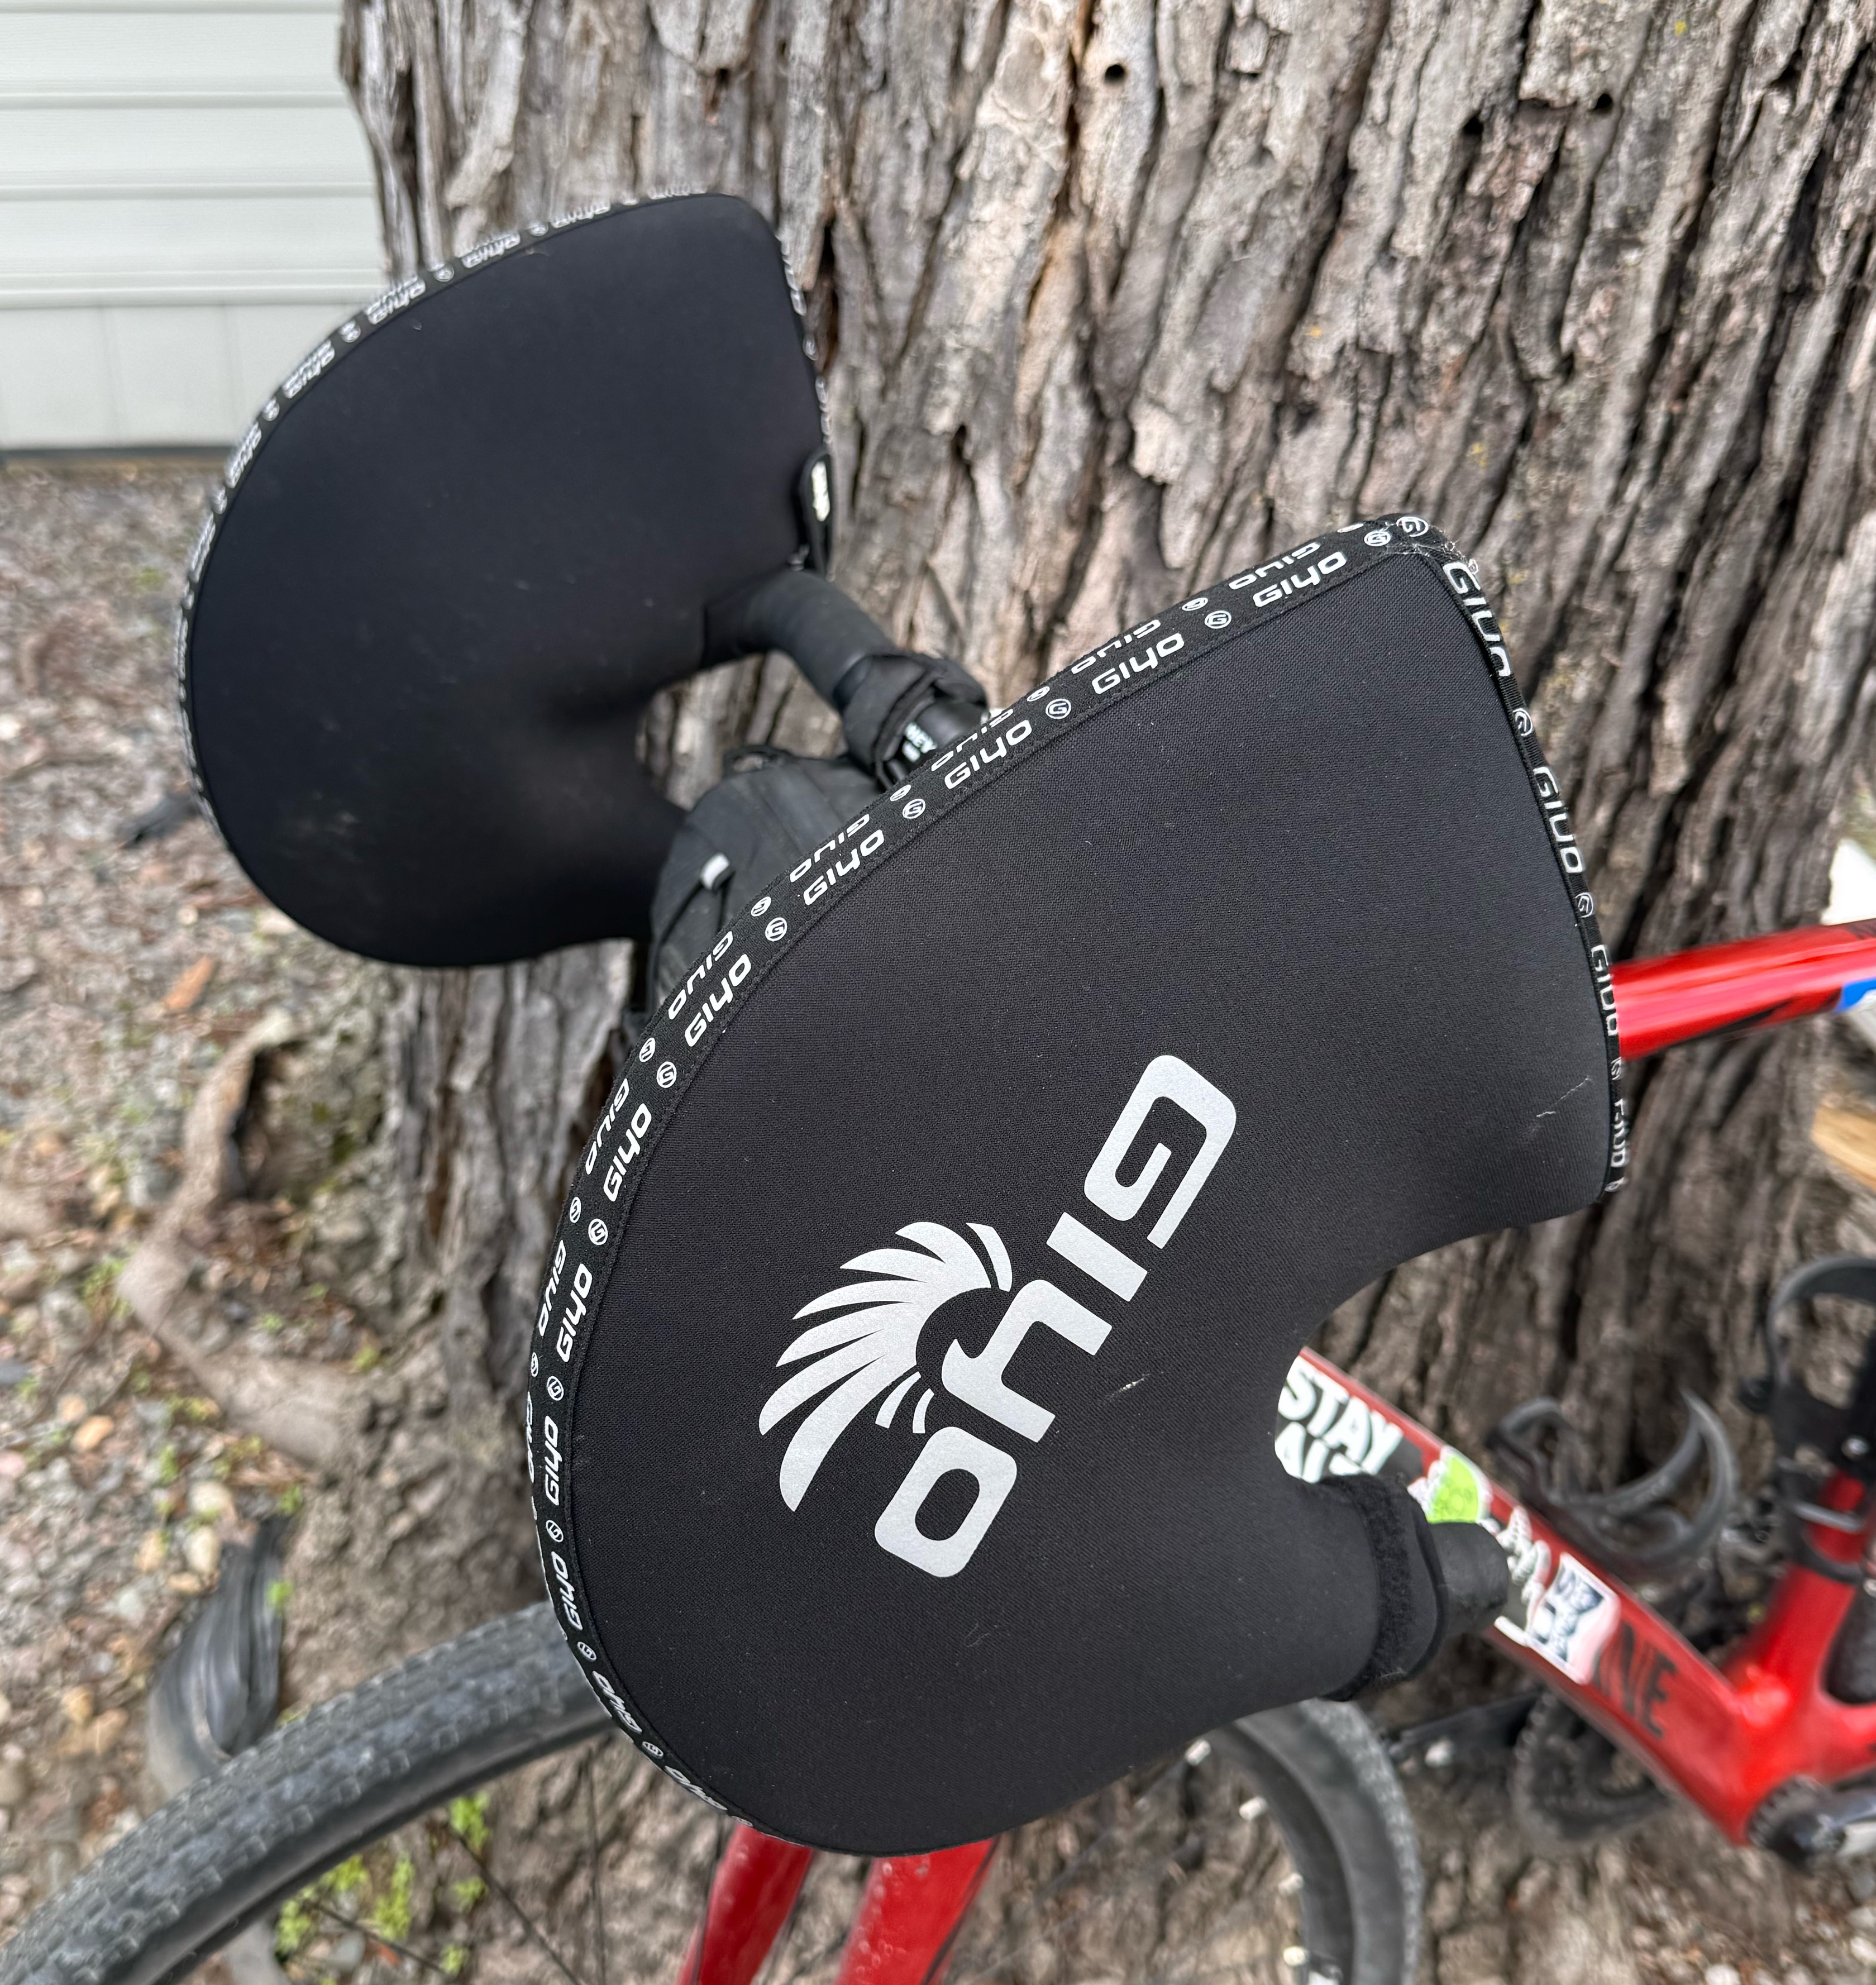
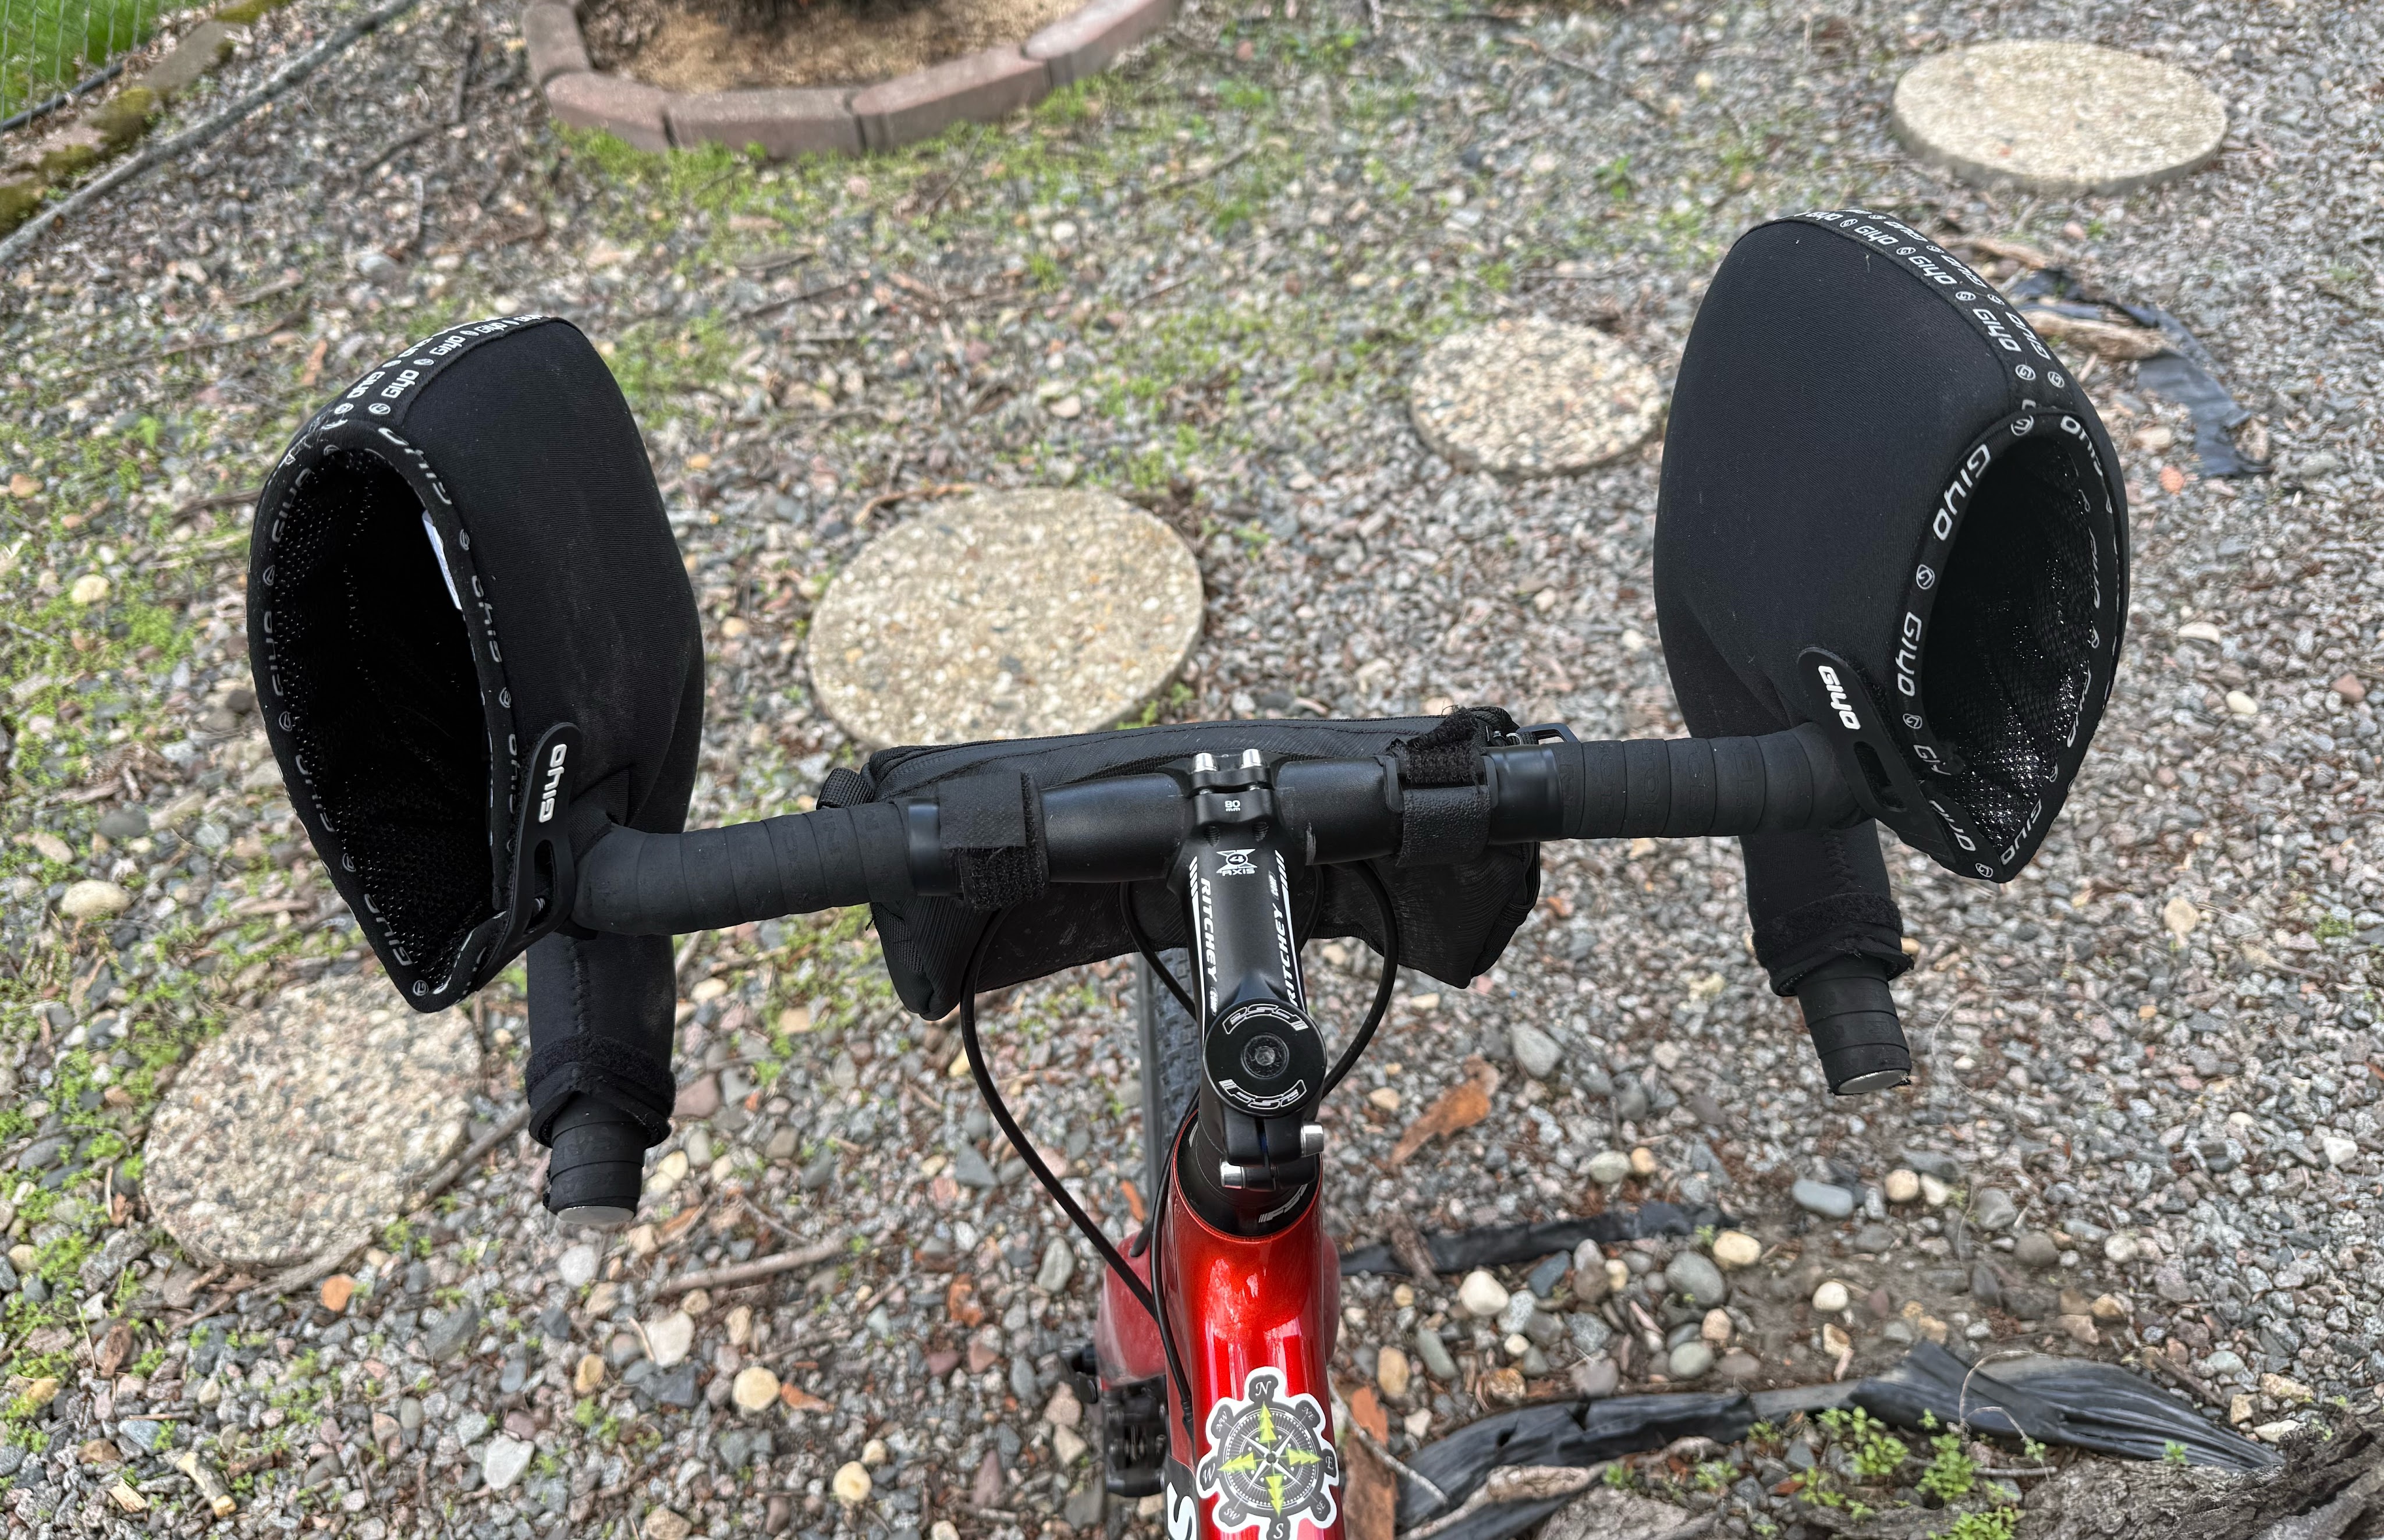
    I purchased two types of handle bar covers, one set for a road bike with drop bars and another for flat handlebars, and I’ll discuss them separately. First up is the drop bar covers. This pair is made of neoprene and slides on from the bar end. Installation only takes a few moments. One note on installation: my drop bars have no flare and these installed just fine, however, I could see that the fit might be different with drop bars that were flared. Unfortunately, I don’t have a bike with flared bars to try these on.

    Silent Sports drop bar mittens
    Silent Sports drop bar mittens

    On the first ride with these I went for it and wore no gloves or liners and experienced something very unusual for a cold weather ride…sweaty hands! I must say, these were a game changer for me. I loved the ability to not wear gloves, allowing me to use electronics, eat and drink unencumbered, while still keeping my hands warm. In fact, one downside was that the sweat made the grip a little slippery inside the covers. I would recommend adding a pair of thin fingerless gloves to use in addition to the covers. The thin gloves will help absorb moisture without sacrificing anything else. My hands were warm, but what about the biking? There are a few things to consider here, since the shifters and brakes are covered, you need to pay a bit more attention and keep your hands inside, predominantly in the relaxed position. The covers don’t allow for getting down into an aggressive position on the drops. To me this isn’t really a problem, If I am going for a cold weather ride I’m less concerned about cranking out watts than getting time in the saddle. Although it only takes a second to get your hands inside, it could still be enough to throw you off your game, especially if needing to reach your brakes in a hurry, just be aware.

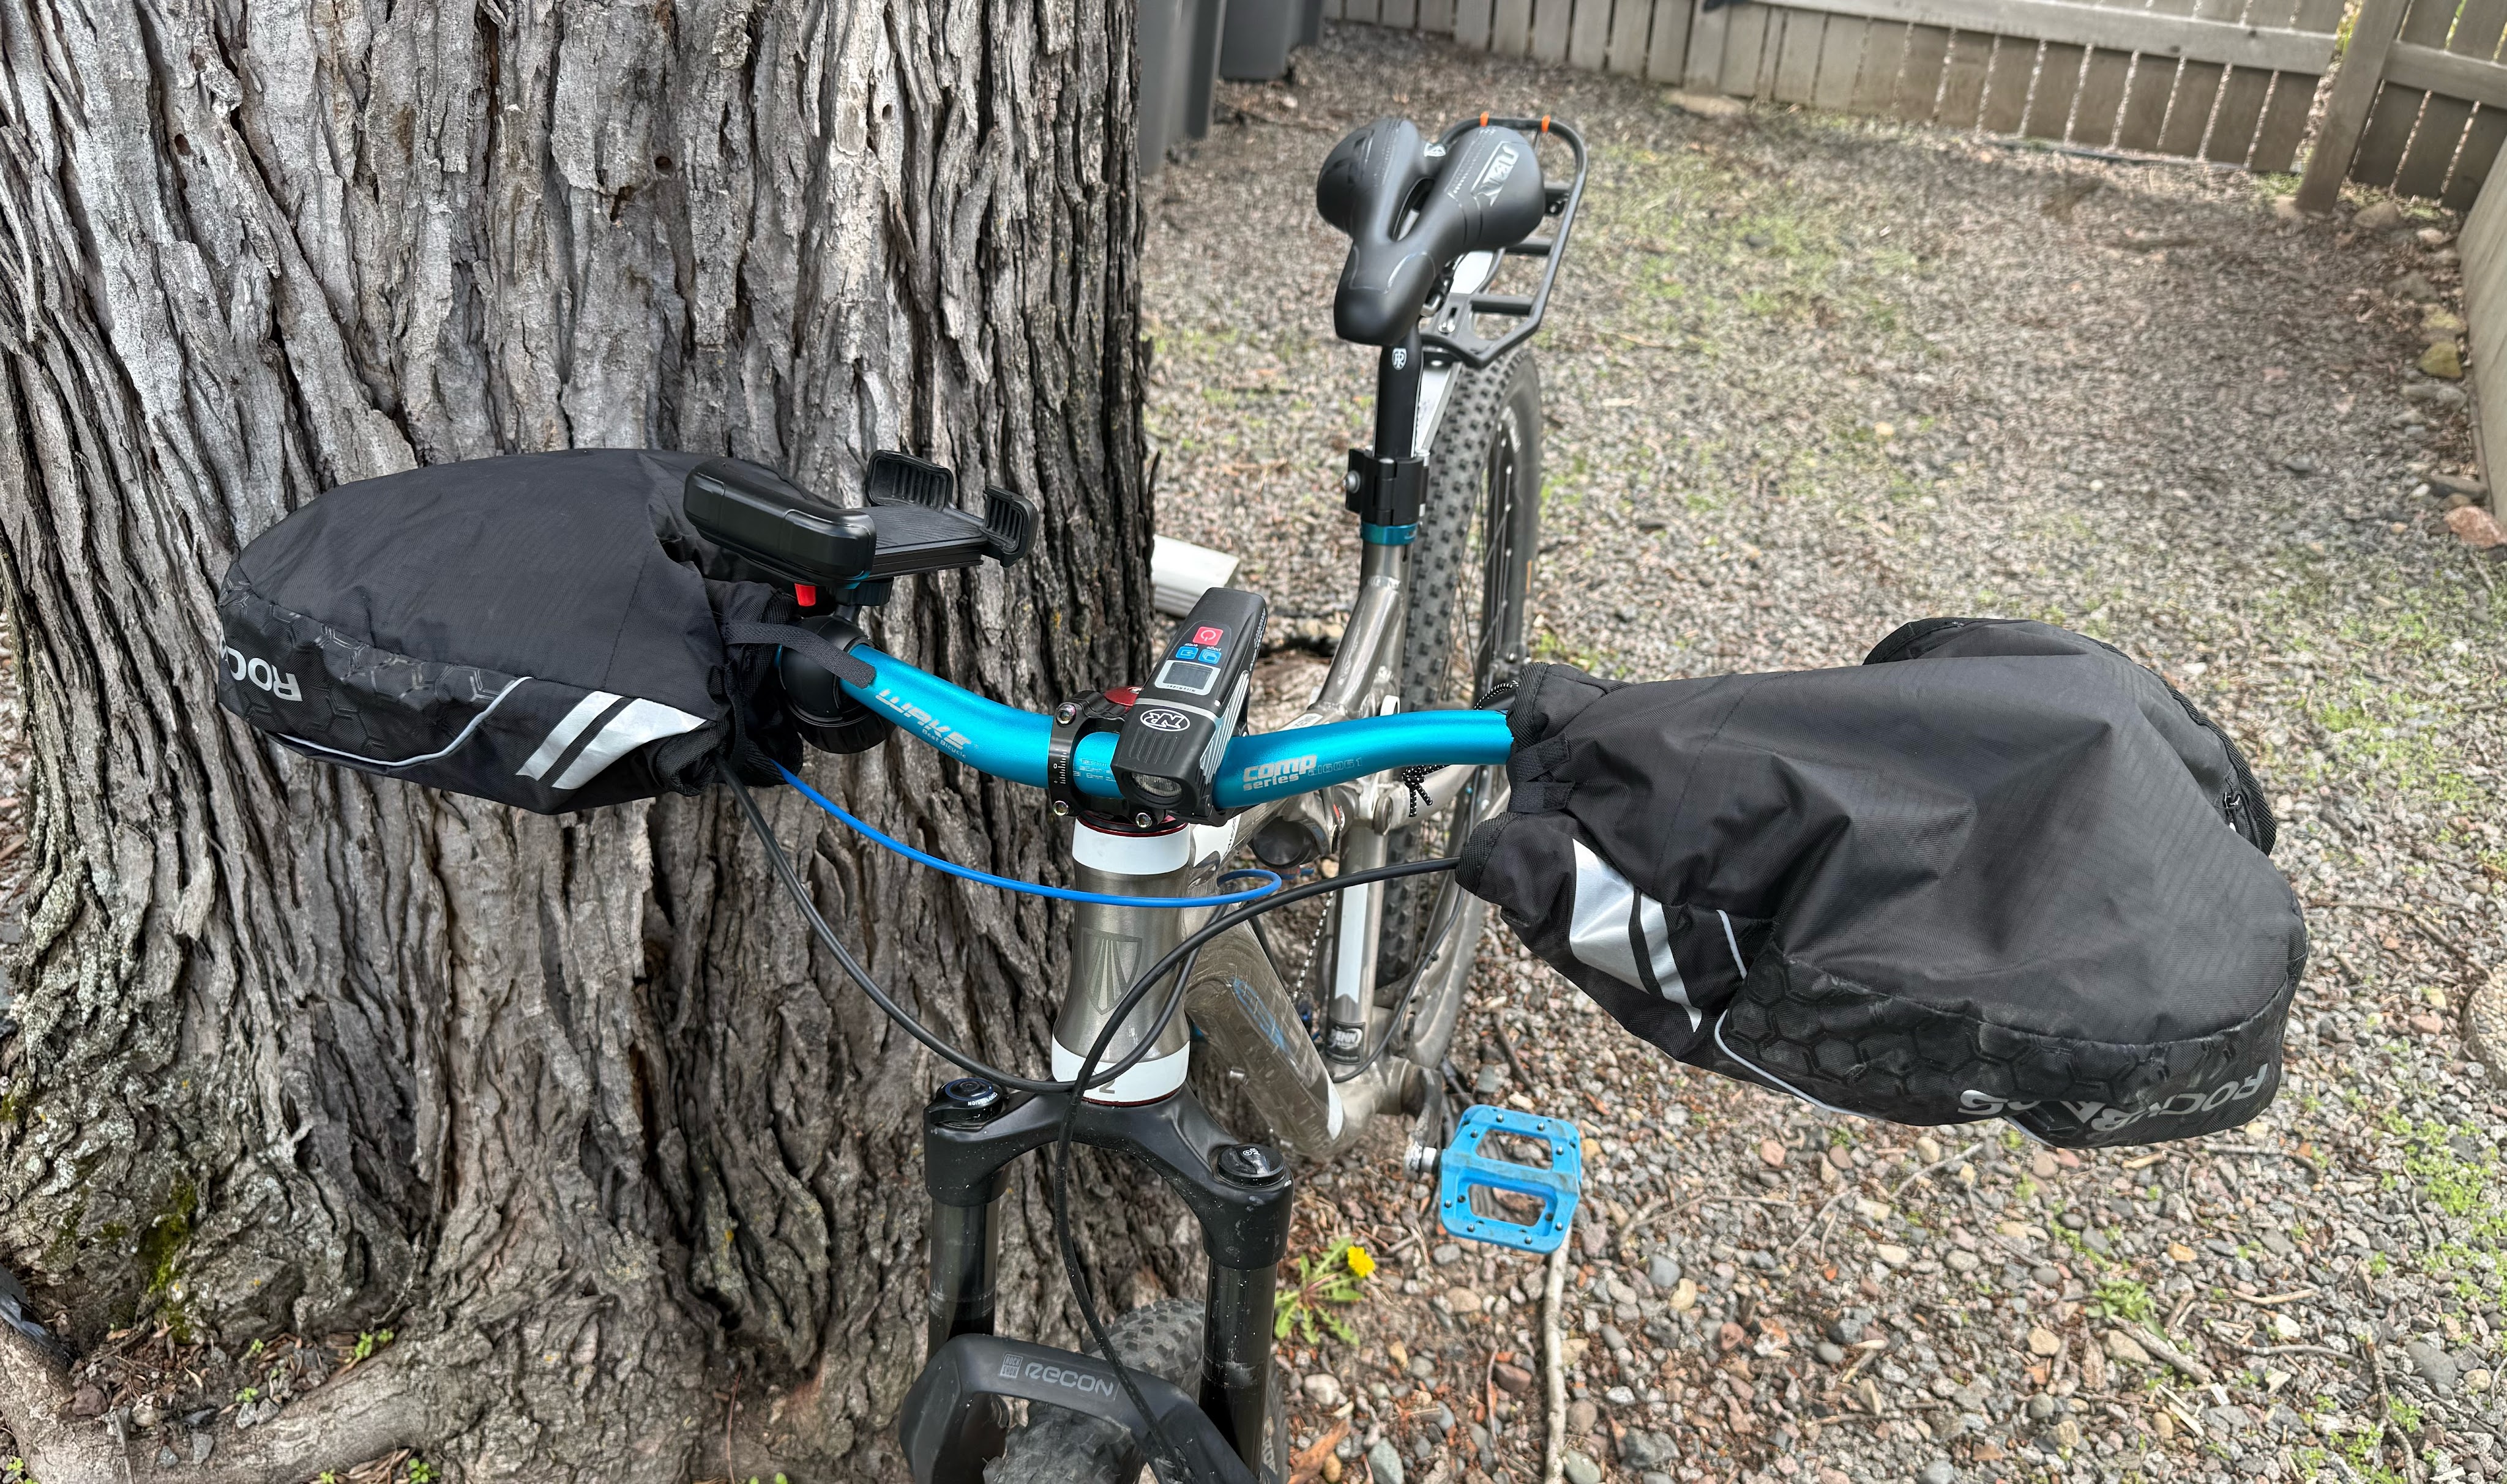
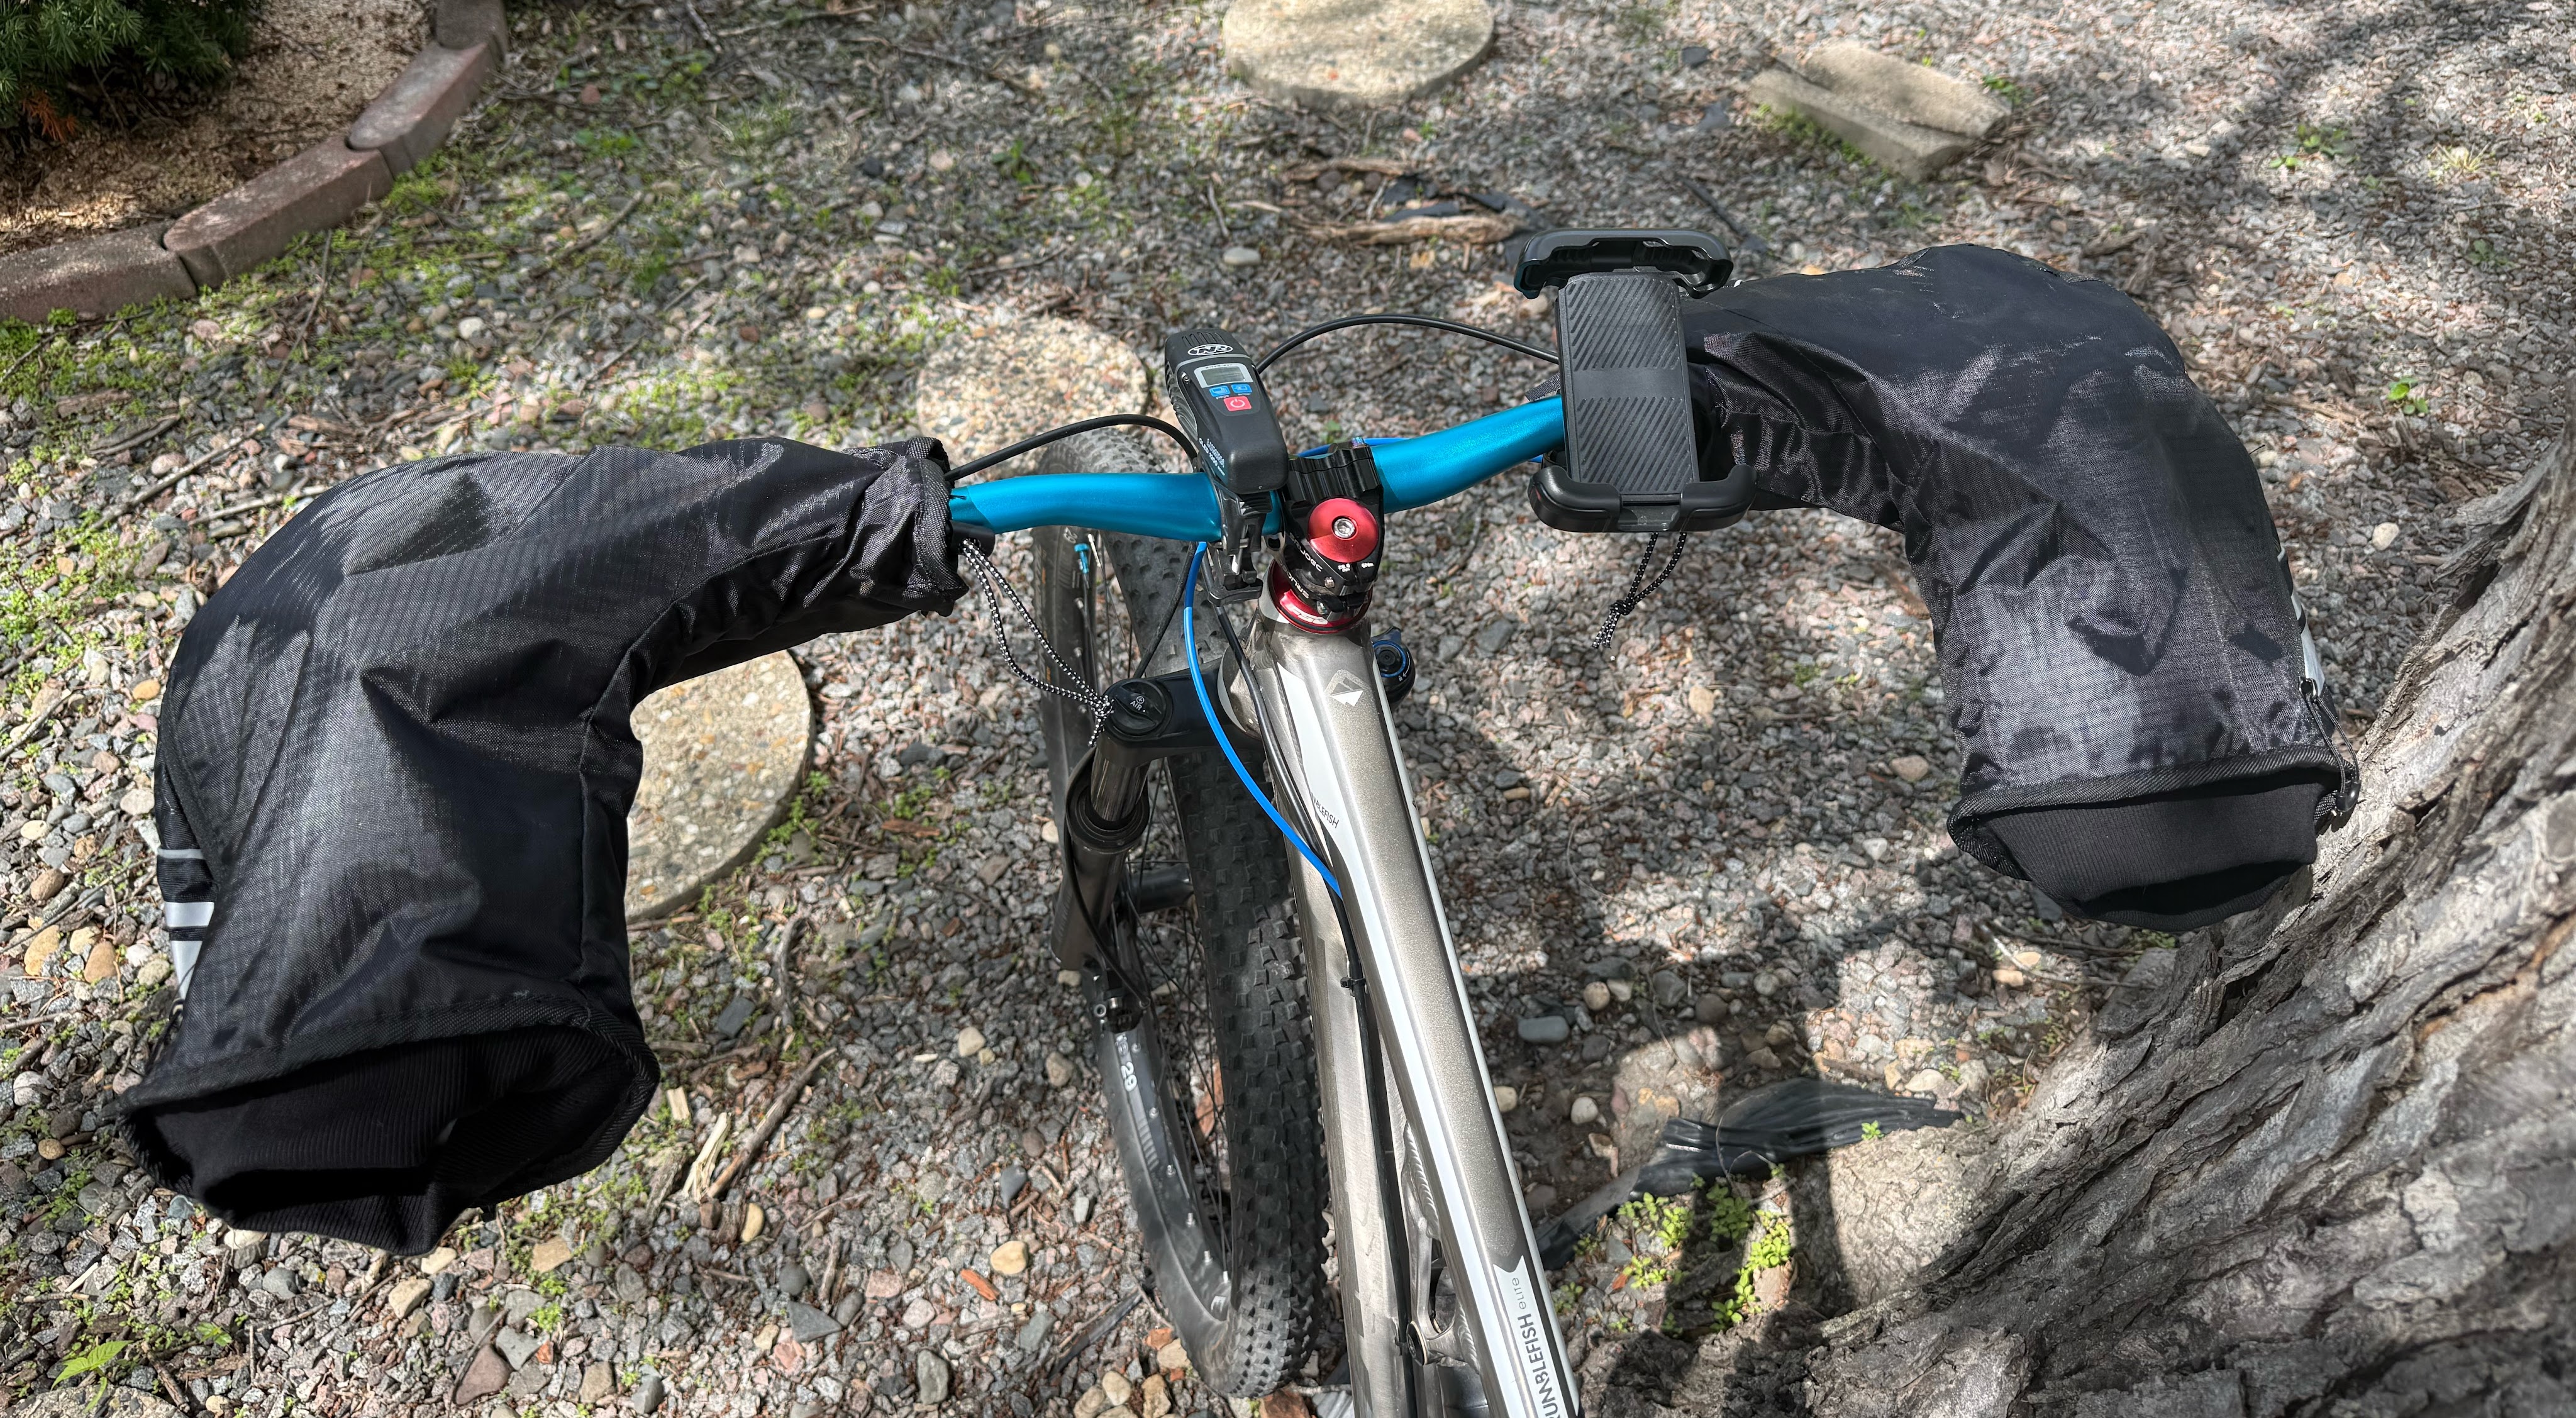
    The next pair of covers are made for a flat bar bike. These slide on from the end and cinch down with velcro and shock cord. The style of these is more like a puffy winter coat with cuffs, but the result is the same: warm hands, but you might want a thin liner for moisture control. This style was just a bit more difficult to get your hands in and out of due to having less structure than the neoprene, but also felt more “cozy”. I don’t do any winter fat-biking, but I would imagine these would excel. My wife rides a flat-bar bike to work and she uses these on her commute whenever the temperature drops. They are easy enough to use in the morning but take off and put in a backpack if the temperature warms by the afternoon. 

    Silent Sports flat bar mittens
    Silent Sports flat bar mittens

    When the weather still calls for an underlayer, these mittens save the day for me. There are many different styles, brands and materials, but here are the two that I purchased on my own dime and will continue to use. Note that the branding on the drop bar mittens is different from what is pictured, but I double checked my purchase history and they are the same. 

    CXWXC Handlebar Mittens – for drop bars

    ROCKBROS Handlebar Covers – for flat bars

    Enjoy every mile!

  • Cross Country Ski Storage

    As I write this it is late April in Minnesota, the grass is fully green, the dandelions are bright yellow and the lawn mower will be running by next week. Maybe I am a little late in getting to ski storage for the season, but that is the way it goes in the north country, after all, only a couple weeks ago there was still viable skiing in the northern parts of the state. 

    silent sports ski trail

    When it comes to ski storage, I am no chemist or expert in polymers, nor do I want to add to the ongoing debate as to whether or not applying storage wax is even needed. My philosophy is that applying storage wax will certainly do no harm, so why not protect my expensive skis? Admittedly, I have rock skis and B skis that have never seen storage wax.

    Regardless of the storage wax question there are still steps that are worthy of taking when putting your skis away for the year. This is what I do…

    1. Clean them: Especially classic skis, make sure that all kick wax is removed from the base, sidewalls and maybe even the bindings, your gloves and ski bag from that time you got carried away with the klister! Just be careful that you don’t clean off your markings for your kick wax zones, it might be a good idea to take some measurements of your zones so you can re-mark after the cleaning.
    2. Apply storage wax: I typically use whatever blue wax I have on hand. Specific storage waxes are available, but I have never understood the need for a special wax that will just sit there, when I can be taking the next step to skiing next season. If your first ski’s of the year are usually warmer, you may want to use a red wax for your storage, etc. 
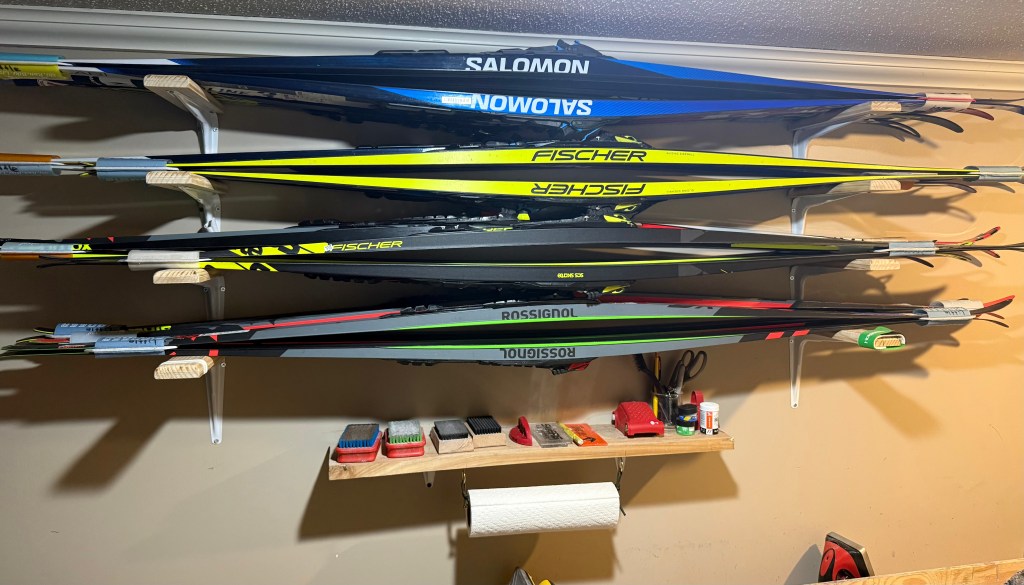
    3. Find a place to store them: I use shelf brackets with simple wood planks for “arms” that hold my skis. These are all stored in the basement where I happen to have the wax bench set up as well. The temperatures are never extreme, there is no sunlight and I get to see them whenever I do laundry! Avoid storing them in a hot attic or in direct sunlight.
    4. Position and ski ties: Again, I don’t have evidence to back this up, but for long term storage it just makes sense to me that skis are stored horizontally, or if they are in a vertical ski rack, it should be one that supports the tail and another point in the middle of the ski. It just bothers me when I see skis leaned in a corner where the ski tips are being flexed. I also make sure that the ski ties are not snugged down on the skies, I don’t want my skis being held in a flexed position for a long period of time. 

    That’s pretty much it, the only other thing I like to do is organize my gear, maybe I’ll even find the glove that went missing on the first trip of the year! Keep making tracks and go get your bikes ready!

    silent sports ski storage